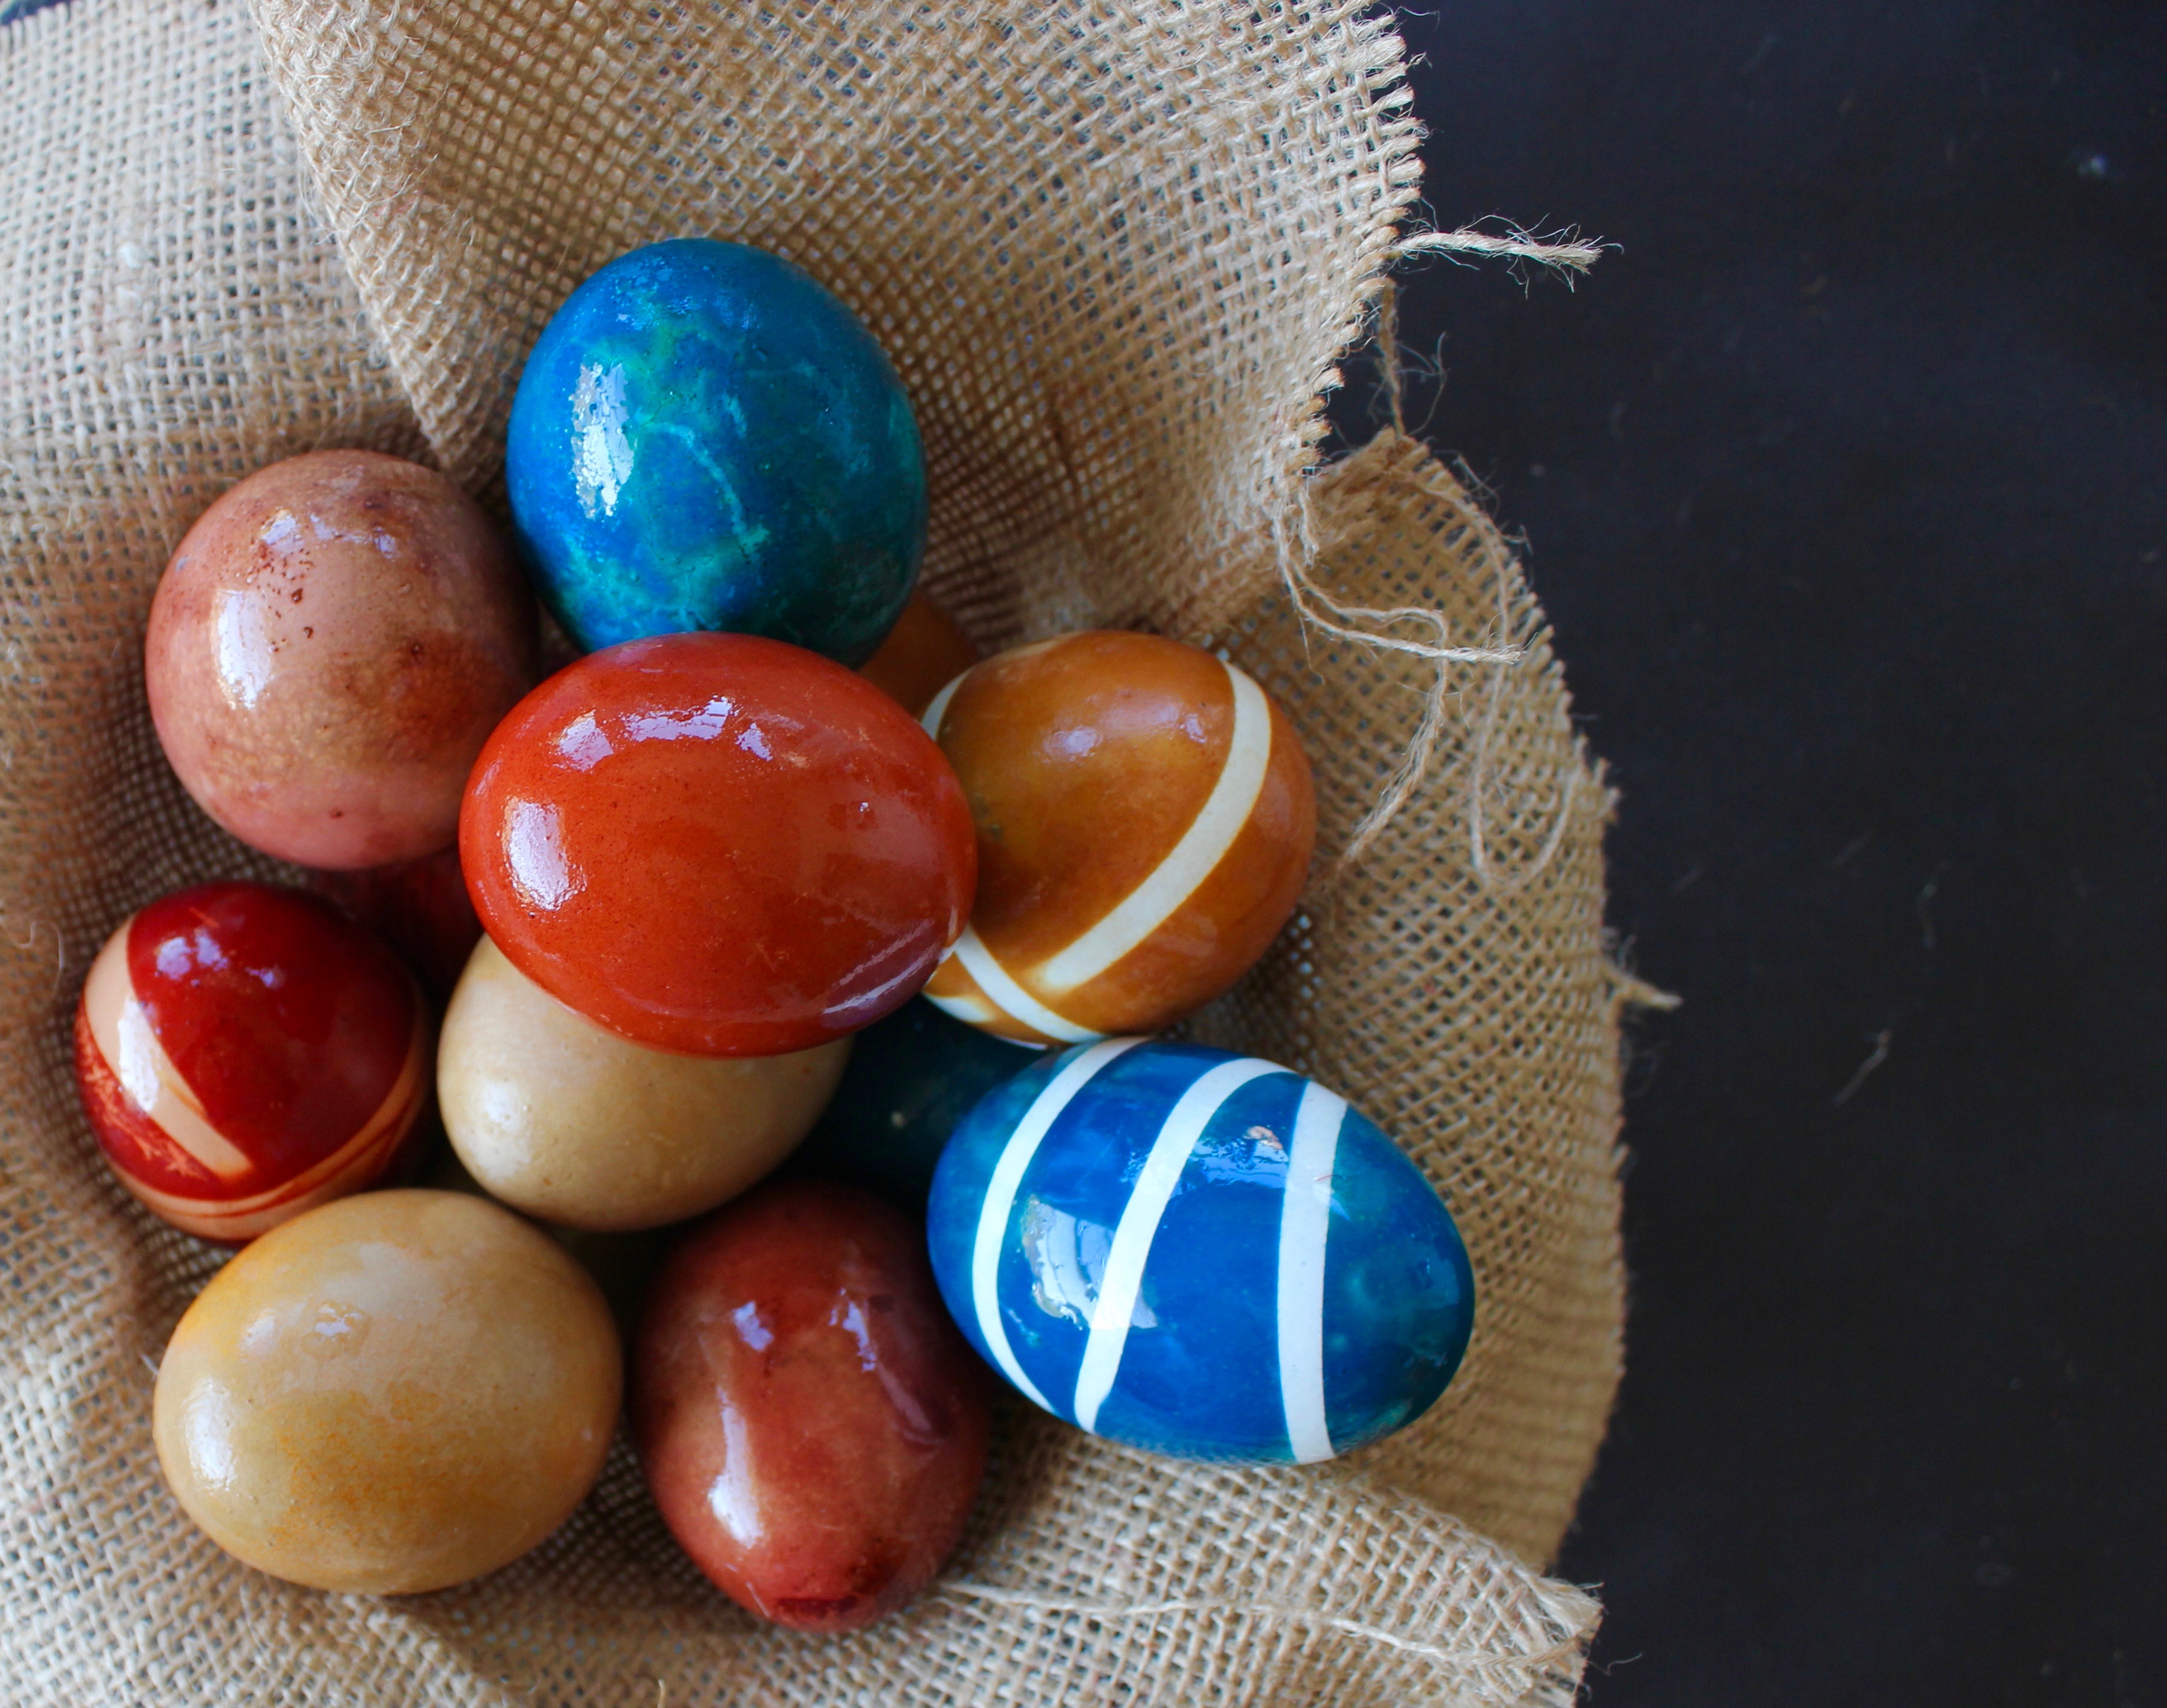
 It’s probably been done for years but it seems that just this season, making natural Easter egg dye was popping up everywhere. Continue reading
Tag Archives: Project
Button Letter Art
 When my good friends found out they were pregnant, I was ecstatic for them. Knowing this journey would be so special and meaningful, I wanted their baby shower gift to be special as well. Continue reading
Tiny Kitchen ReModel

Everyone loves a good facelift to a much-needed room or area. I probably like them a little too much – my brain is always working on ‘what’s next’ when it comes to design and decor. I feel satisfied for a bit, and then it’s time to make more changes and improvements. I have already shared this same house’s Tiny Bathroom ReModel and now it’s time to share the kitchen… Continue reading
String Art

String Art is becoming more and more prevalent in décor. From coffee shops, consignment stores and Free People storefronts, the string art trend is growing. Actually, one of my very first posts here on Bloom and Birch was a DIY String Art project – one of my faves to this day. My friend recently had a baby and they wanted to wait until birth for the gender reveal. Since I wasn’t able to give them an entirely (gender) personal baby shower gift, after they birthed their angel boy, Levi – I went to work to create this string art nameplate for the little man! String art is actually quite easy if you have the necessary tools, time and patience!
Christmas Candles DIY

Happy Friday before Christmas! With the last weekend of shopping fast approaching, the stores, malls, and streets will be jam-packed with people. If you want to avoid lines and save money (!) – here is a fun, super cute DIY project that I think is perfect for Christmas presents. Continue reading
Handmade Ornaments

‘Tis the Season! Although I love it, I cannot believe it’s already here. The second half of this year has flown by, I tell ya. So, now that we are almost to December, why don’t you say we get a head start on some Christmas Crafts!
I was inspired to make these ornaments from some that I found at a local gift shop. These ornaments were quite festive but in a non-traditional, bohemian-esque way – just my style. They stole my little heart and inspired me like no other! Here’s the How-To… Continue reading
Homemade Clothesline
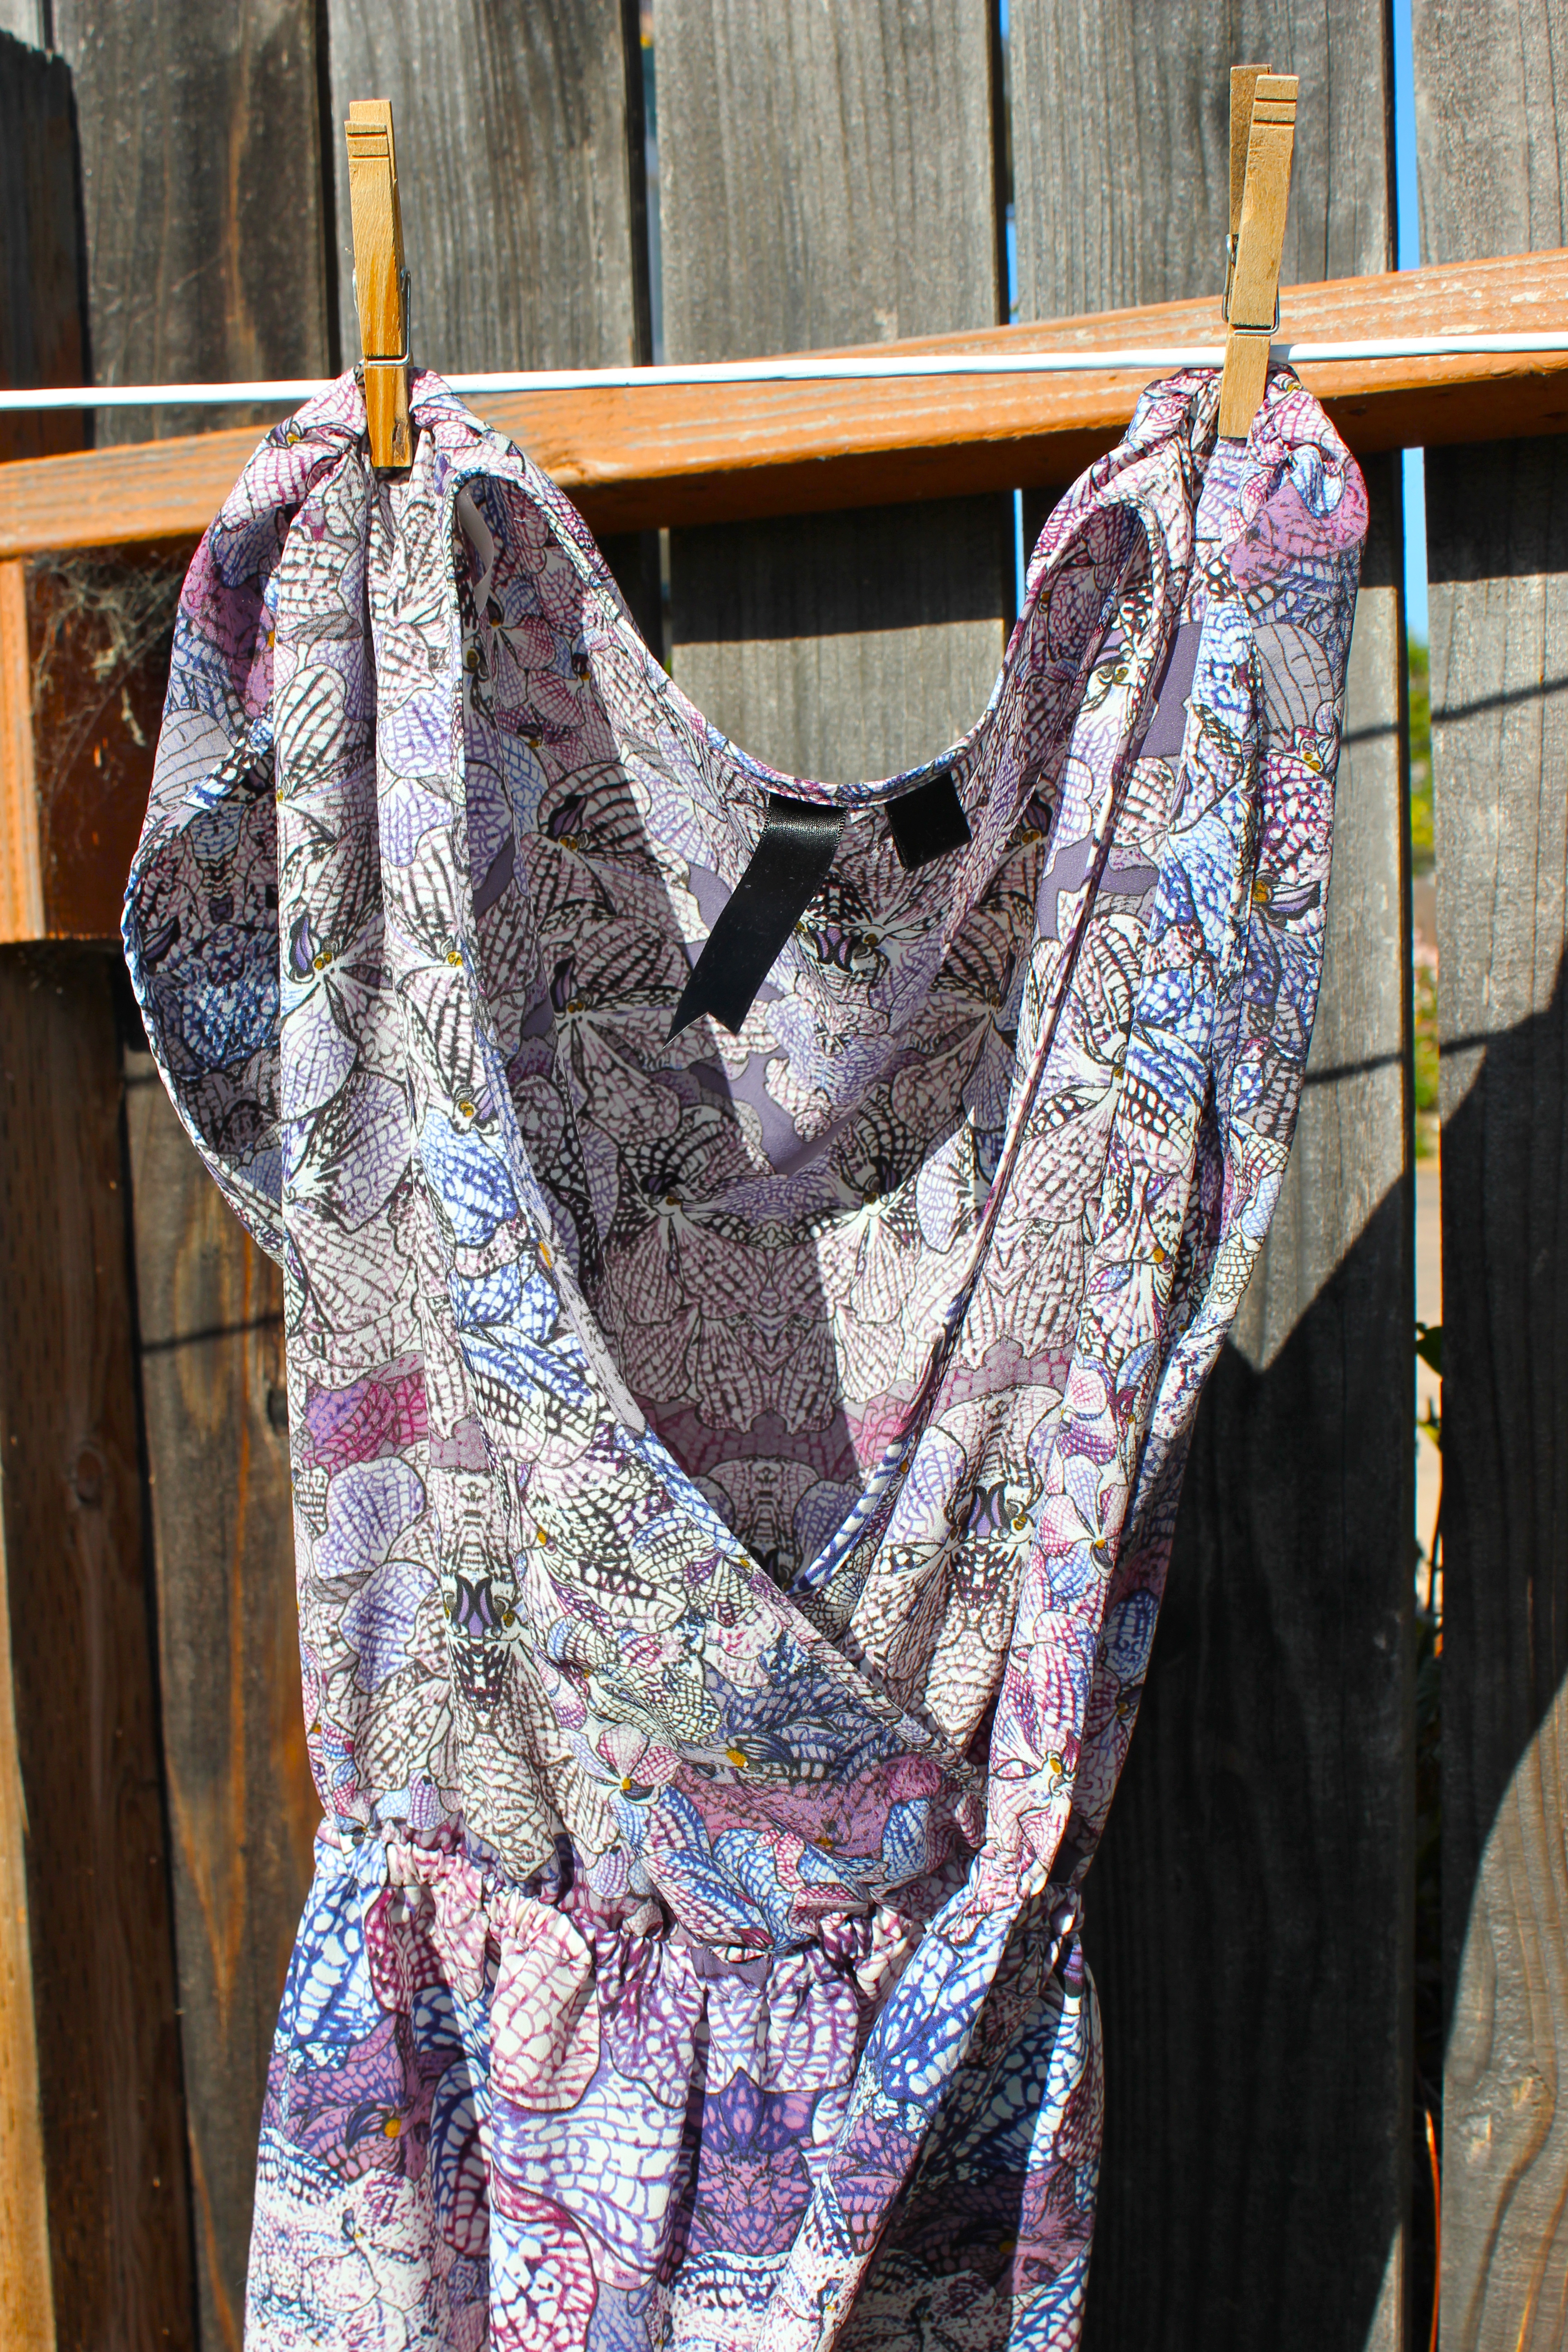
Although summer and its heat are leaving us until next year, it won’t stop me from hanging my clothes out to dry. This practice was instilled in me when I was barely learning how to do my own laundry. My mom would express the importance of hanging your ‘intimates,’ even though my intimates in HS were basically only bras. As I’ve grown older, I’ve come to realize the importance of hanging most all my clothes to dry from jeans and sweaters to intimates. Although I’m very well versed and have made this practice a habit, I still need to get significantly better at making trips to the dry cleaners…In the meantime, I’ve noticed a big difference in the longevity and durability of my clothes. I think it’s important for most people to get into this habit, especially if you’ve veered from the $20 Forever21 items to the $75 and higher say, Free People, style :). I realize not all of you may have the luxury of mostly sunny days throughout the winter, so use an inside rack until the weather warms up. I made this clothesline last year, and it’s been awesome ever since. Thanks Martha!


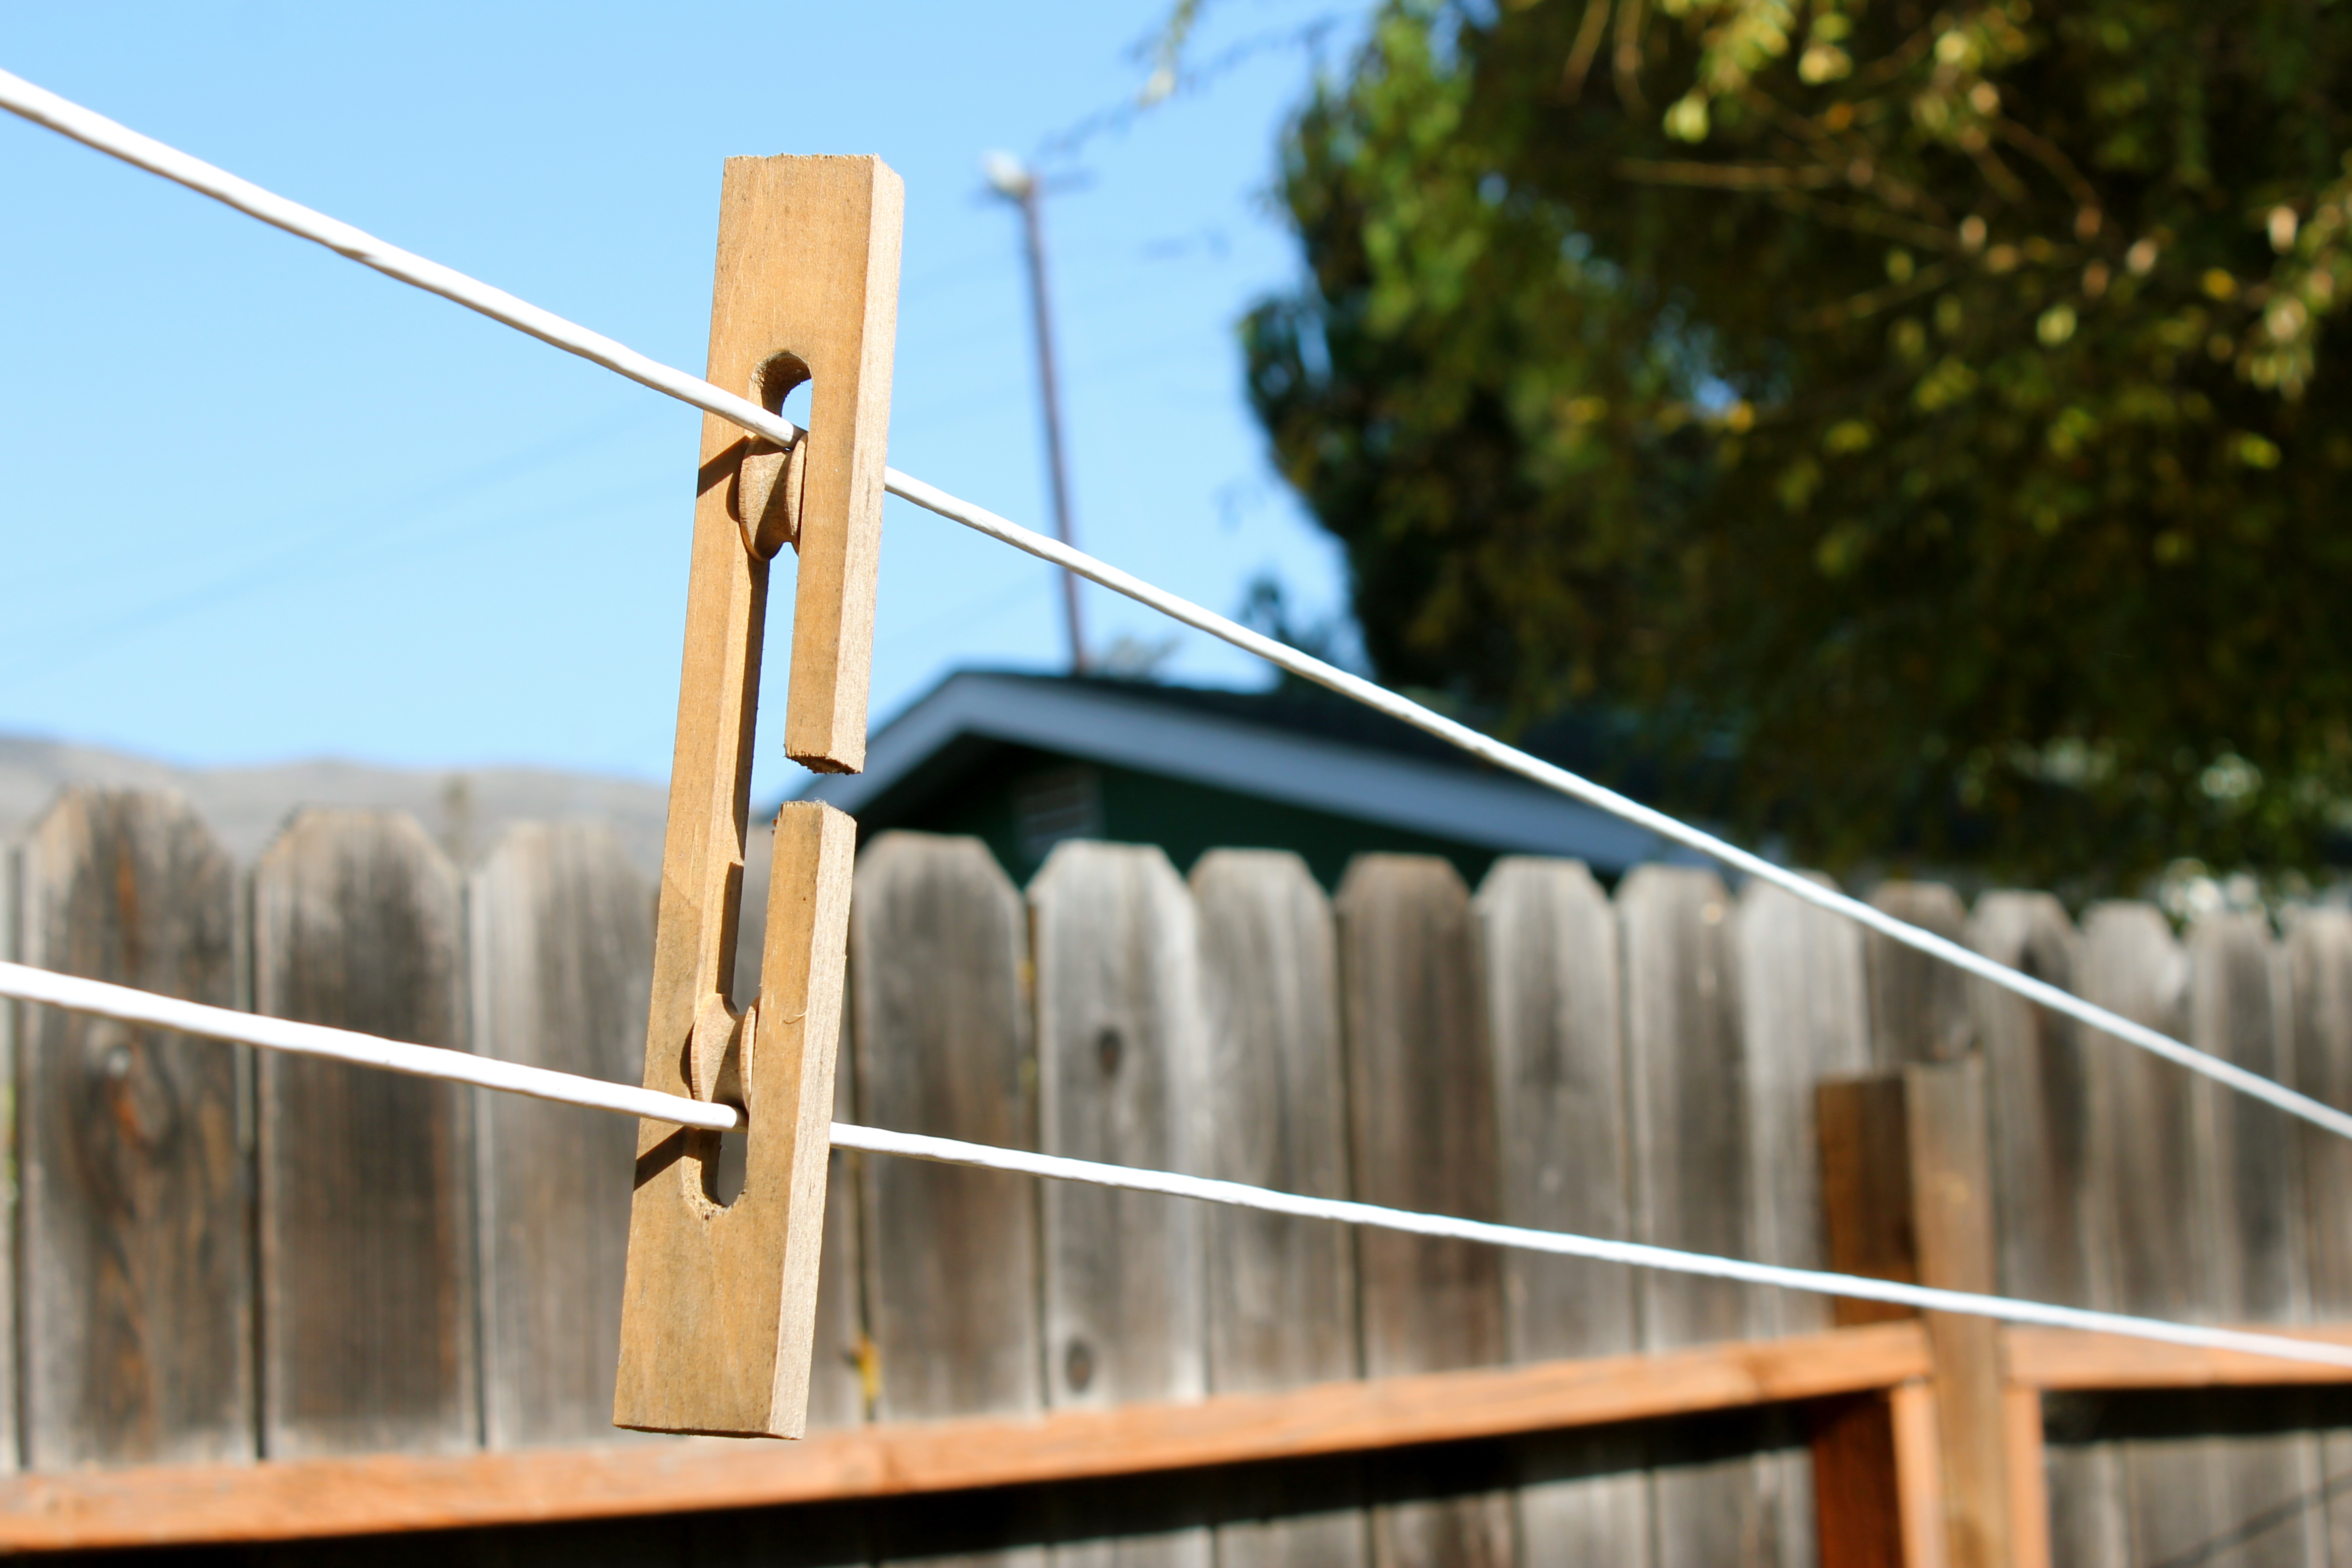 The construction of this clothesline is very affordable and quite easy. All of the components can be found at your local hardware store.
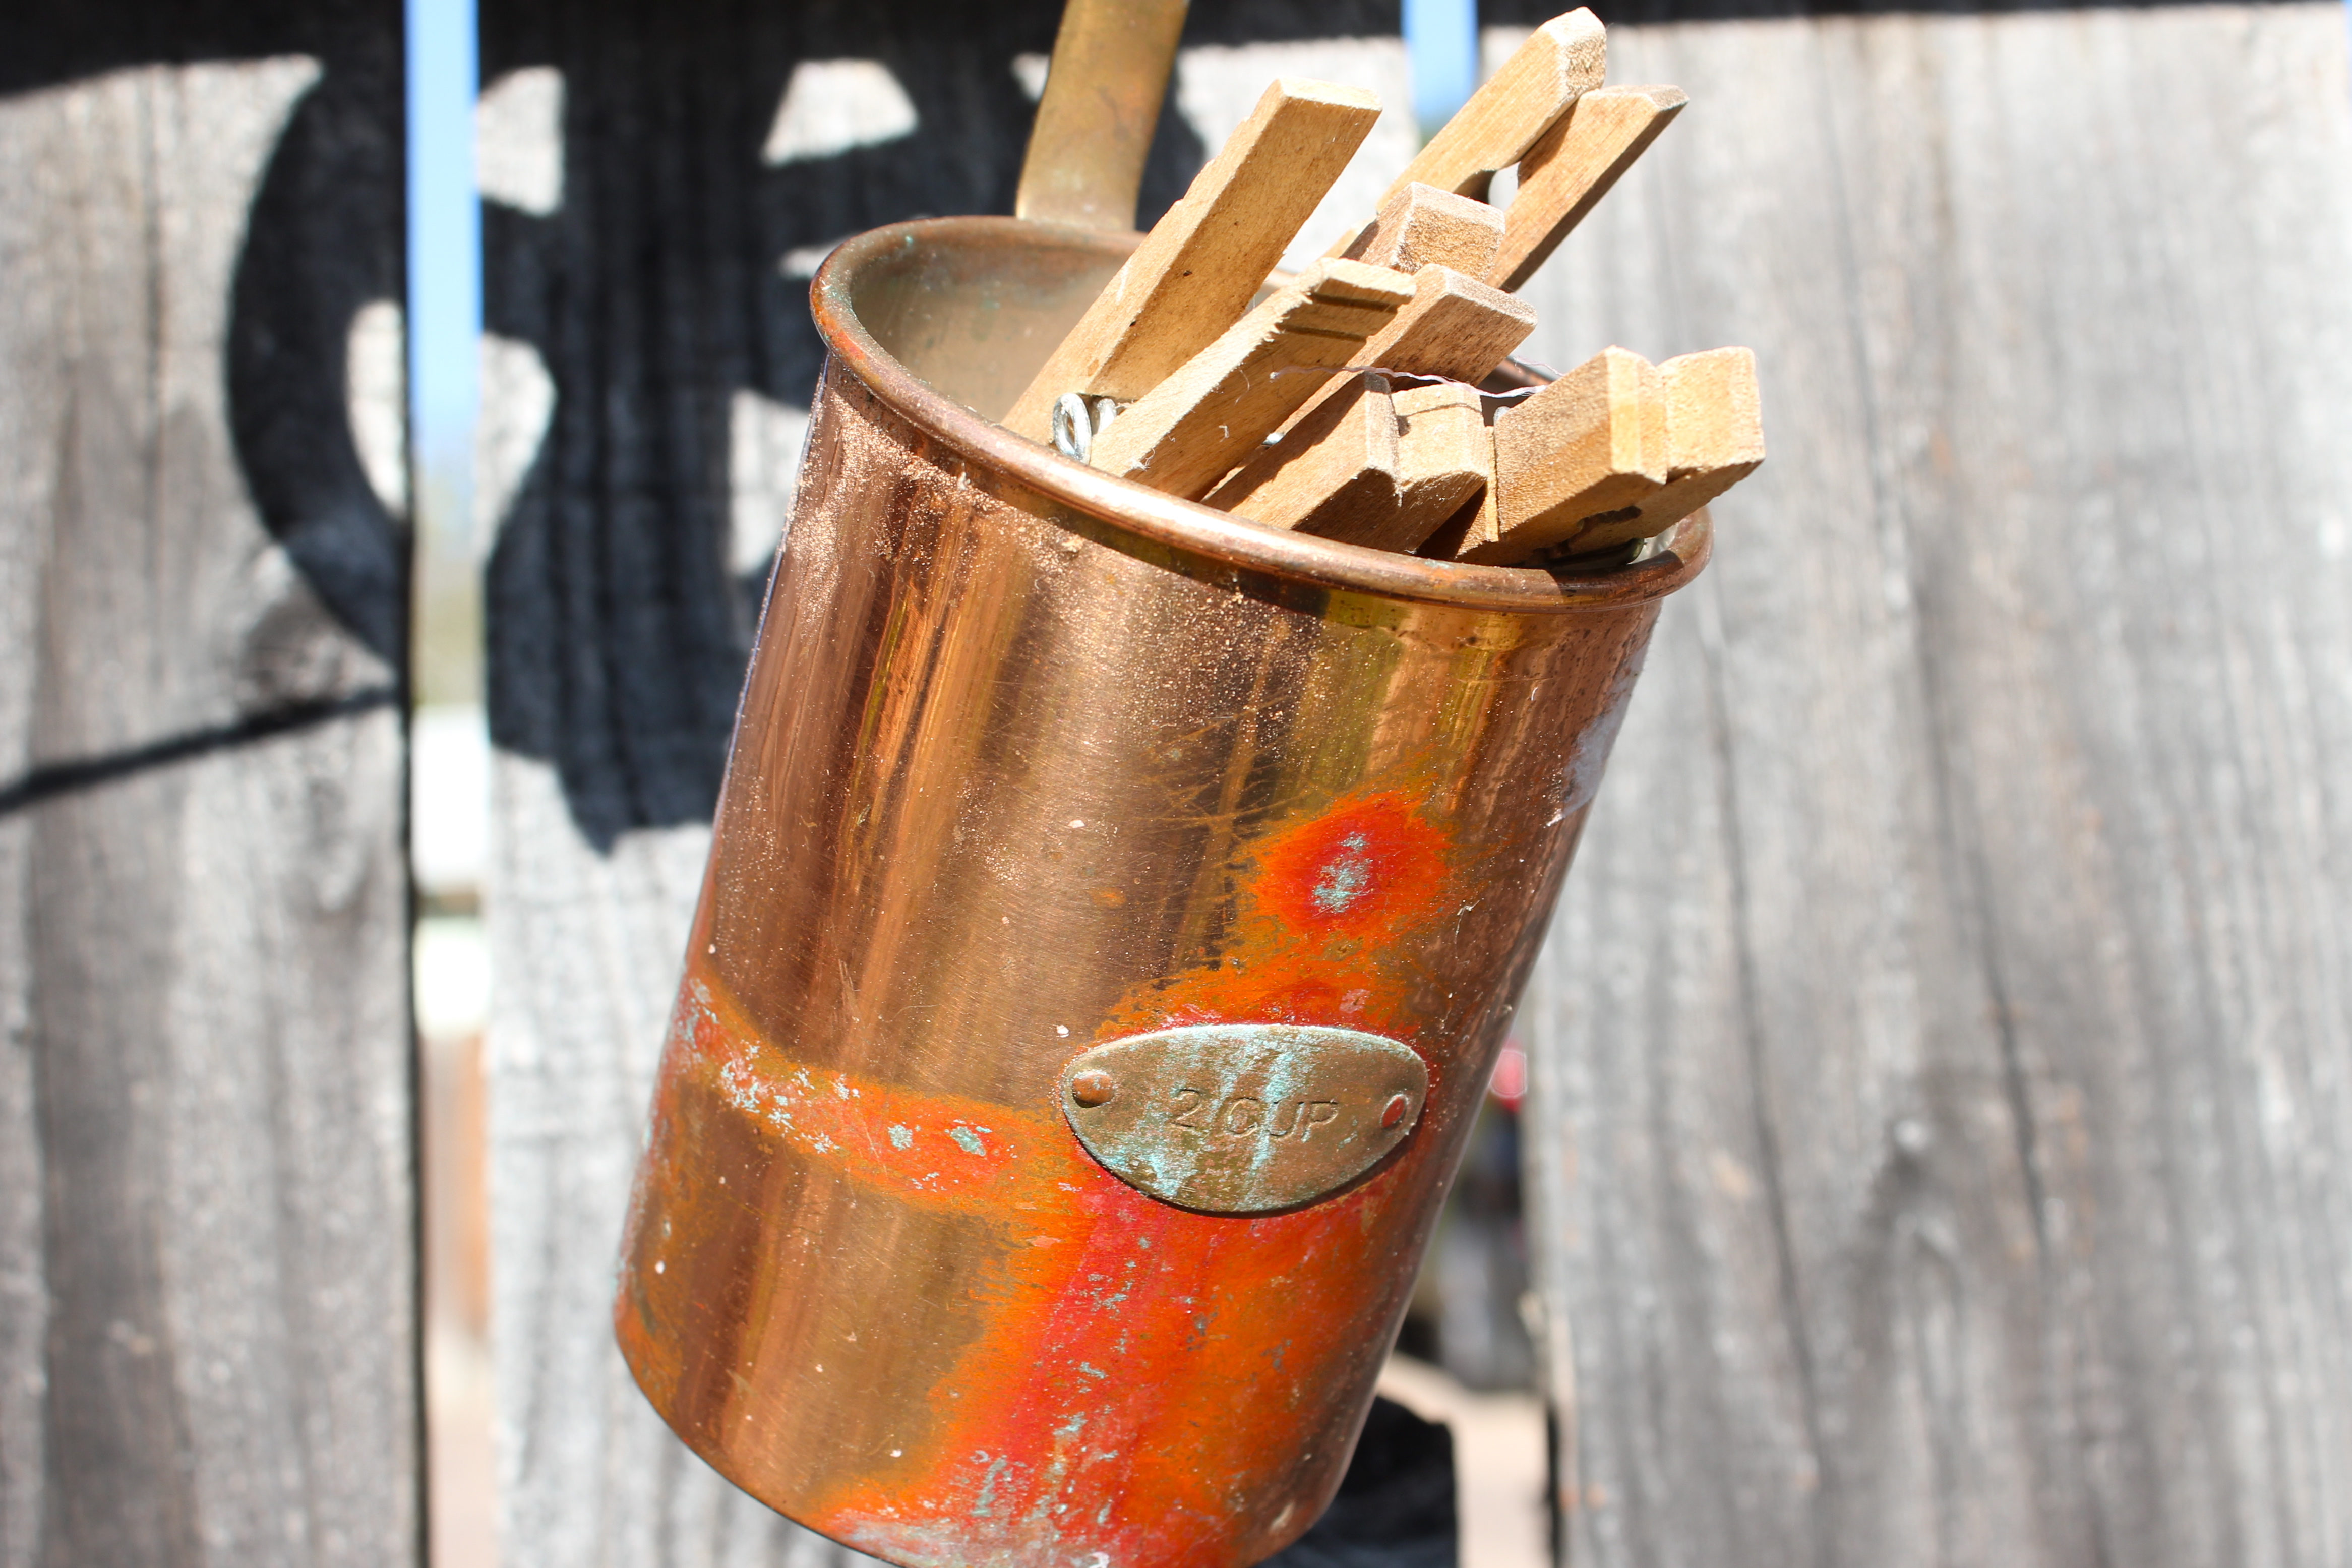 I found this measuring cup at an antique store and had to buy it for the $2 they were asking. I finally found the perfect use for it!
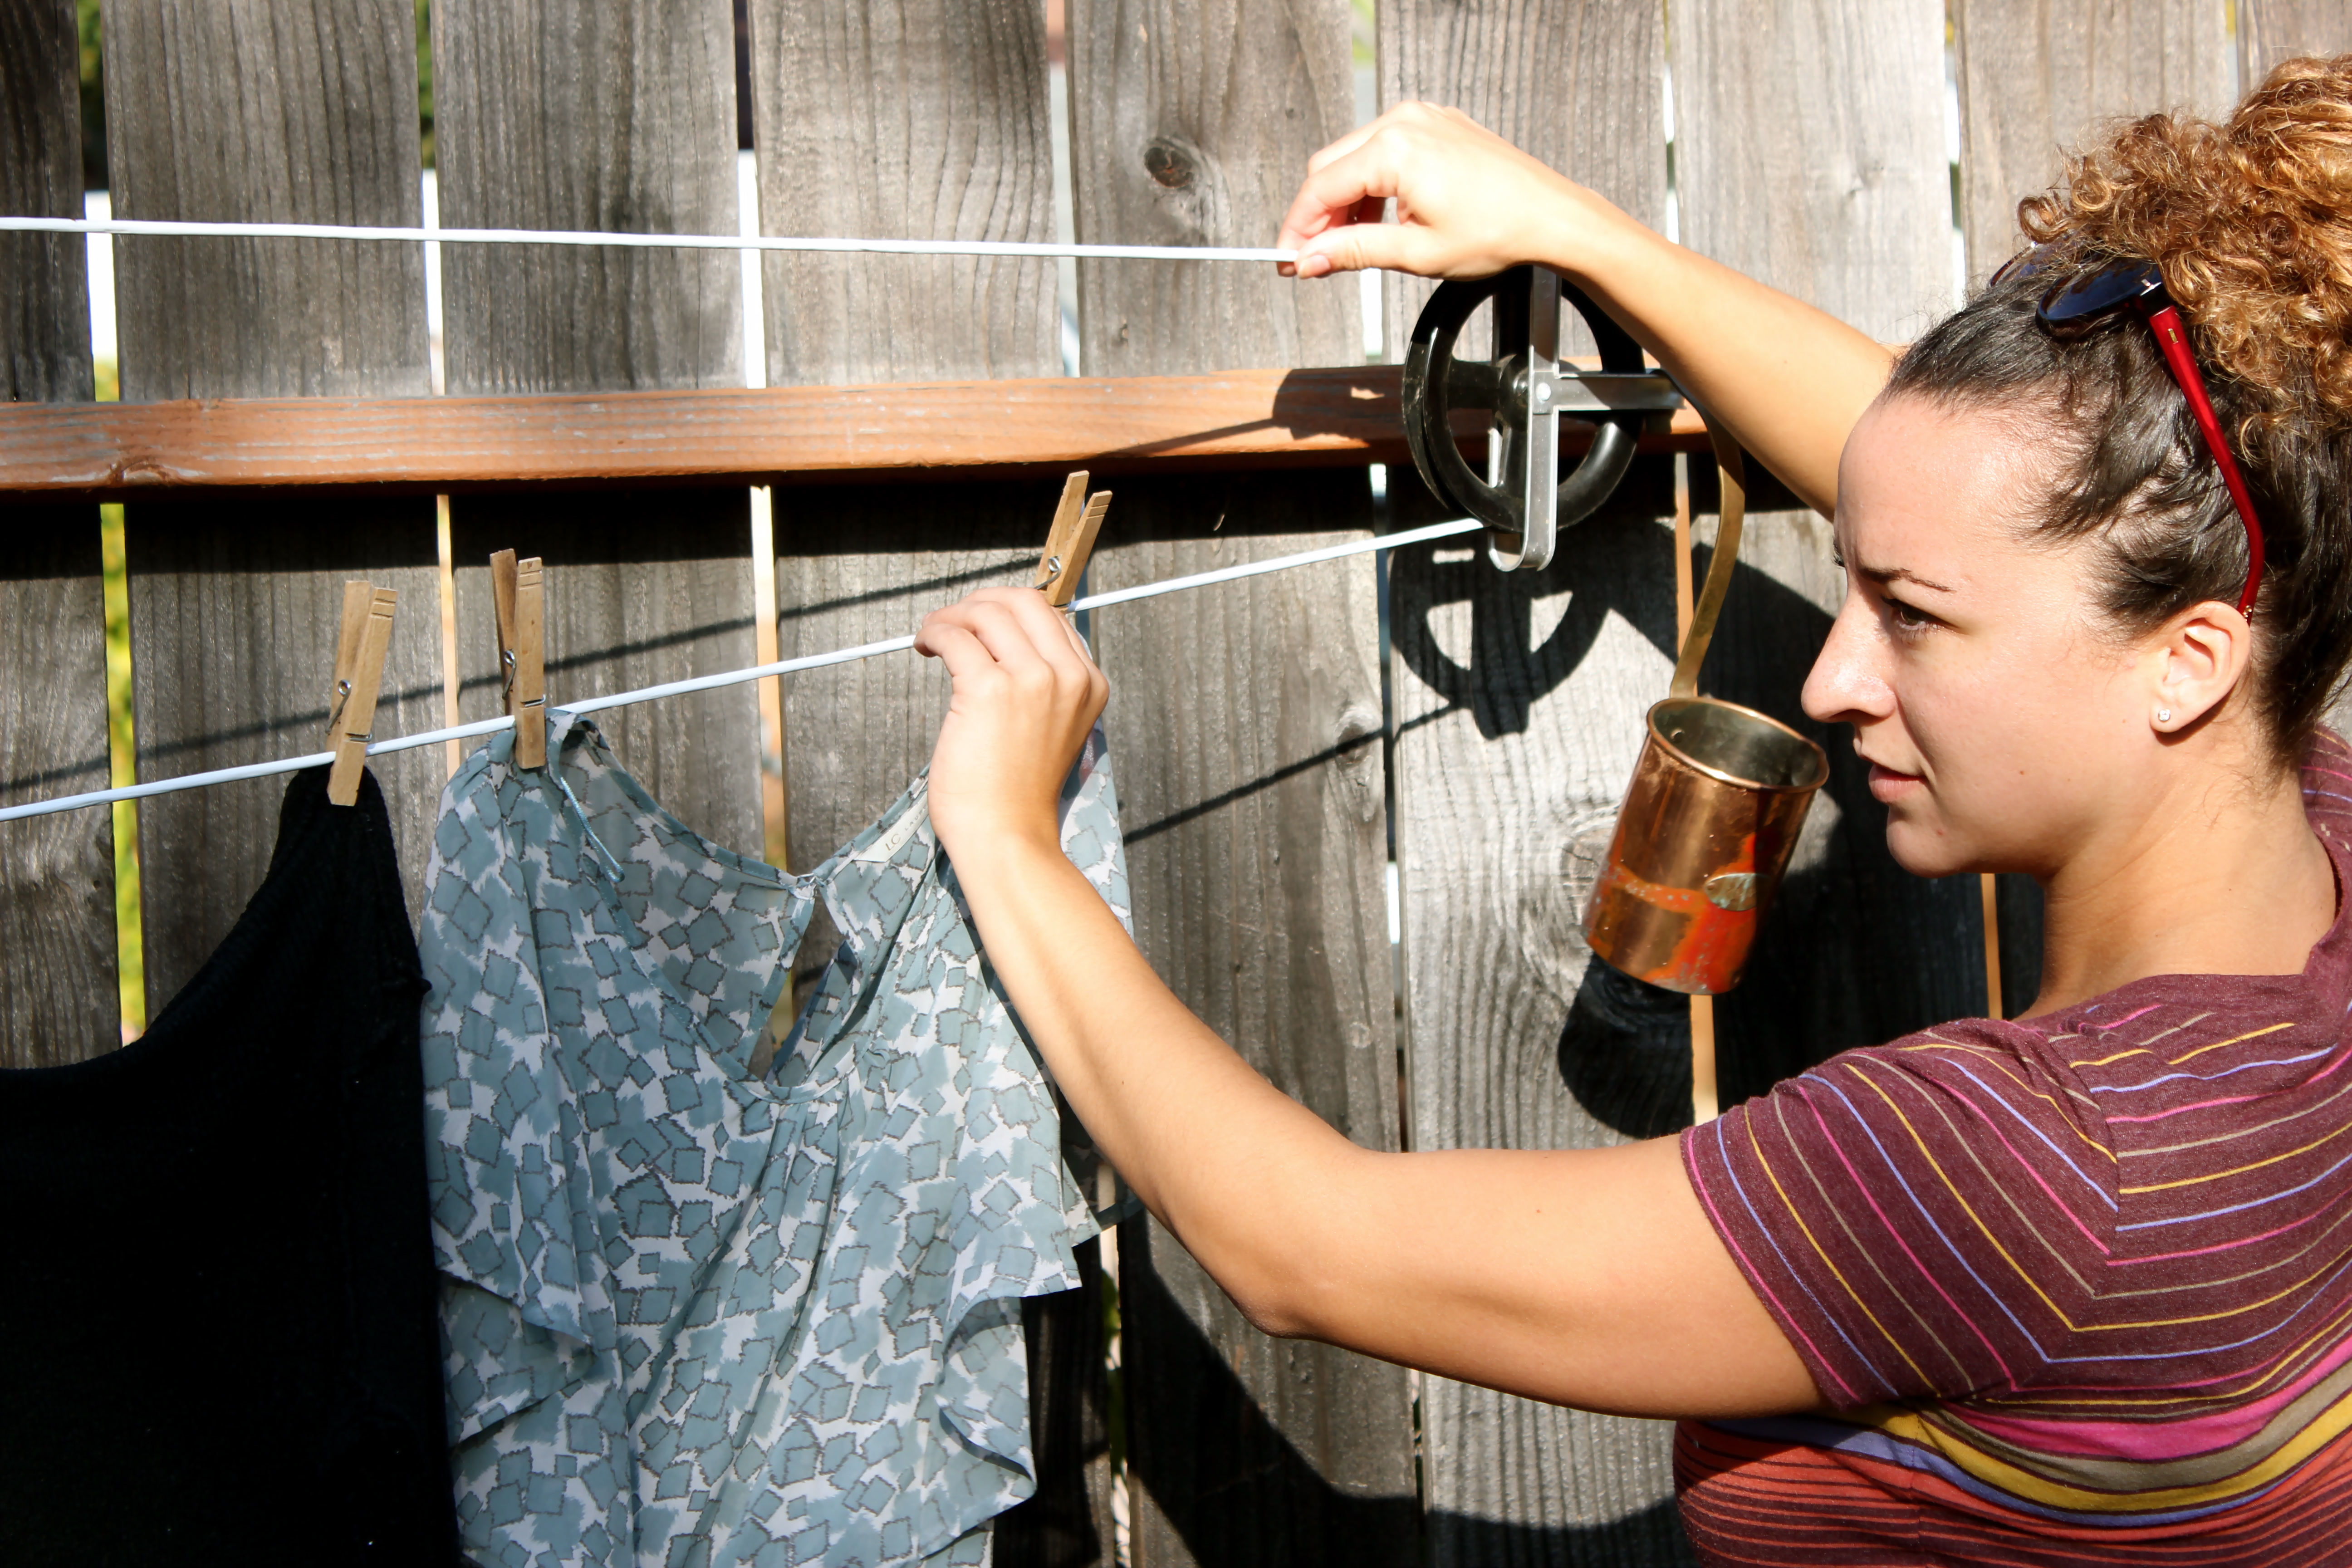
 Hope you and your clothes will enjoy this nice and semi-peaceful treatment. You’ll love the way your clothes smell fresh and light!
Cheers! -L
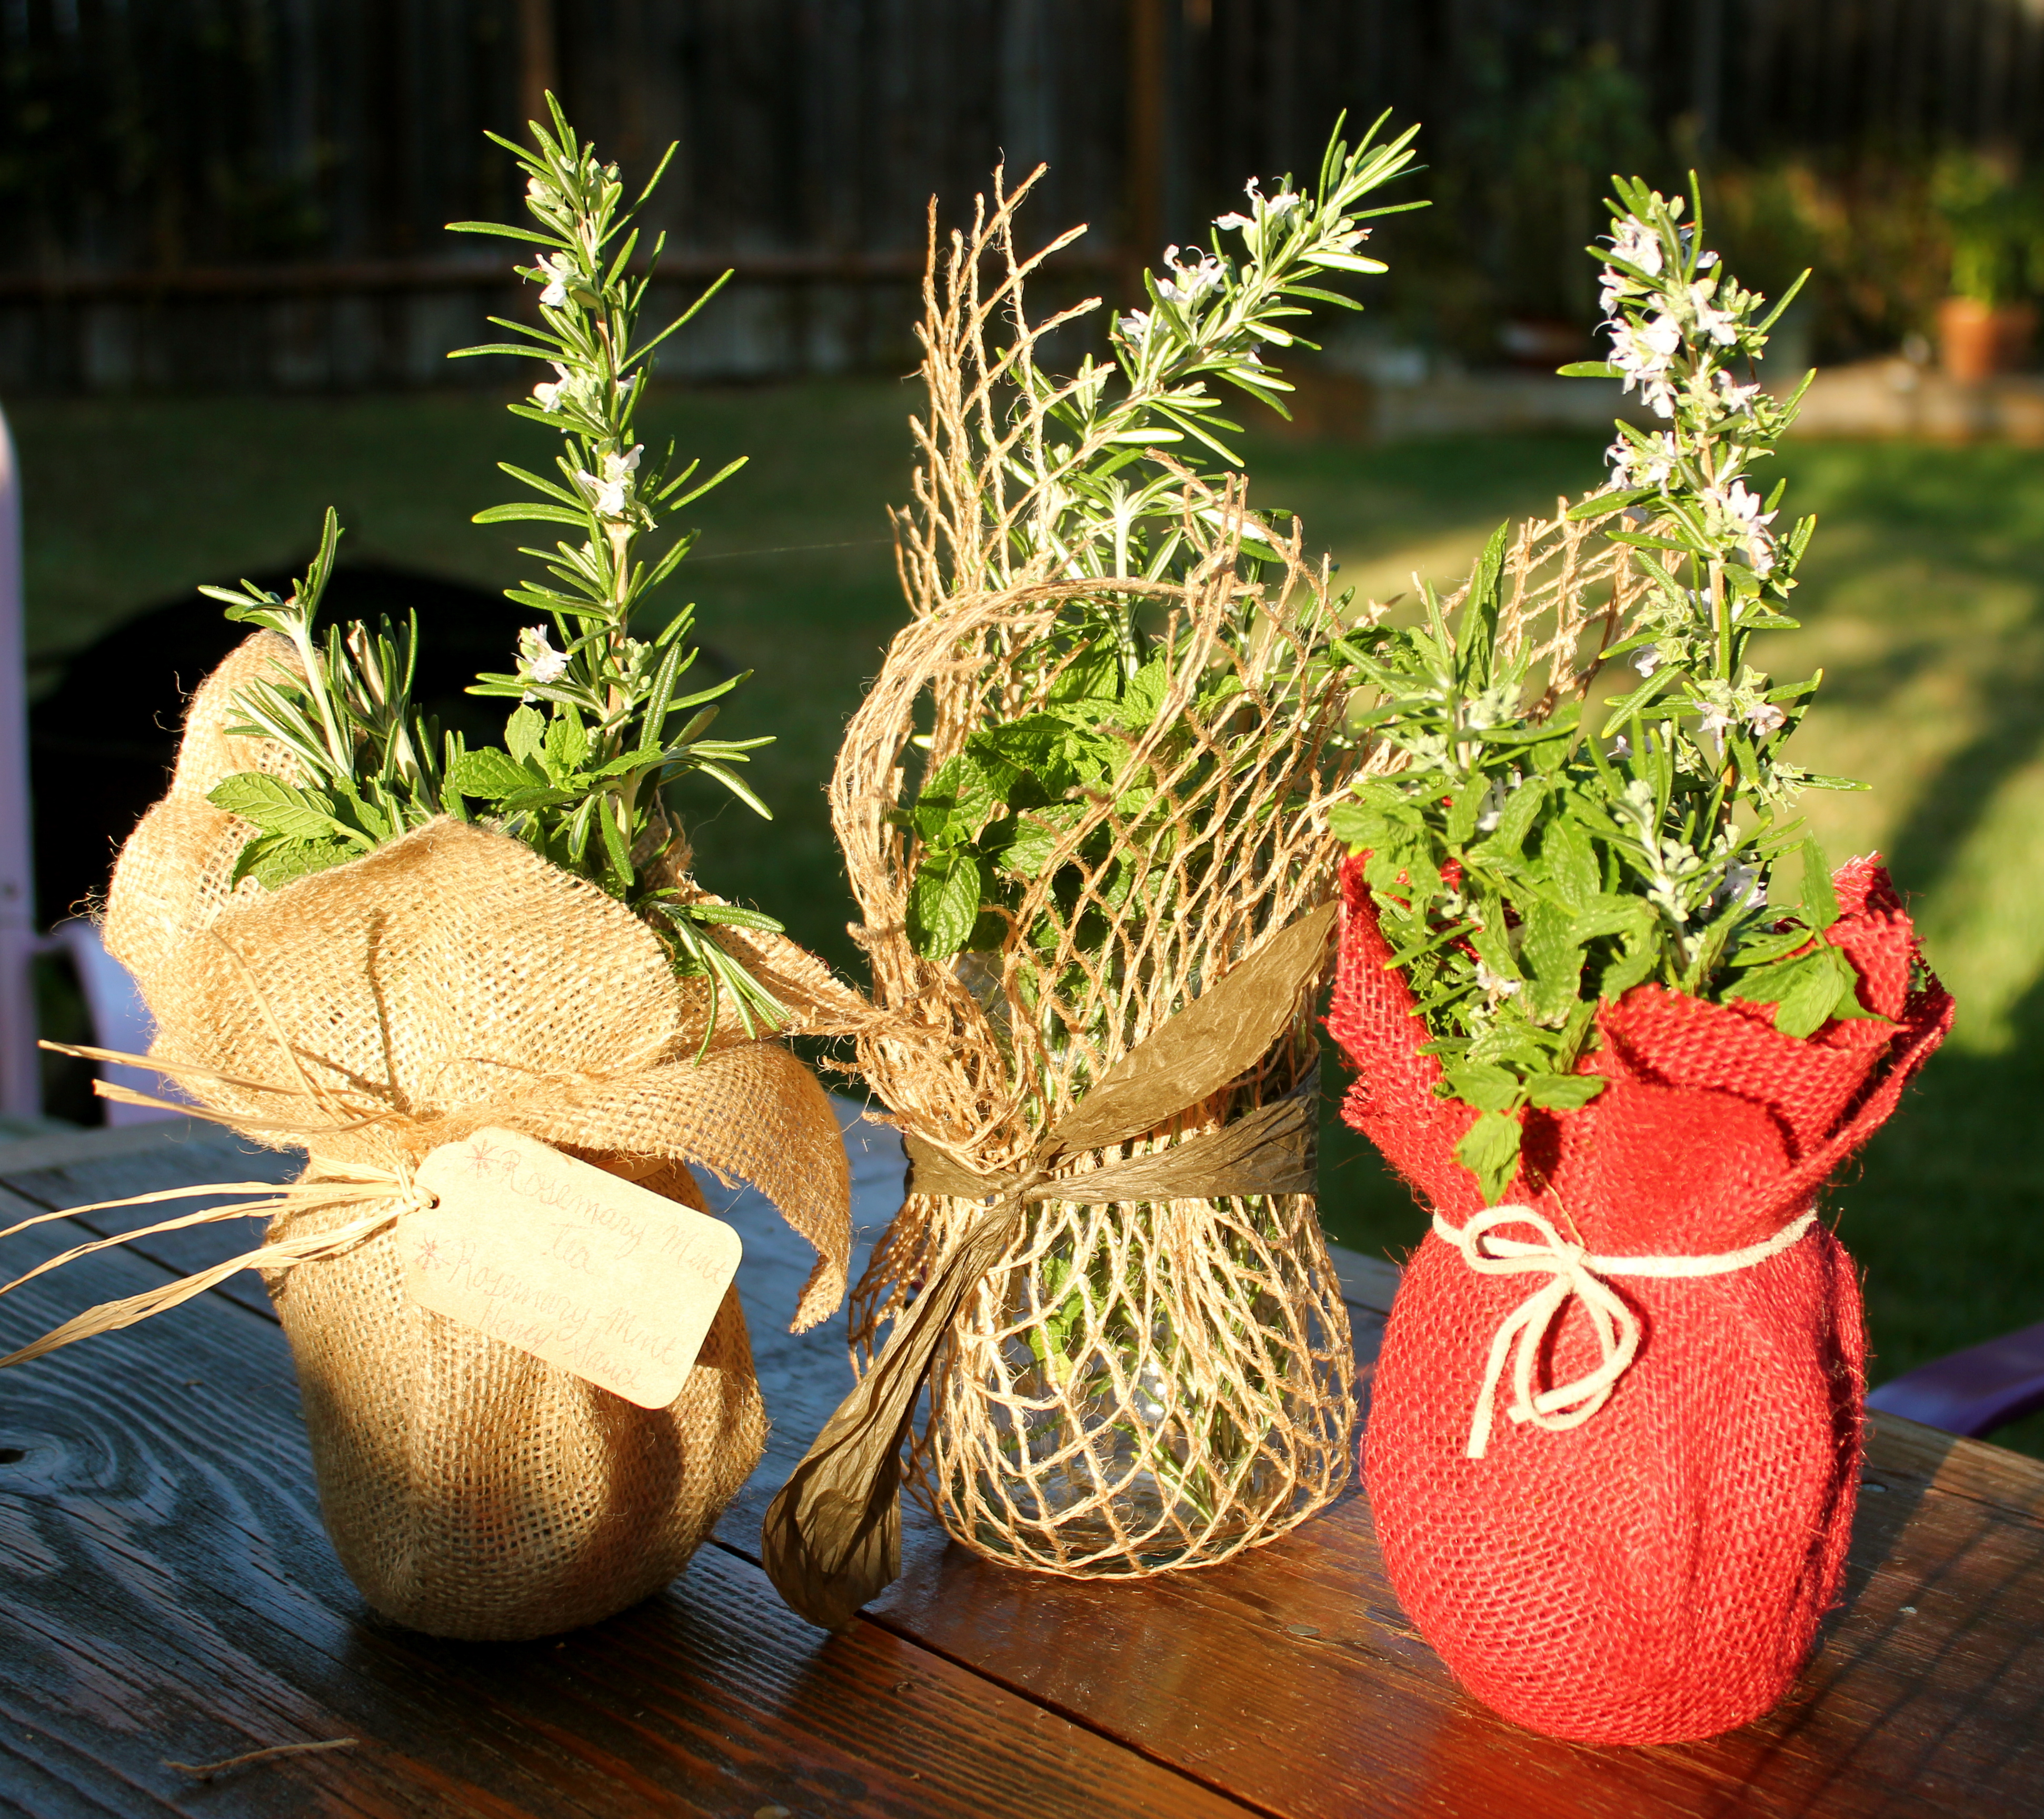
Rosemary and Mint Burlap Bouquets

I talk about my garden a lot. I’m not entirely apologetic about it because it’s summer and I have a pretty rad garden. I’m in love with it and I like to talk about it! With that, I lead into my next little project…Rosemary and Mint Burlap Bouquets. These two, healthy, abundant herb plants I have are overflowing with goodness. So, naturally I feel I have to share the wealth. One day after quickly compiling these two herbs into a makeshift bouquet, I came up with a more thoughtful, personal way to give them as gifts to friends.
Start by gathering the supplies you’ll need:
~ Rosemary and Mint ~ Mason Jars ~ Burlap (of any color or style) ~ Ribbon/raffia/leather/or any sort of neutral colored ‘tie’ ~ Scissors ~


 After your supplies are organized, measure out the burlap that will cover the Mason Jar; simply put your jar in the middle of the burlap, measure about 3 inches from the top of the jar. Cut the burlap into the square that completes those measurements.

 After you have your square, measure your ‘tie’ device 4″ from each side of the jar top, take your ribbon (or in my case, leather), and wrap it around the neck of the jar, securing the burlap. After the burlap is secure, trim around the edge for any necessary length or unevenness.

 Now, place rosemary and mint sporadically in the jar creating a nice, full fragrant bouquet! I finished my bouquets off with a tag in which I wrote two rosemary and mint recipe ideas…Rosemary and Mint Tea, and a Mint and Rosemary Sauce.

Cheers! -L
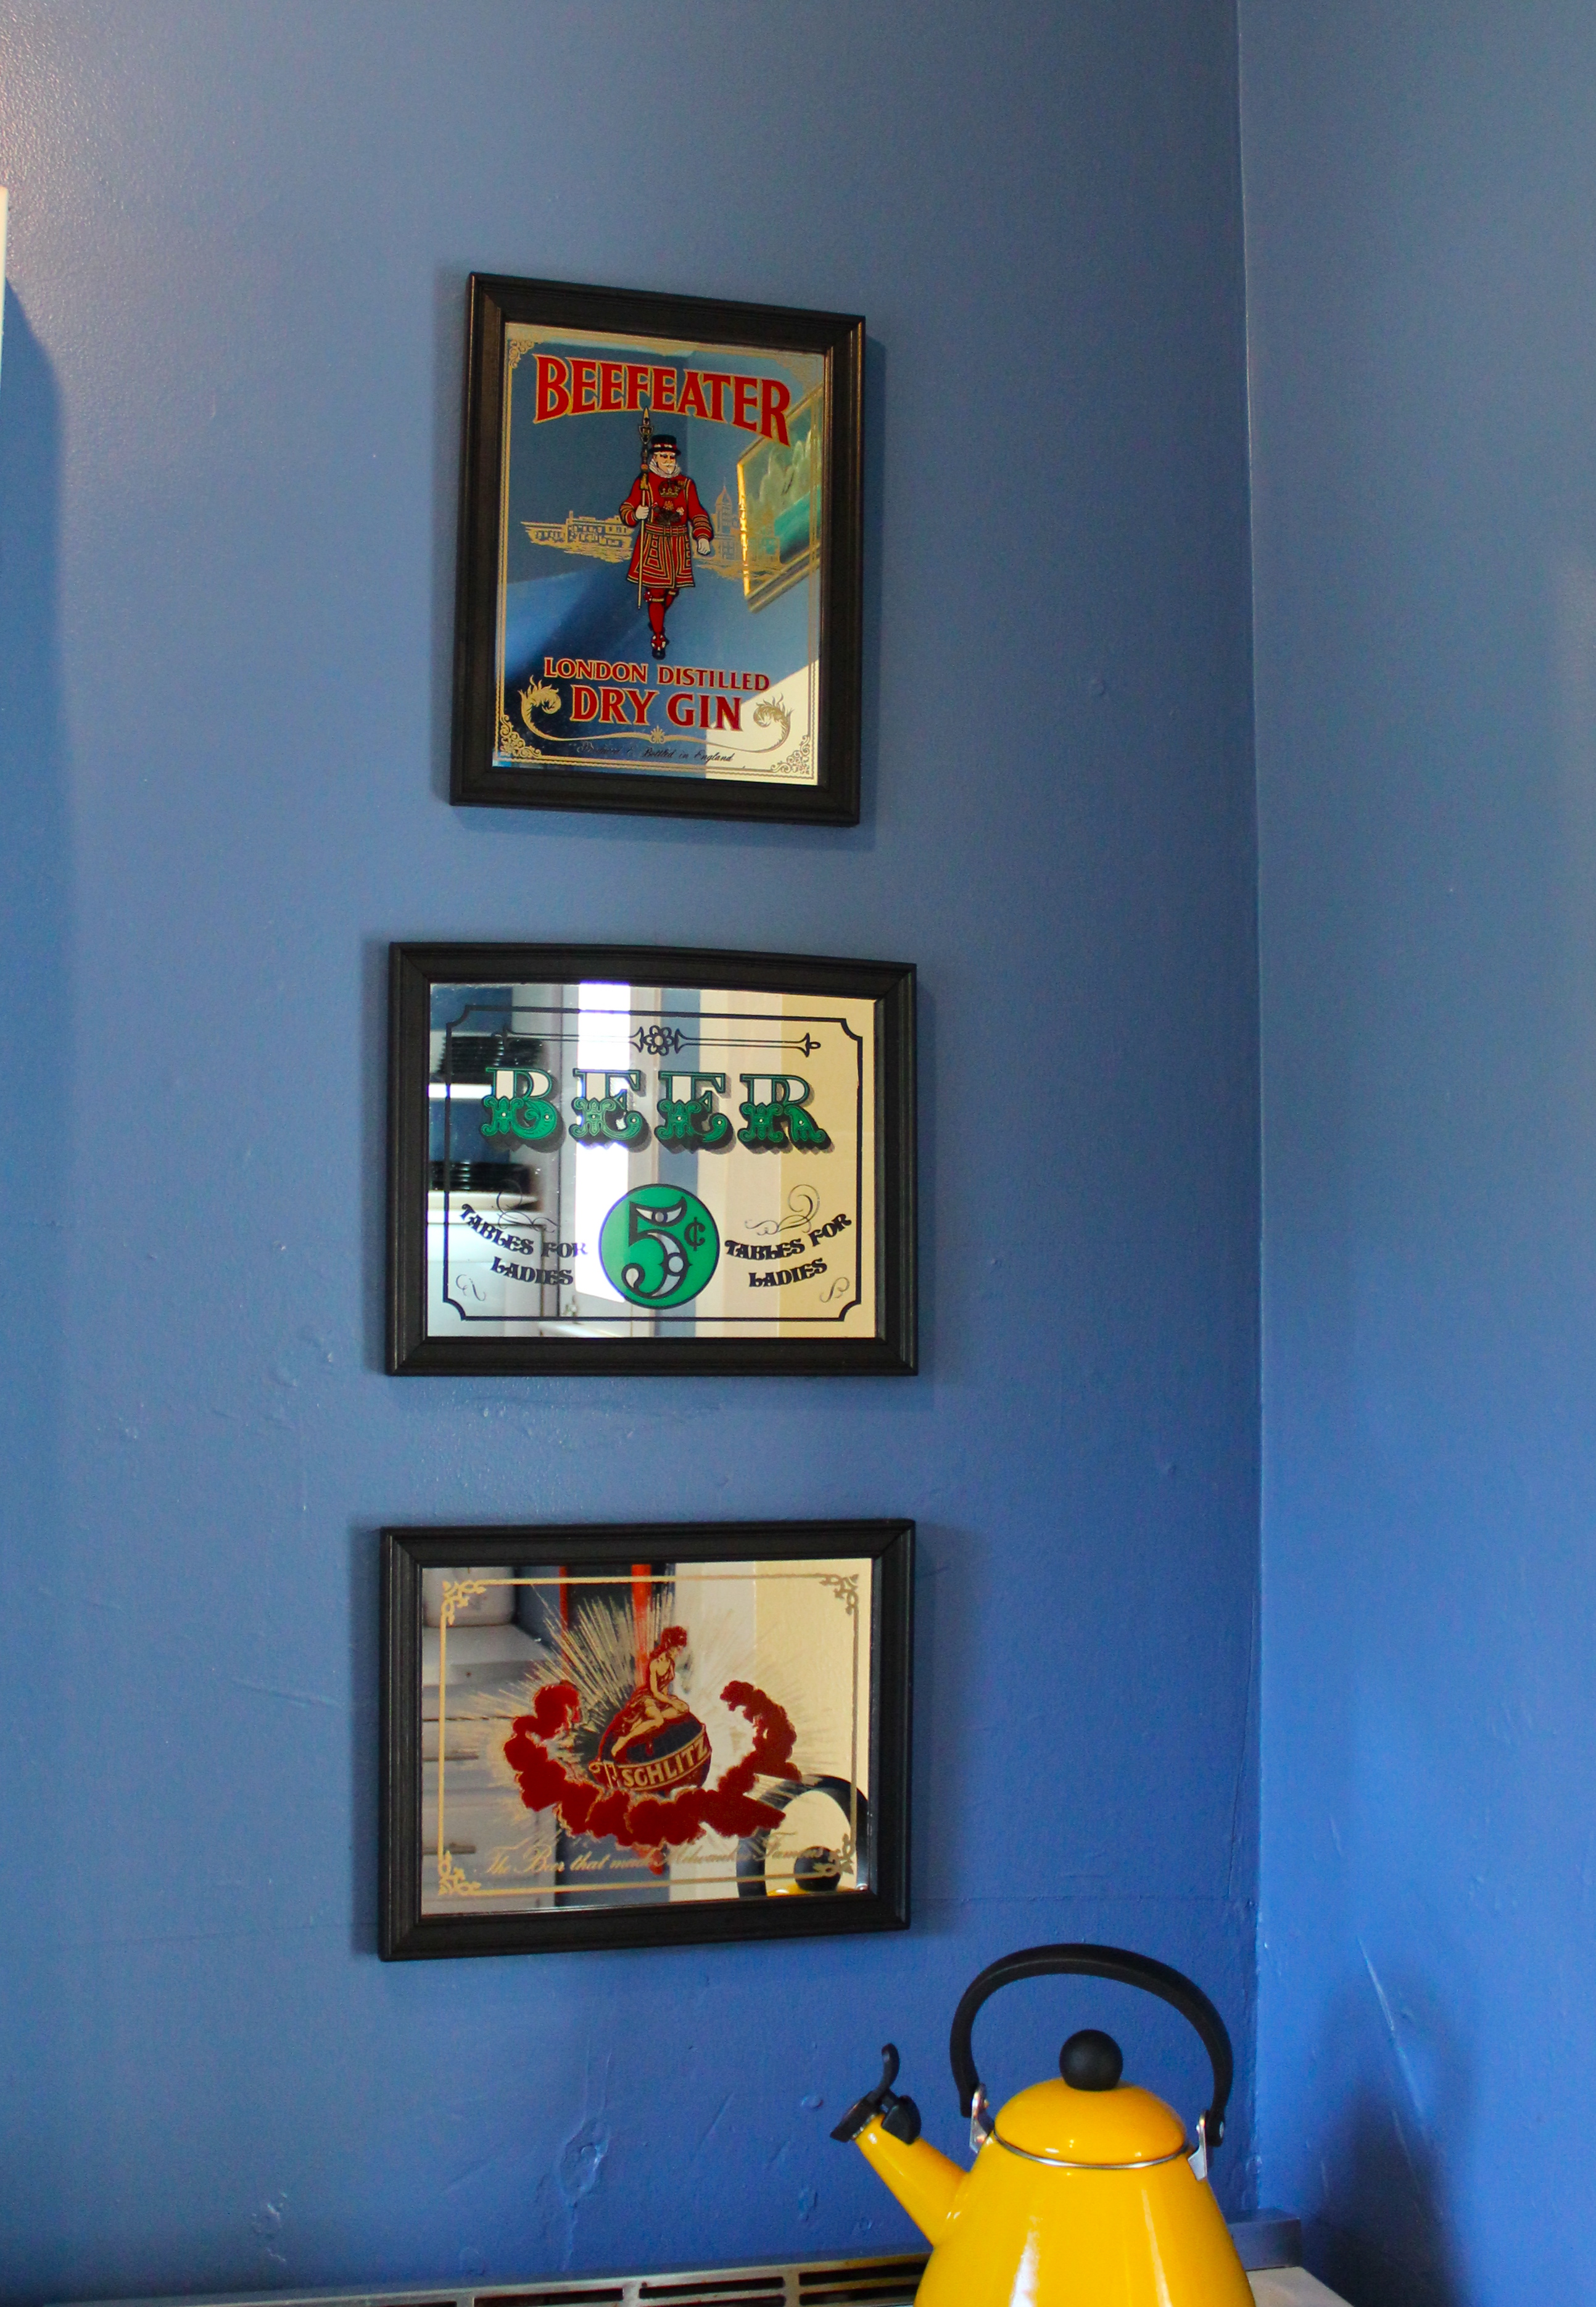
Beer Mirrors
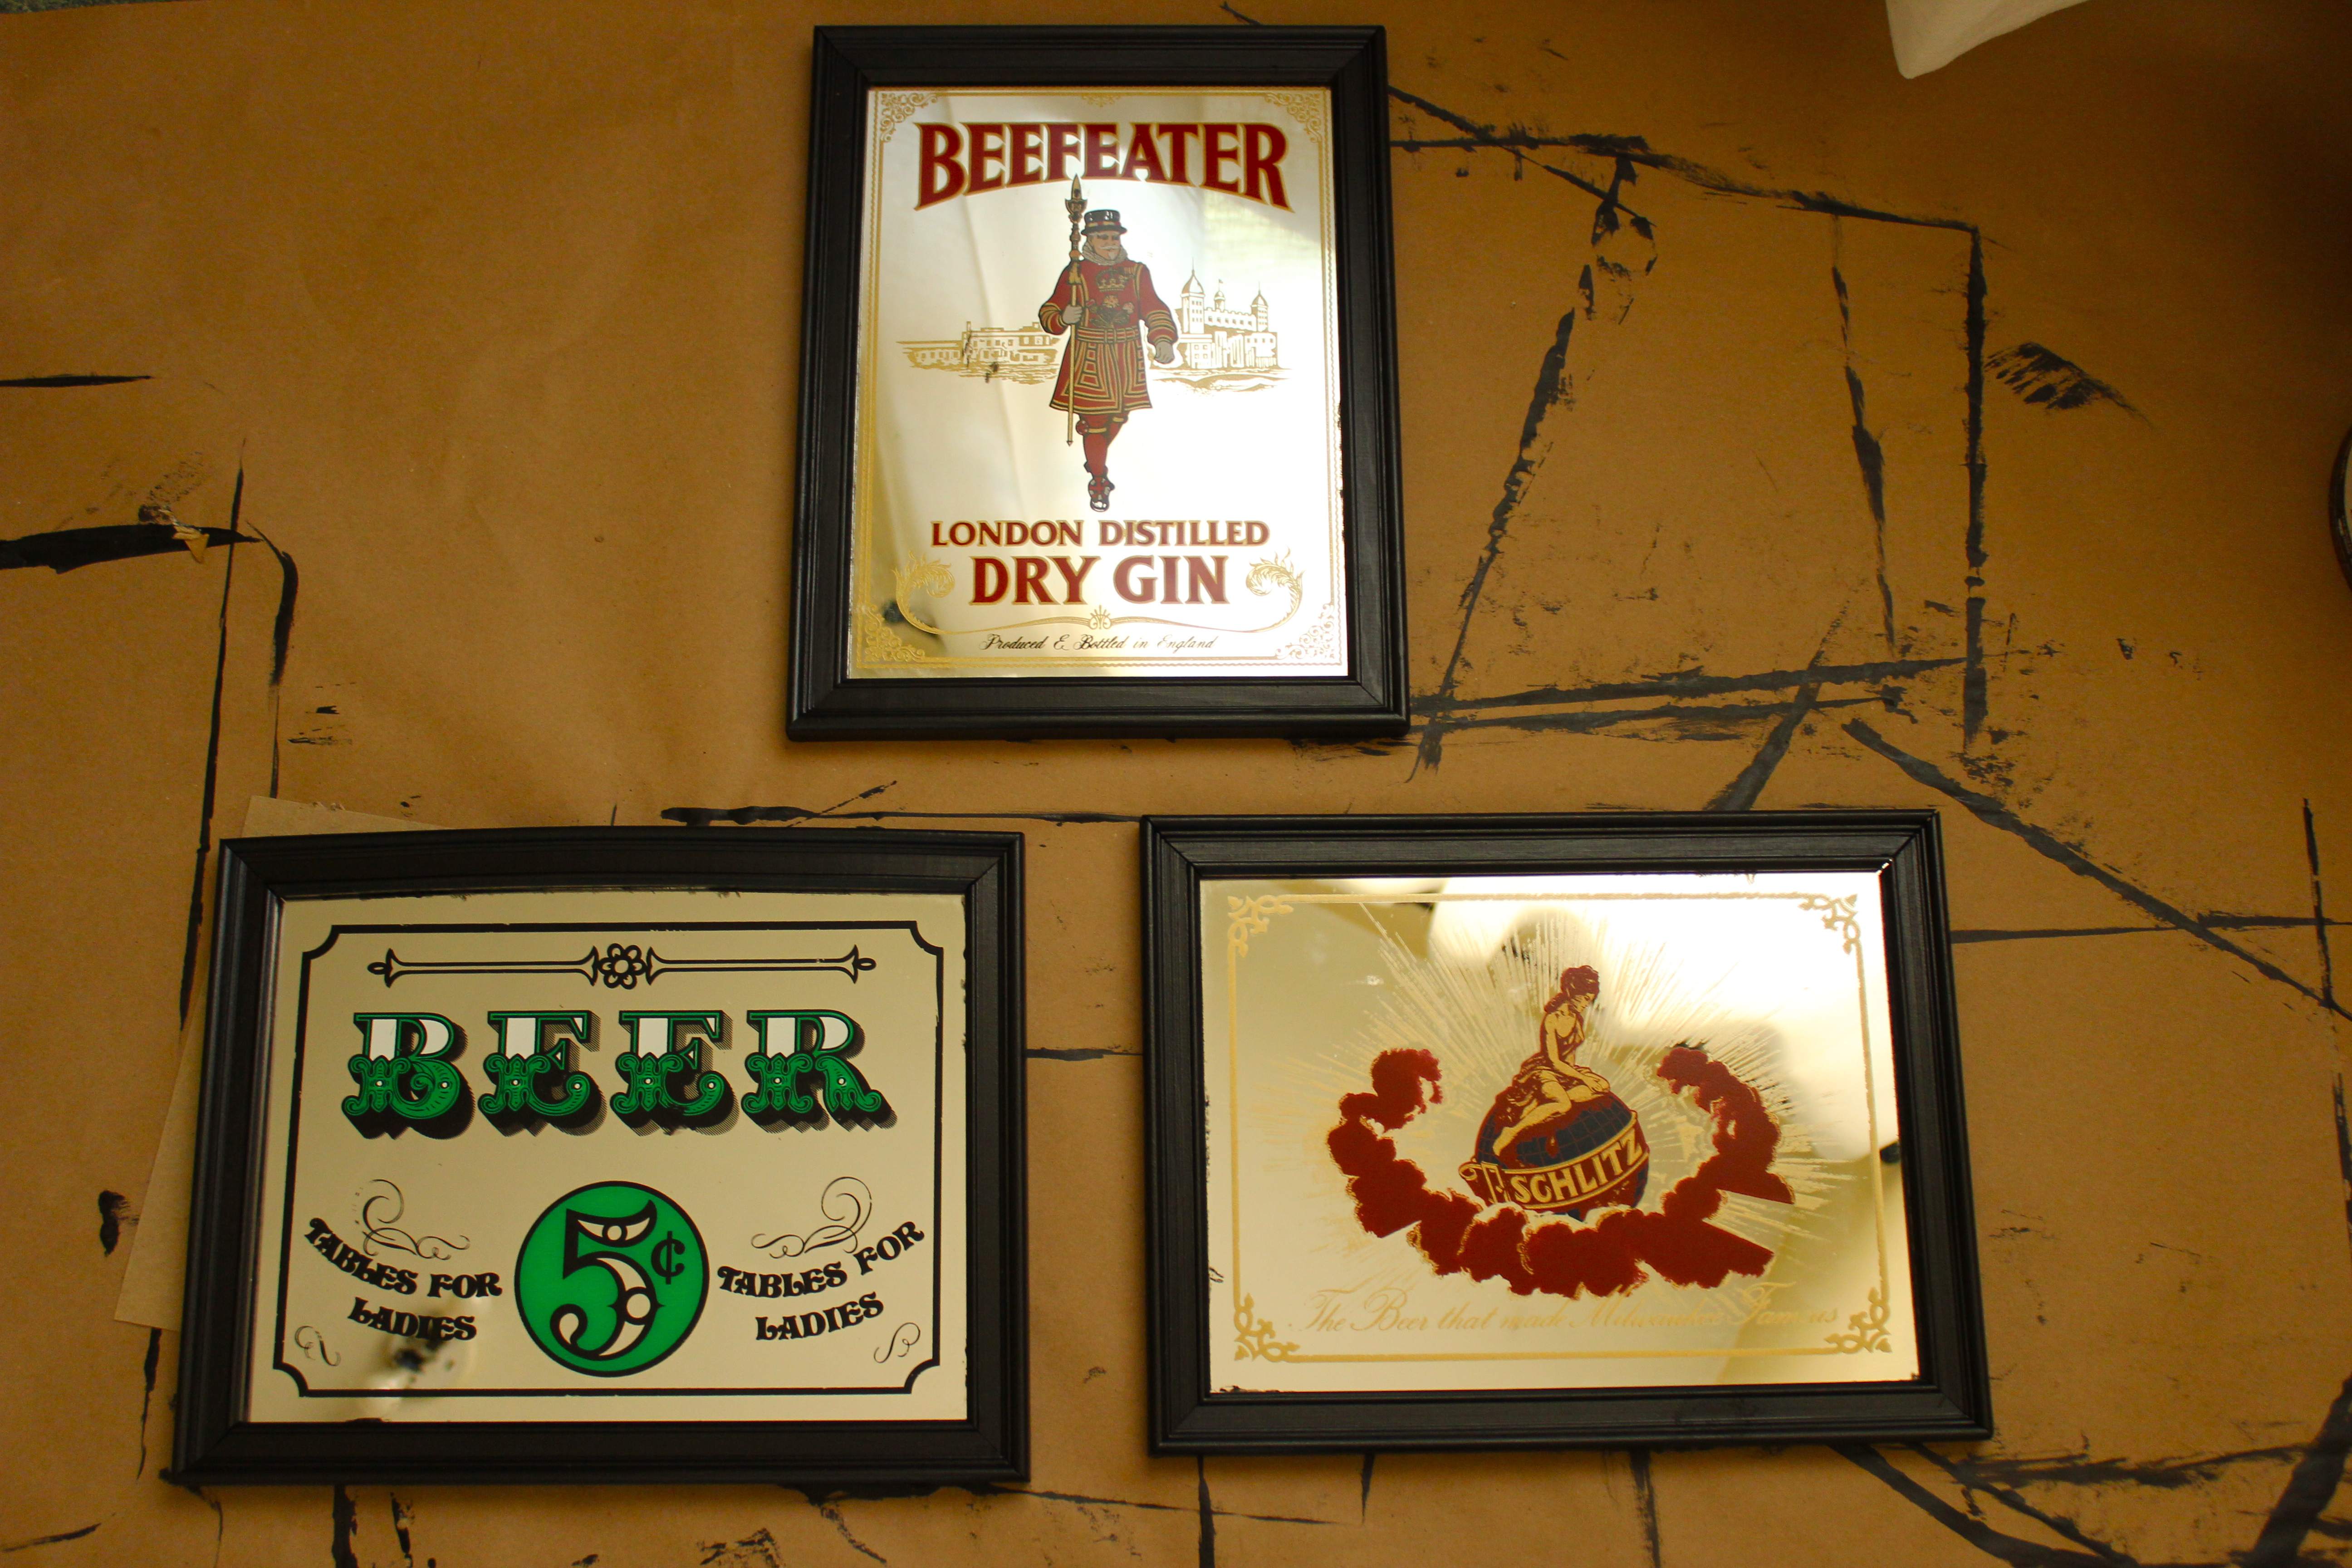
Recently, our kitchen went through a much-needed, massive facelift. It felt so good to redo, repaint, and visually enlarge the space. Part of the challenge was to find mutually likable decor with an androgynous feel. At the swap meet I found old mirrors inlaid with beer and alcohol brands and designs. These were fitting for a kitchen, where food and drinks are prepared, so I purchased three at a hot price of $5 total and was on my way. I didn’t like the old wood frame look, however, so started manipulating them right away upon arriving home.
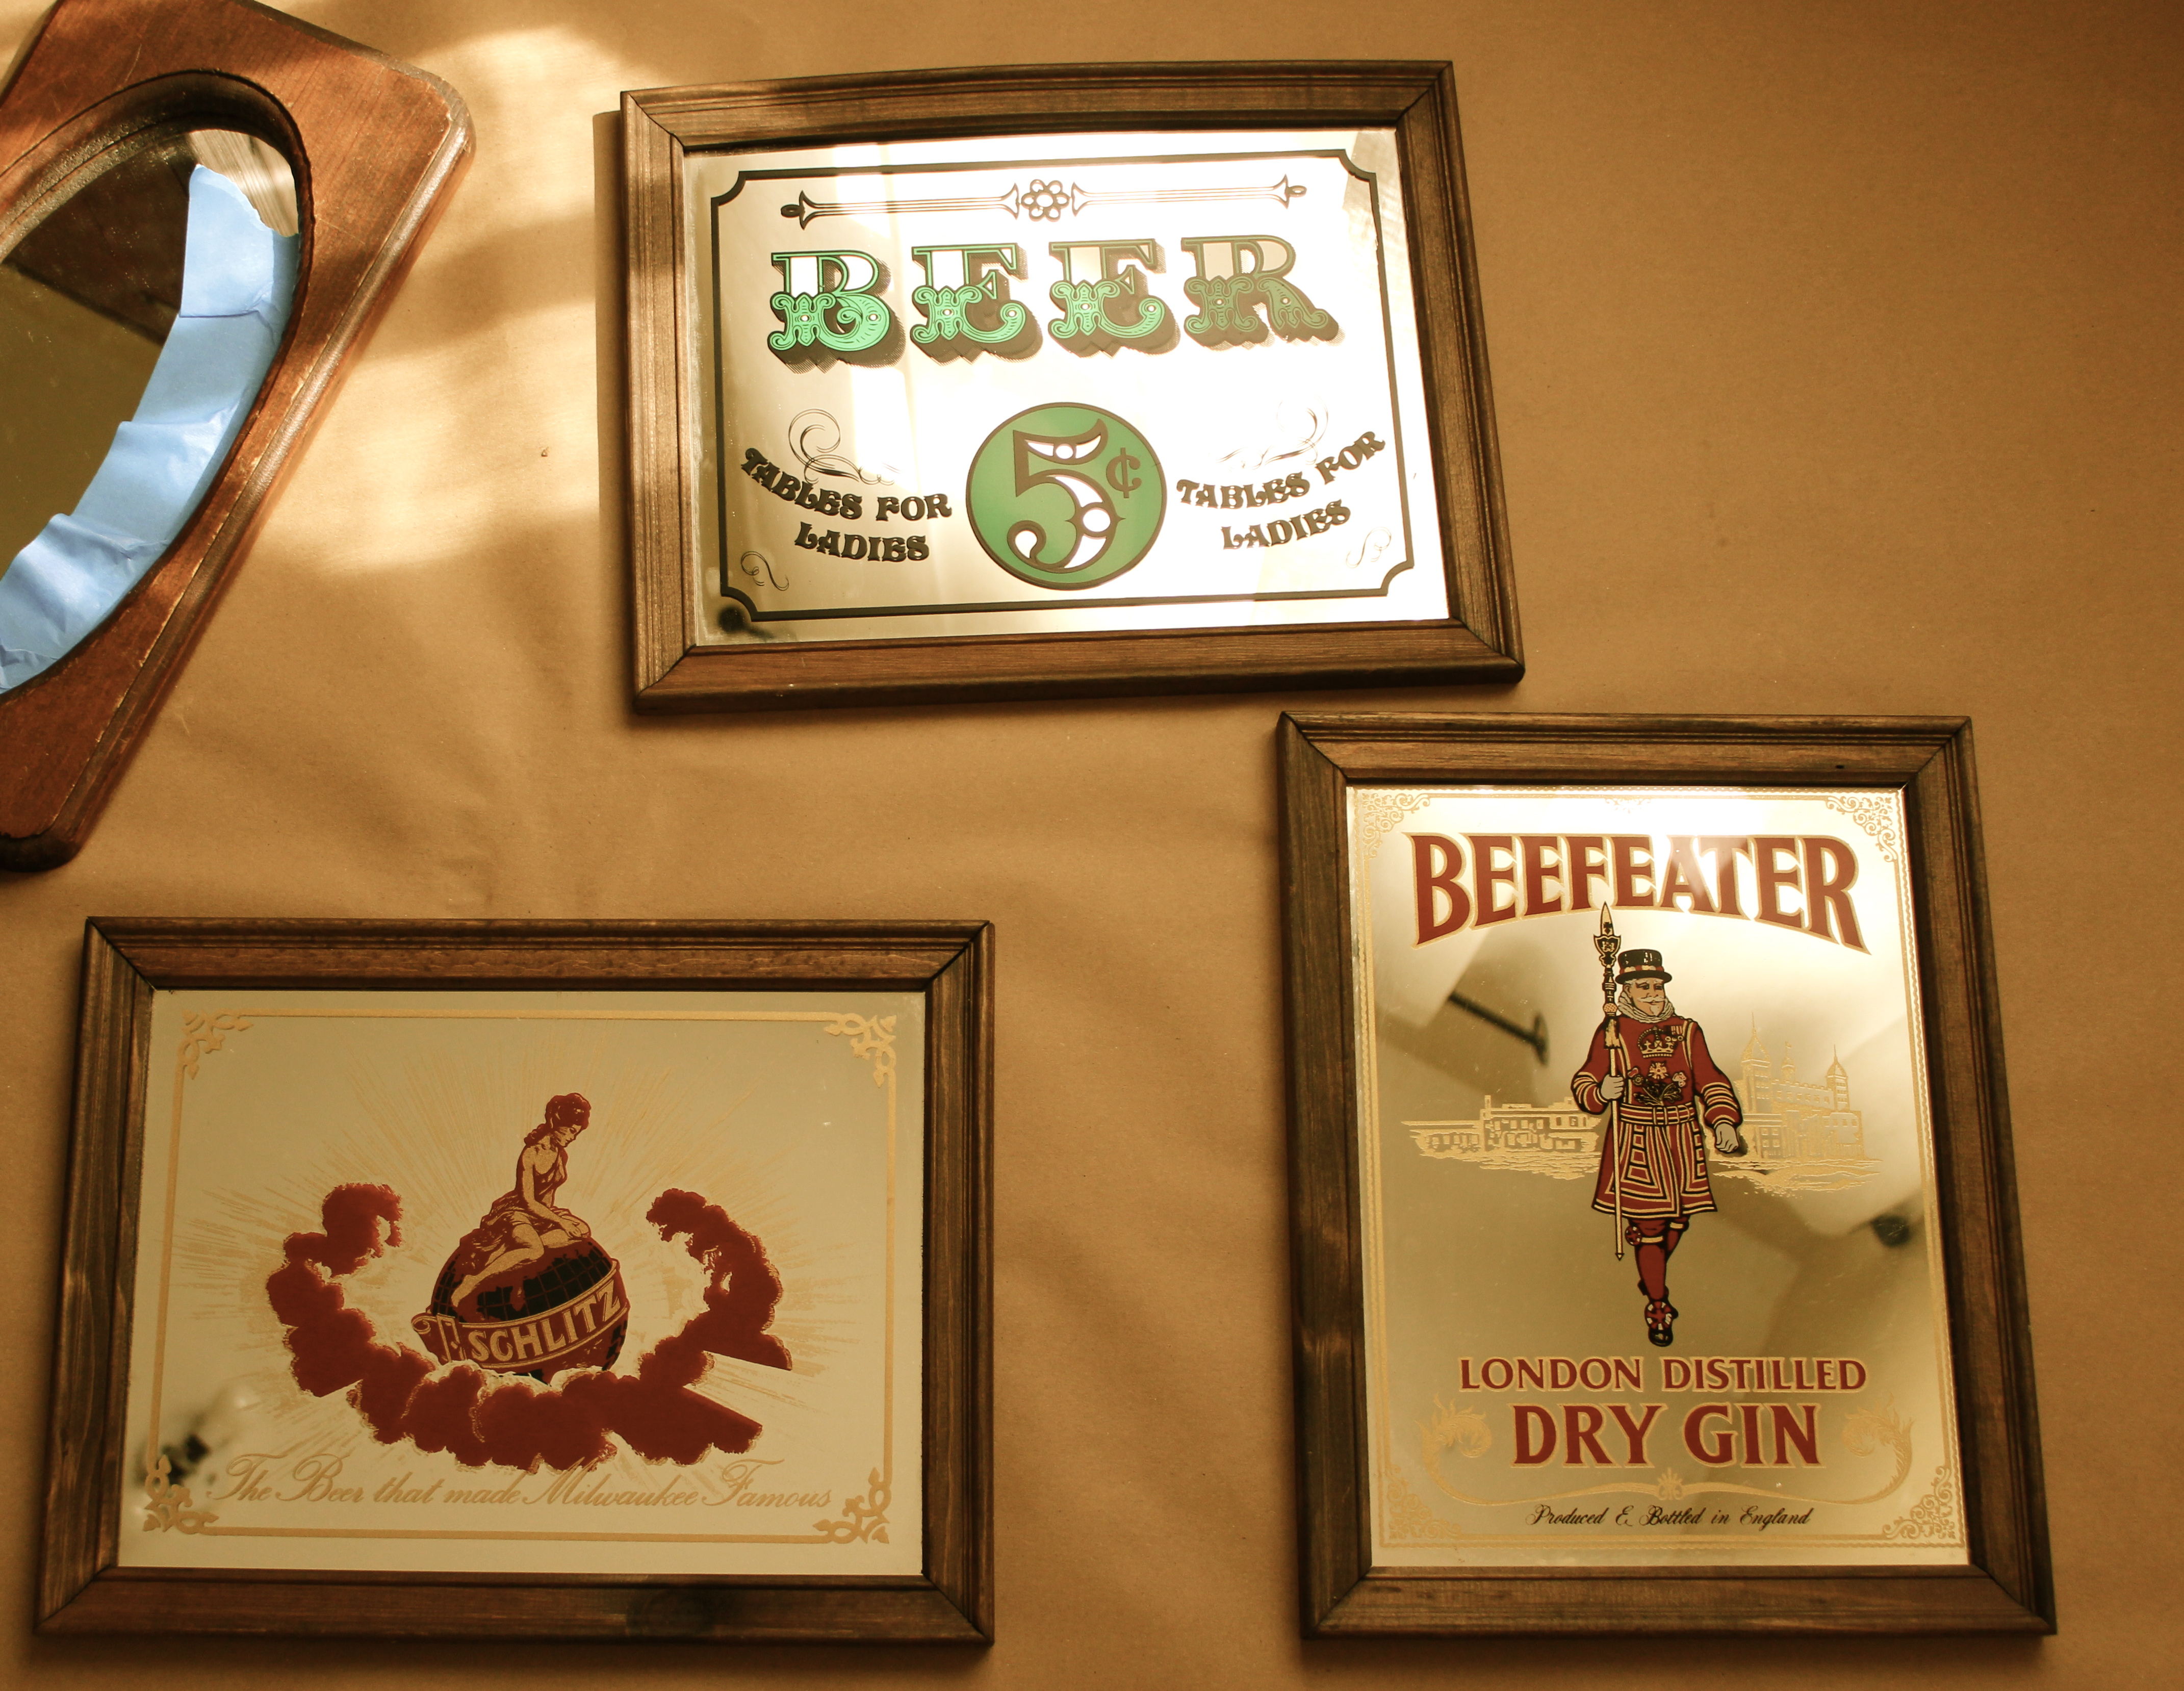
Changing up something as simple as a frame color, is very easy, and all you’ll need is three things.
– Blue Painters Tape
– A spray paint in whatever color you desire
– A drop cloth or surface in which you can spray paint
Spray a couple of coats, holding the spray can about 7-9 inches away to prevent drips and an uneven appearance. Take the tape off about 3-5 minutes after your last coat, so the paint doesn’t fully dry and peel off when you remove the tape.


Cheers! -L
