 When my good friends found out they were pregnant, I was ecstatic for them. Knowing this journey would be so special and meaningful, I wanted their baby shower gift to be special as well. Of course, buying baby clothes is pretty much a favorite of everyones as the clothes are ridiculously cute and while I have bought their little one clothes since, I yearned to do something meaningful and long-lasting. I came up with this idea for the nursery. While they knew the sex, but not the name, I decided to make a little art piece with their last name’s initial (as that was a sure thing). The process was easy, affordable and I was very pleased with the result. Read on for the how-to…
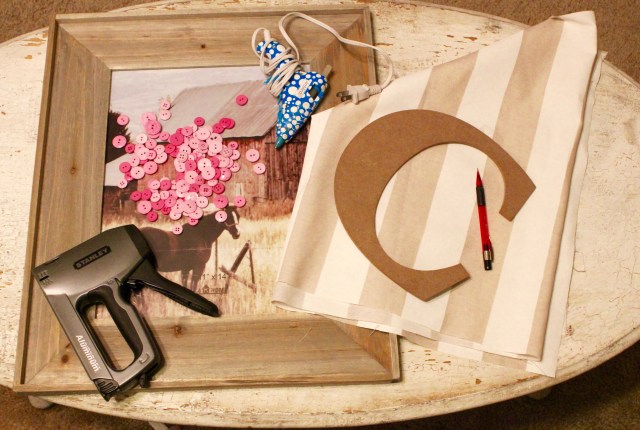


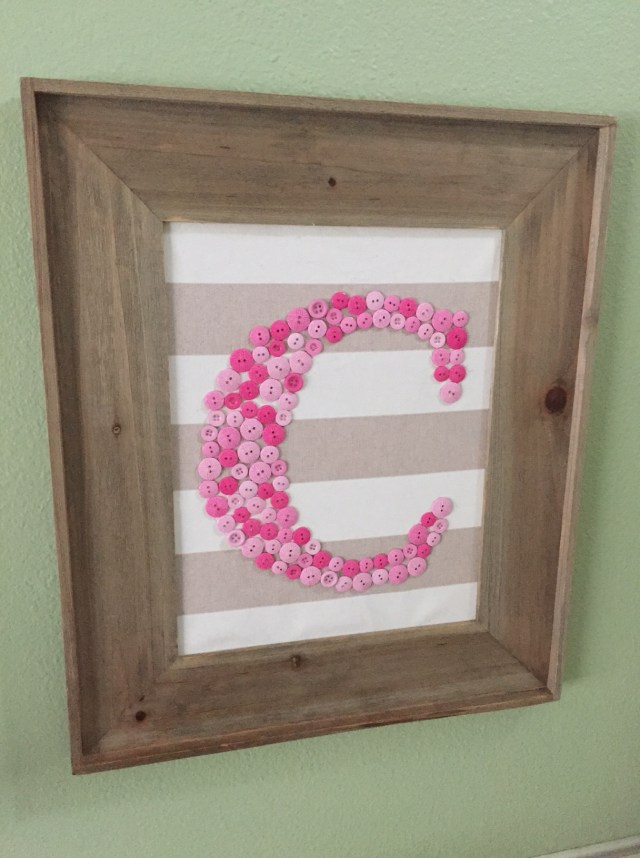
{in their nursery – I like the contrast of the green and pink}
Steps:
1.) Gather your supplies – a frame of your choosing (Michaels, or Beverlys have nice affordable frame options), buttons of your color/style choice, fabric for the backing (nothing too thick), a wood letter (again, Michaels or other art store), hot glue gun, scissors, pencil, staple gun.
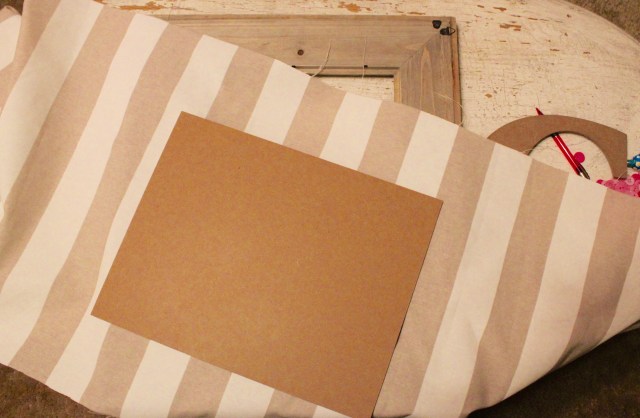
2.) I cut a yard of my fabric at the art store, knowing I would have some leftover. Measure the backboard of the frame against the fabric. I cut a healthy three inches around the perimeter of the back board, just to be safe.
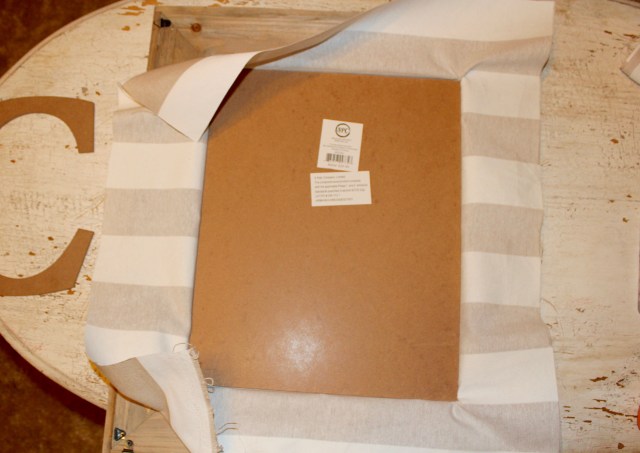
3.) With the fabric on the outside, place the glass AND the backboard back into the frame. The fabric will be available for touch on the front of the frame, in other words – there will be no glass over it, the glass is placed inside for extra support.
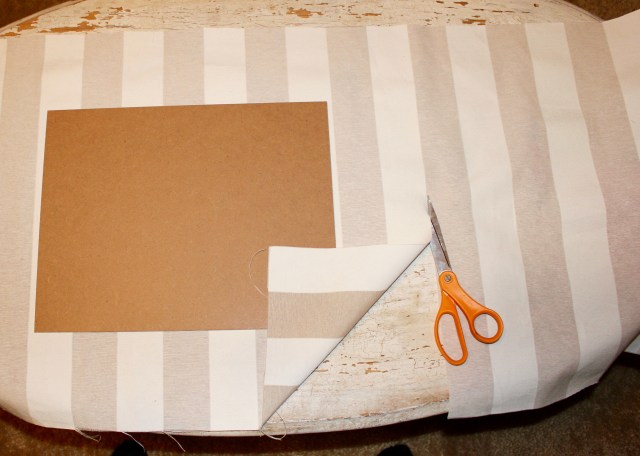
4.) Staple the fabric onto the back of the frame and cut off excess fabric.
4.5.) You’re going to have to use the scissors to make tiny cuts in the fabric in order for the frame ‘notches’ to come through and secure the frame backing and fabric. You can see this in the photo where I’m cutting the excess fabric.
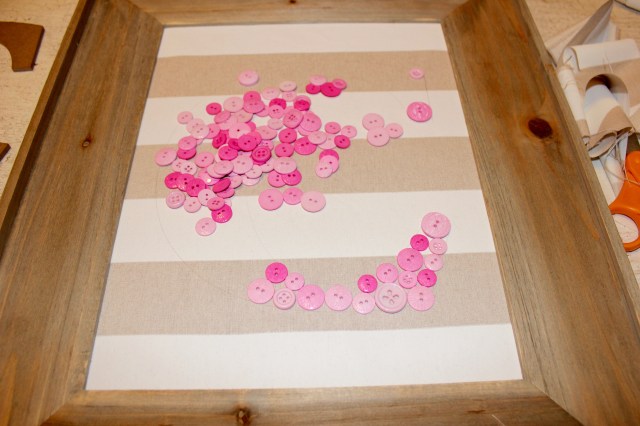
5.) Center your letter in the frame and LIGHTLY trace the outside of the letter with a pencil.
6.) When you have your letter traced, place your buttons within the letter outline. You could just start gluing them in here, but I found that it was better to lay it all out before I made it permanent with glue.
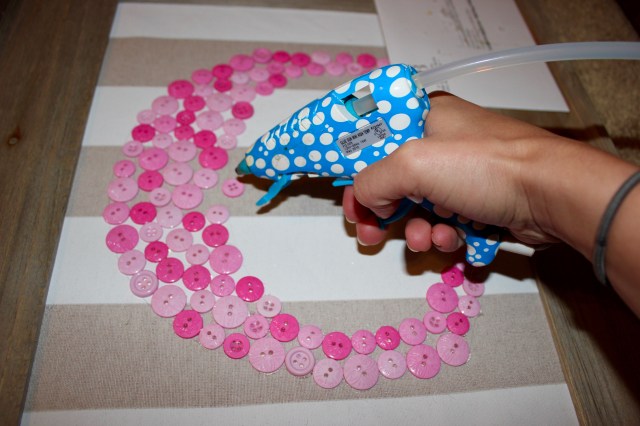
7.) Once you have the letter filled in the way you like, start gluing away! This was the most tedious part of the process, as you can imagine, but just play some music, drink some wine and have fun with it!
8.) After you glue your buttons, let them dry and check for any visible pencil lines. Erase with a good, WHITE, eraser. And then, voila! you have a homemade art piece for you or a friend!
Hope you are able to enjoy this project one day. With the rain forecasted for this weekend, I’m looking forward to a good craft project myself this weekend!
Cheers! -L.

Lovely!
Thank you, @thecraftymummyblog!
Such a lovely idea! and I love how you combined colours! By the way I love the wall colour on yout last pic. could I get some info about that?
Hi Connie! Thank you for your comment. I like it too – it’s in my friends’ nursery, so let me see what I can find out for you. 😀