
Happy Friday before Christmas! With the last weekend of shopping fast approaching, the stores, malls, and streets will be jam-packed with people. If you want to avoid lines and save money (!) – here is a fun, super cute DIY project that I think is perfect for Christmas presents. I love making gifts for Christmas – especially for friends as they’re personal, thoughtful and fun to give and receive. ((See another idea here)) This project incorporates a handful of steps which take time, mainly for drying reasons, so put on a Christmas movie, drink a hot toddy and you’ll have yourself a grand ole’ time!
 What You’ll Need:
glass cased candles, ideally plain or easy removable labels (I found mine at Ross – $5.99) / chalkboard paint / mod podge / paintbrush / sponge brush / painters tape / old book pages or sheet music / chalkboard pen
So, I’ll warn you before you embark upon the How-To – – somehow I lost the 2nd half of the photos for this project. Sad day. But I think it will be ok and you’ll still be able to gather the essence of how to do it…if not, well, hmmmm… 🙂
How-To:

 – step 1 – above –
 – step 2 – above –
 -step 3 – above –

 – step 4 – above –


1.) Tape off a square/rectangle in the middle of the glass candle holder – mine was around 2 in x 3 in
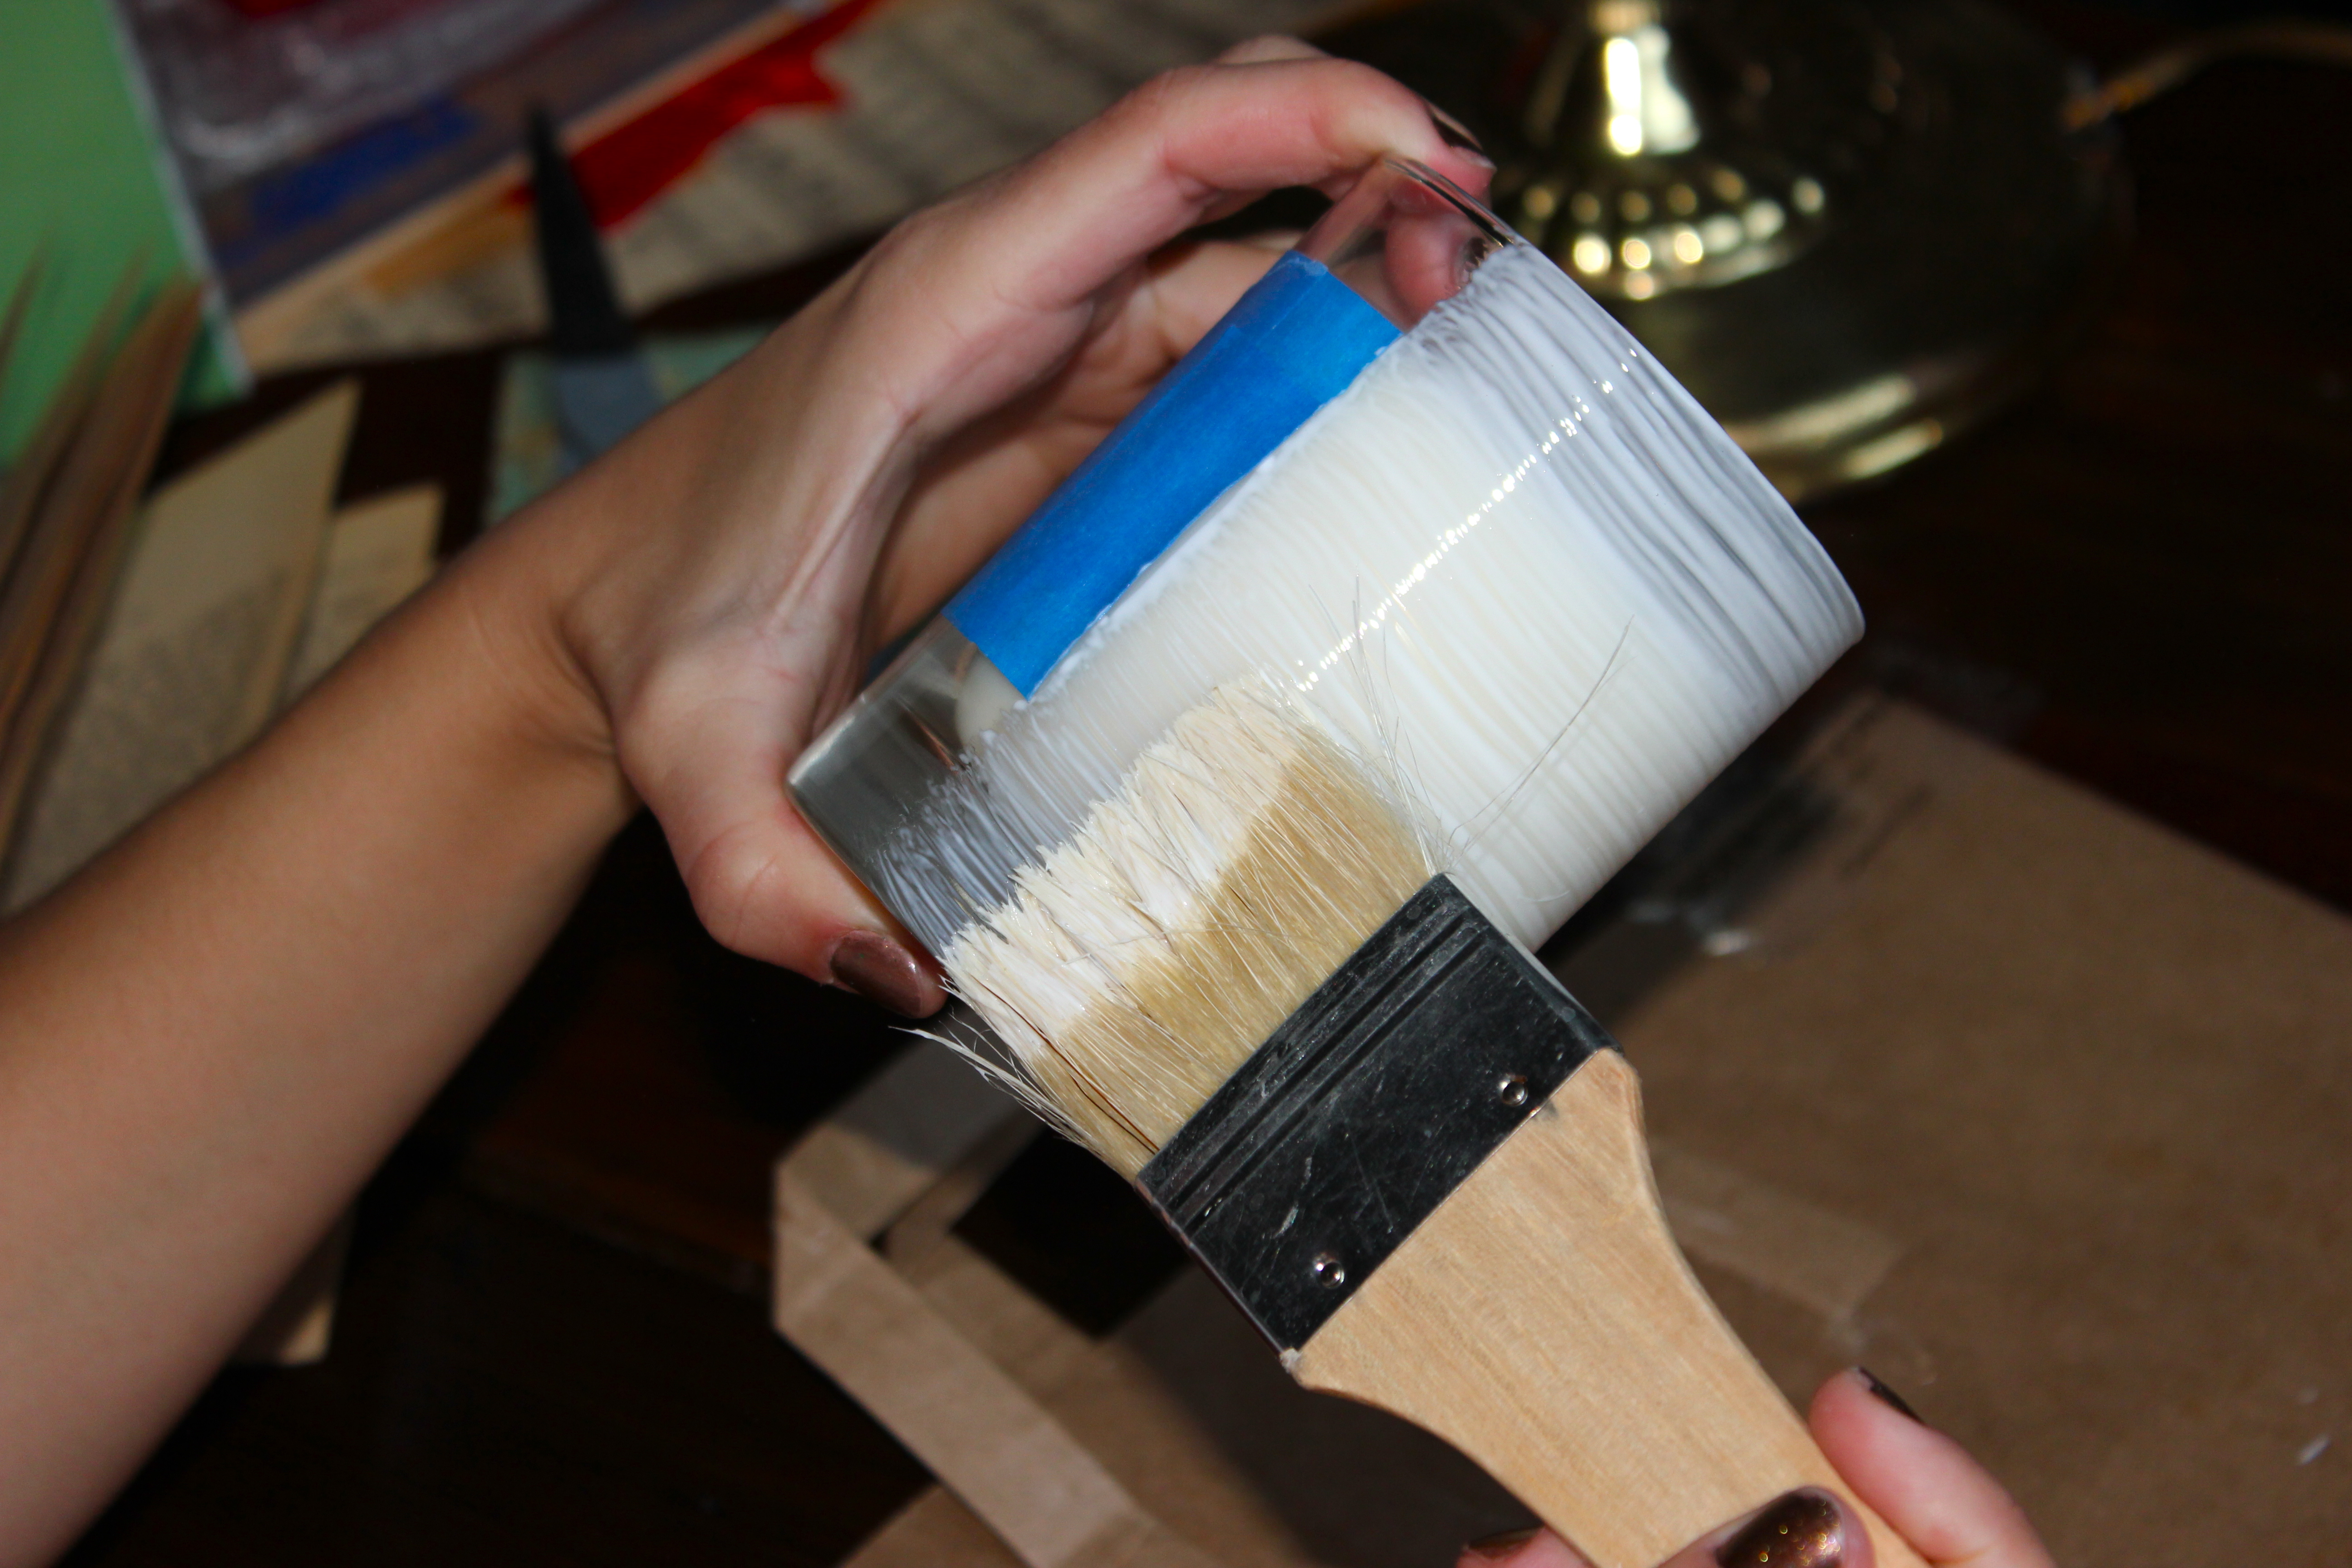
2.) Starting on one side of the painters tape, generously apply mod podge around the glass. Be semi-quick as you don’t want it to start drying before you place the pages – although that’s why you’ll use a generous amount.
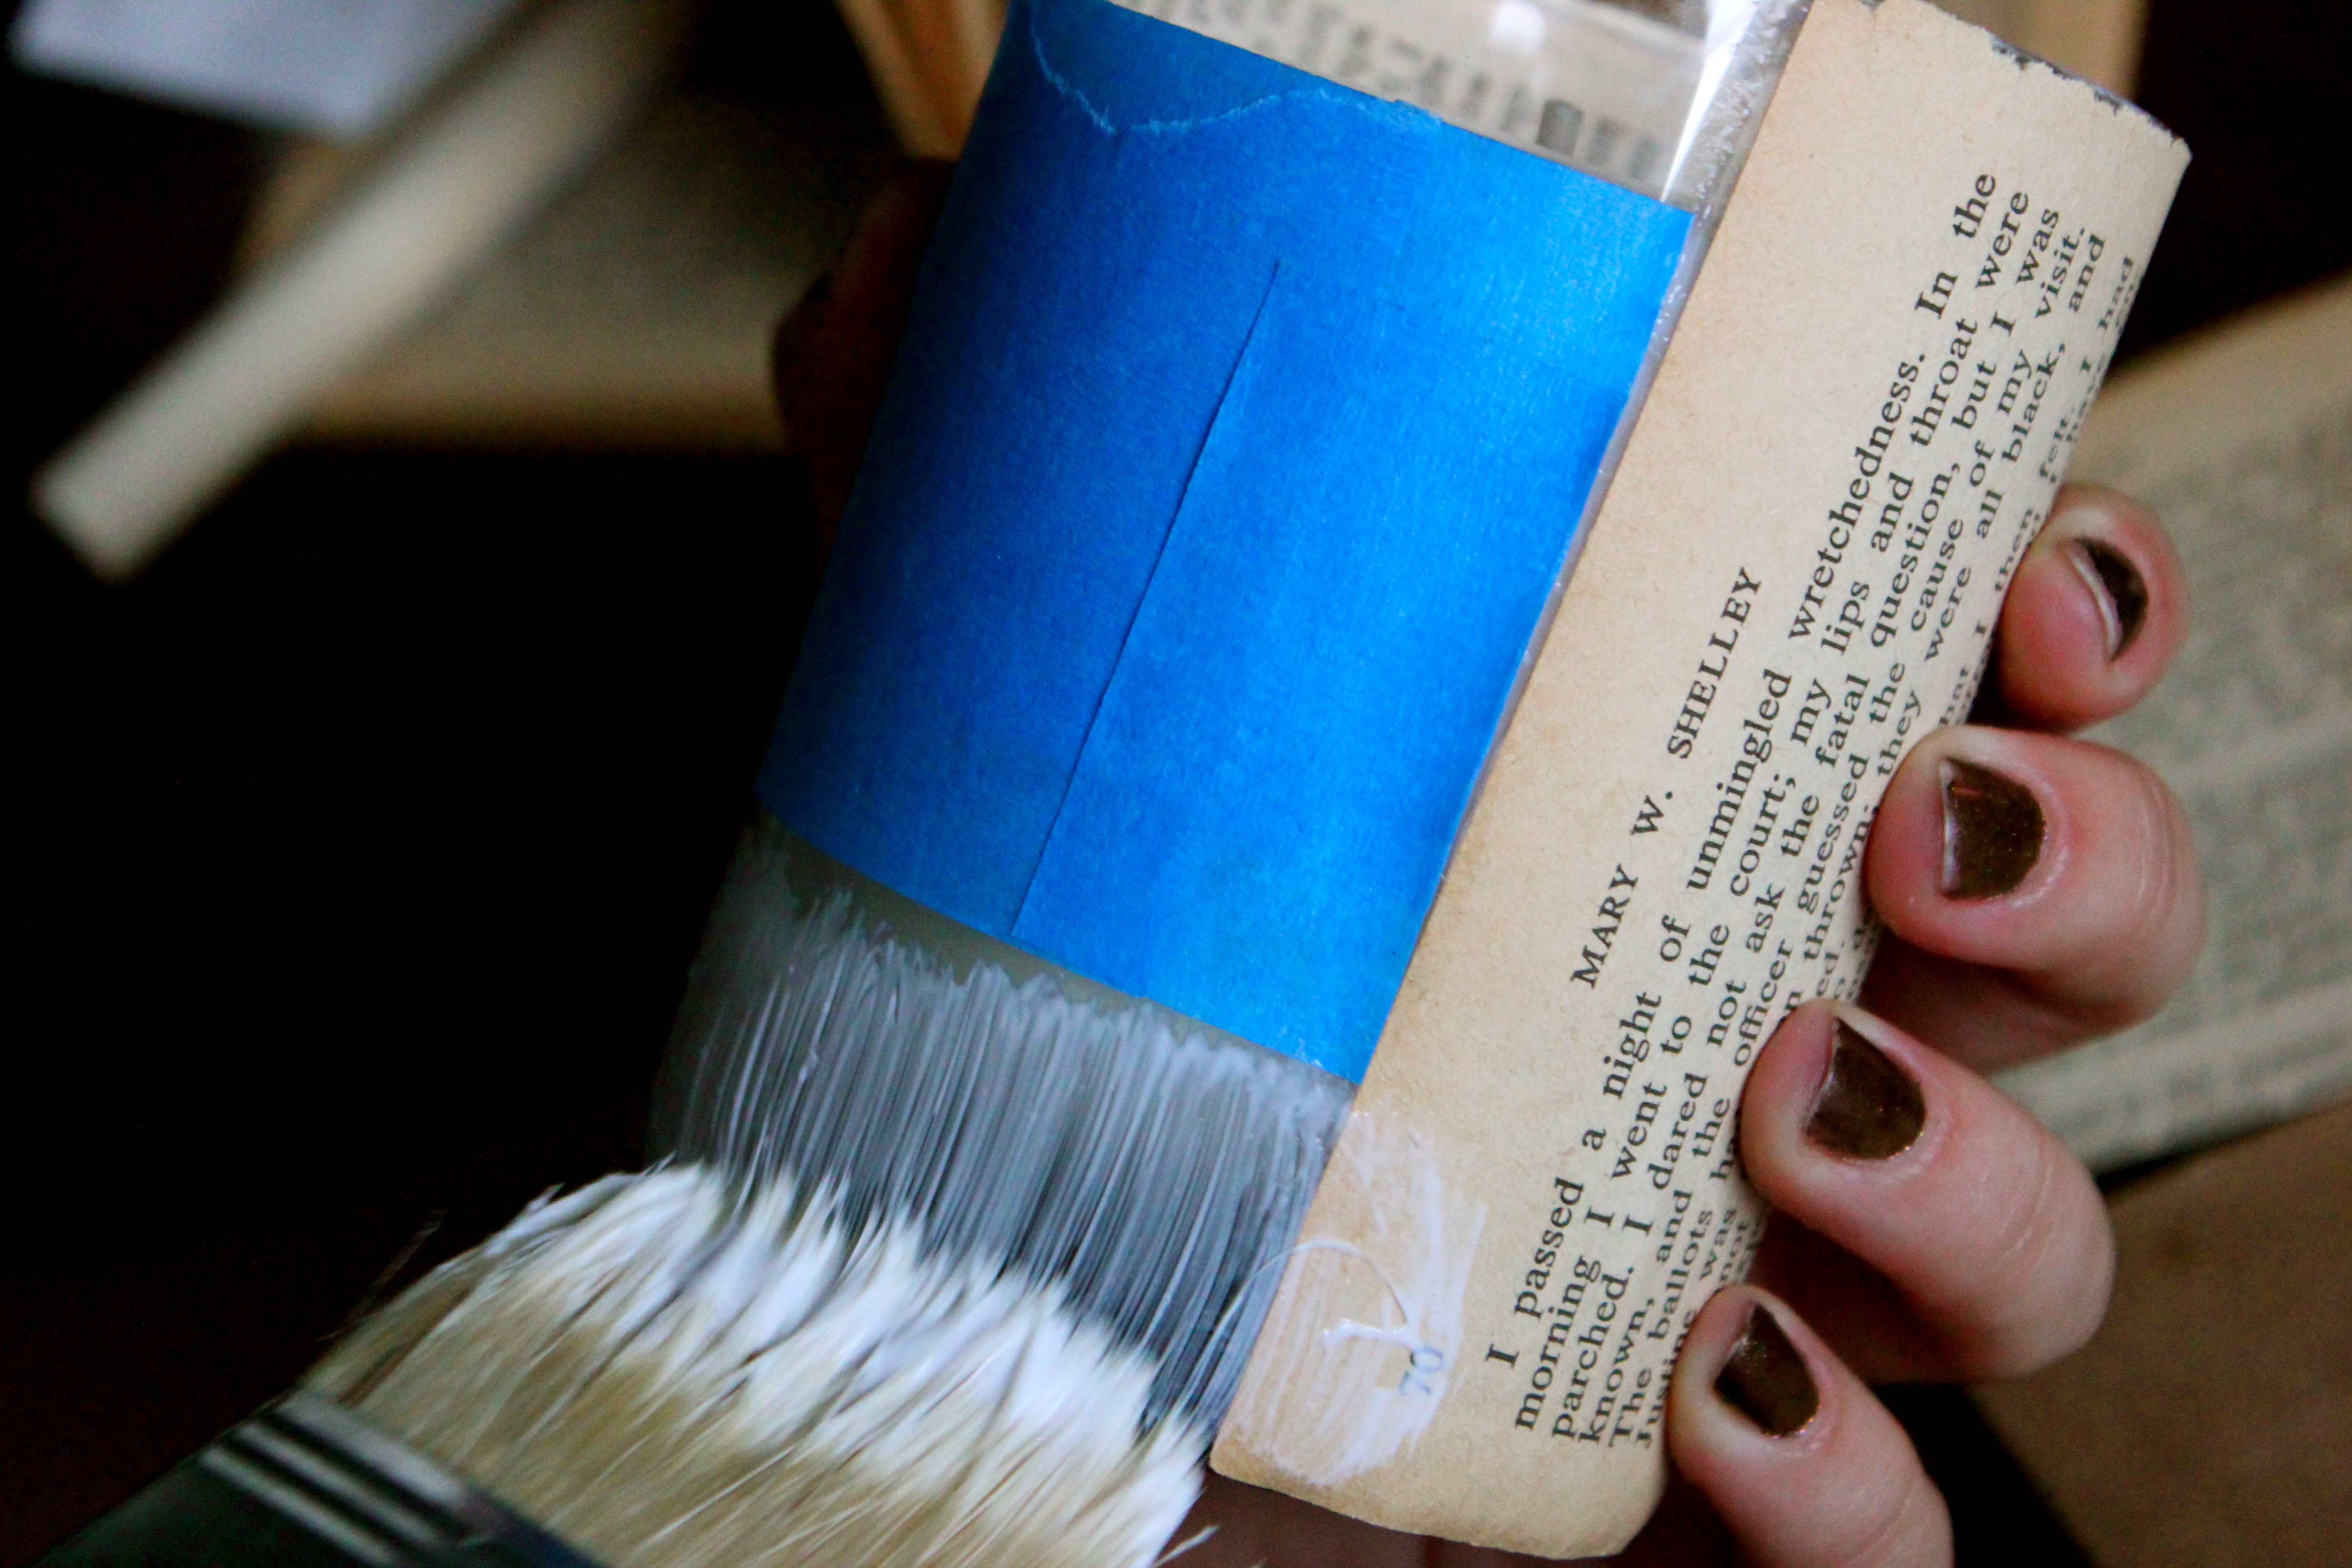
3.) I liked the look of torn pages, so after laying down the pages, I went back and tore off the edges of the corners around the ‘chalk’ corners.
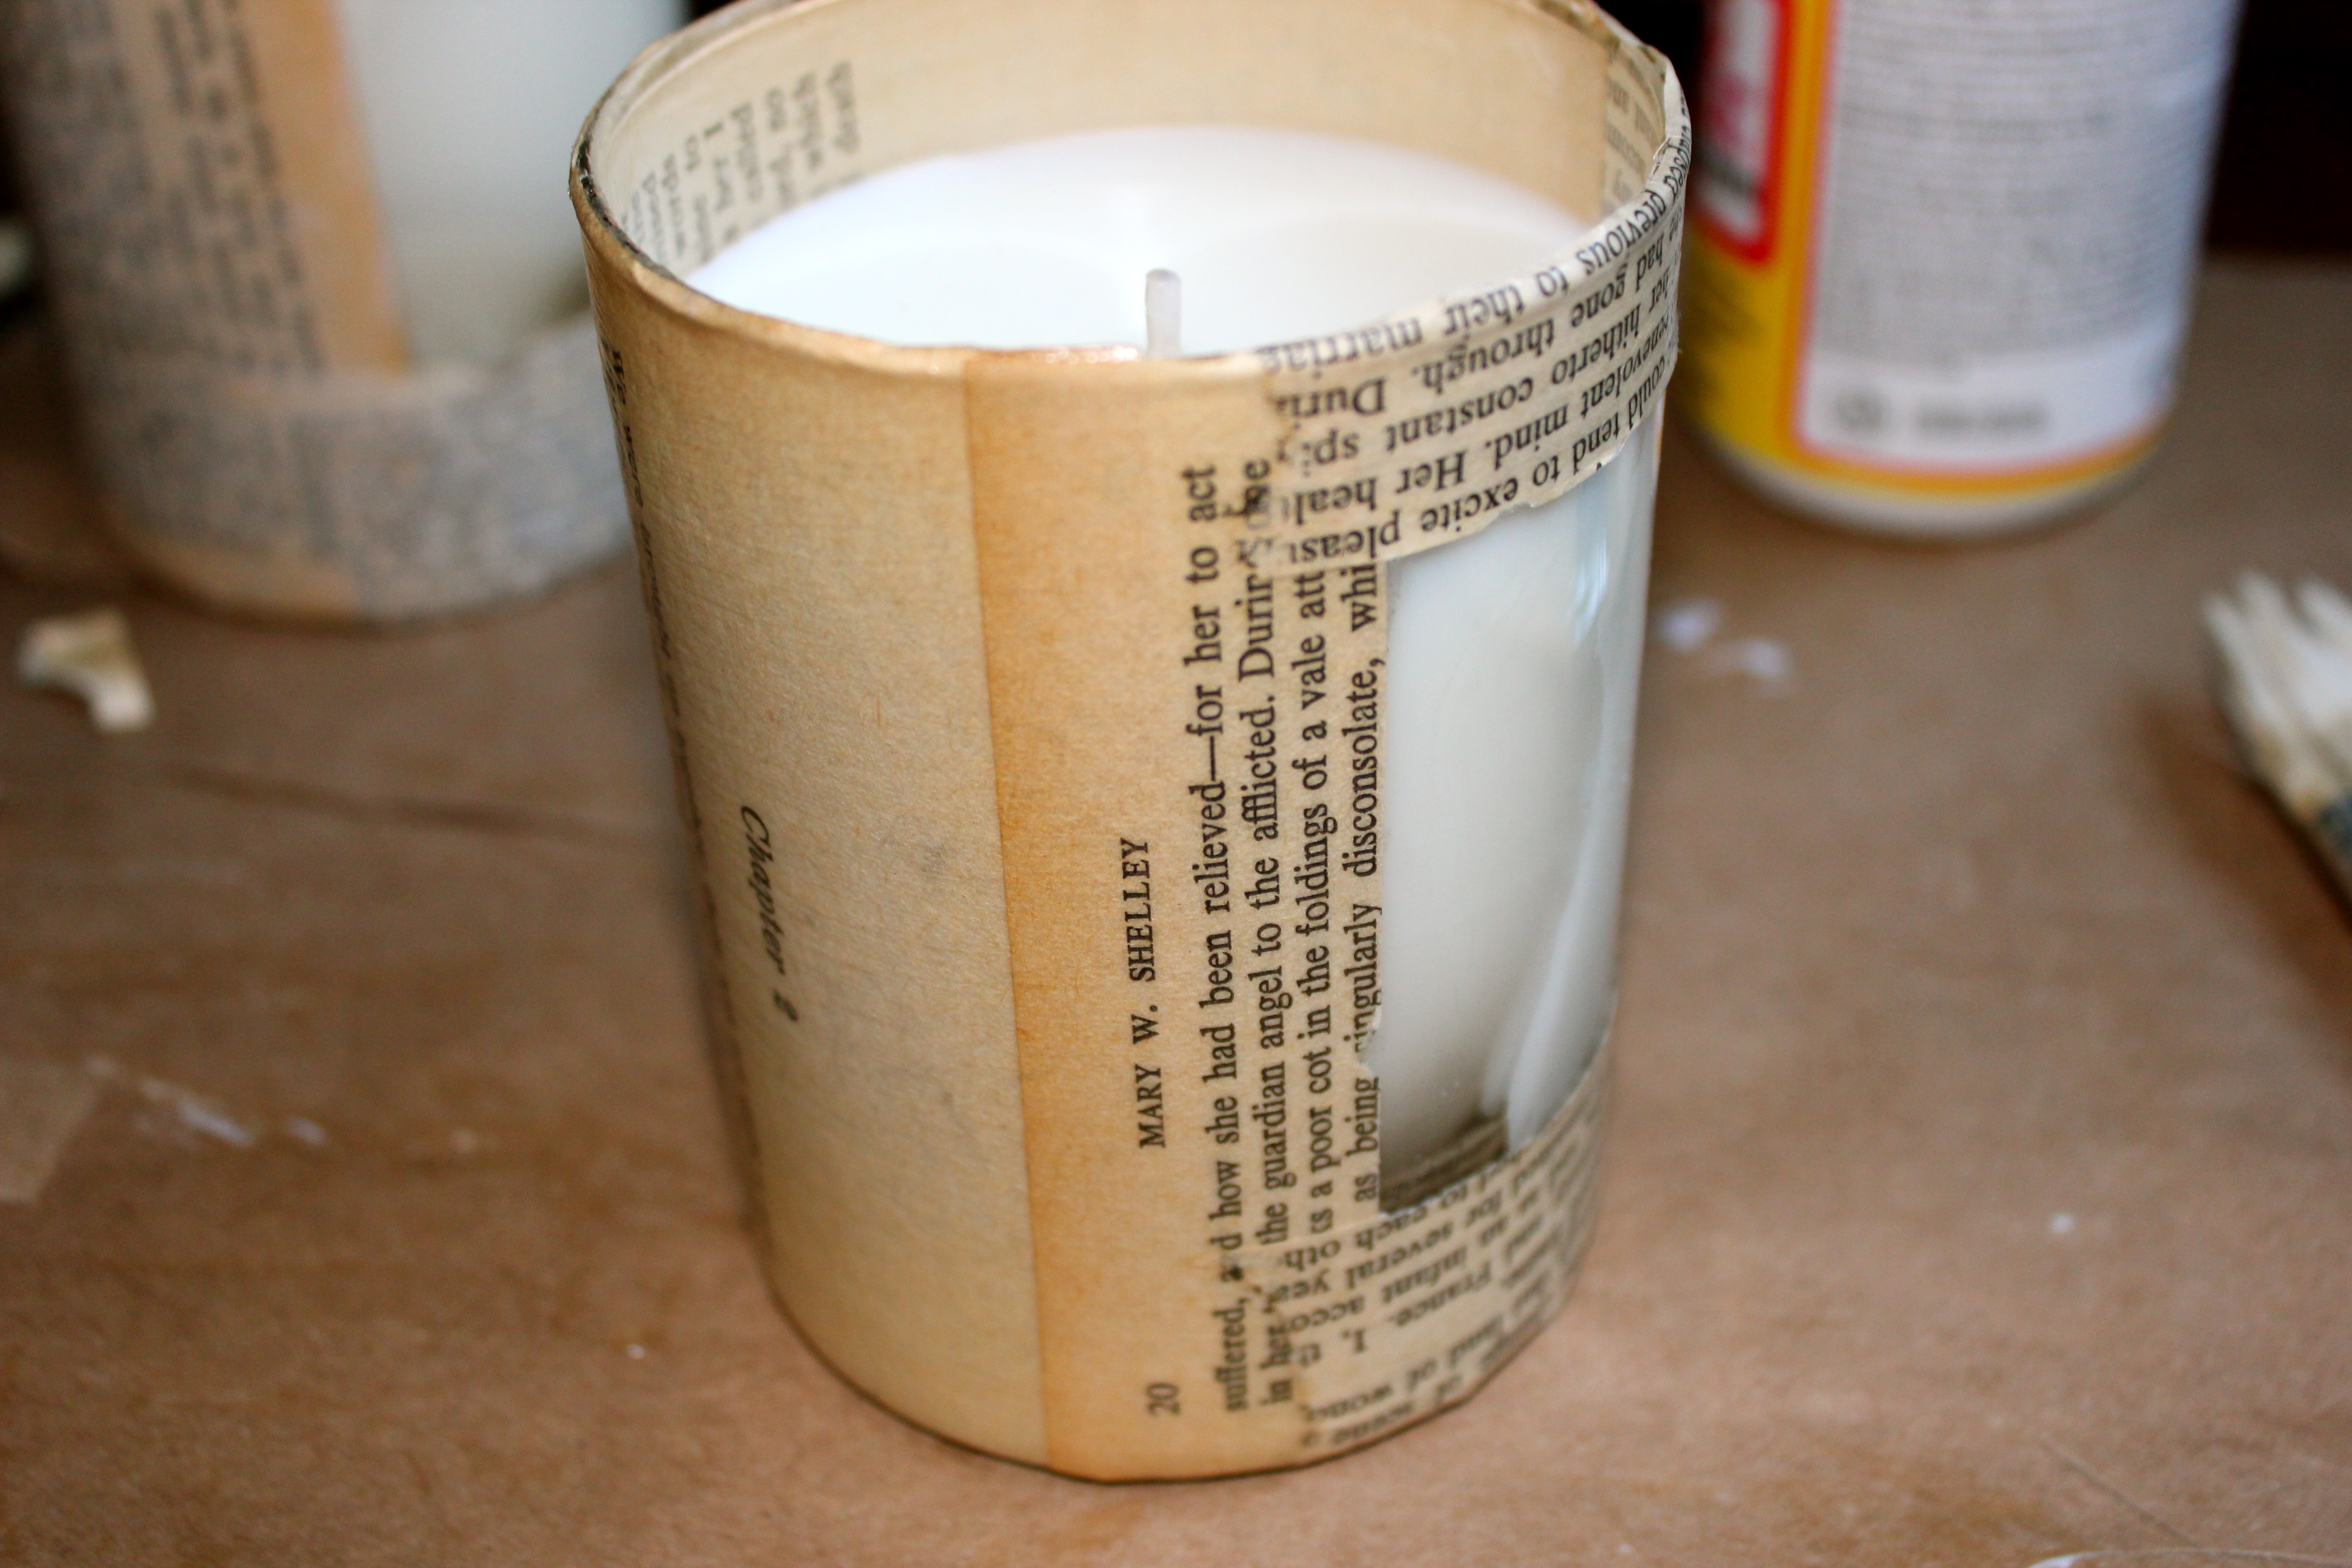
4.) After the pages are all laid how you want them – again, apply a generous amount of mod podge on top of the pages. This seals them to the glass along with creating a nice finished touch and look to the candle making it look more professional. Remove blue tape.
Ok and this is the part where the photos disappear – so quick verbiage tutorial:
5.) For the Chalkboard paint, tape off around the empty rectangle where you will be applying the chalkboard paint (only after the book pages are completely dry). Use the sponge brush to apply 3-4 layers of the chalkboard paint. There are directions on the containers of chalkboard paint, so be sure to follow.
6.) Remove the blue tape and when the chalk is completely dry, write your saying with your chalkboard pen and complete with red raffia tied in a bow!


With the candles, I gifted boxes of wooden matches as well that I just simply tied red raffia around to complete the look of the whole gift!
Hope you all have a wonderful Friday and really get to soak up the season this weekend!
Cheers,
L.

Pingback: Little Christmas Details | Bloom & Birch