
Everyone loves a good facelift to a much-needed room or area. I probably like them a little too much – my brain is always working on ‘what’s next’ when it comes to design and decor. I feel satisfied for a bit, and then it’s time to make more changes and improvements. I have already shared this same house’s Tiny Bathroom ReModel and now it’s time to share the kitchen…
This kitchen, let’s just say, needed A LOT of LOVE. I can’t describe to you how much – although the pictures may speak for themselves. Unfortunately, I got so excited once the process took off – that I wasn’t too good at documenting the process as best I should…I think the essence still comes across – let’s let the photos speak for themselves!
Before (big cabinet/shelf):
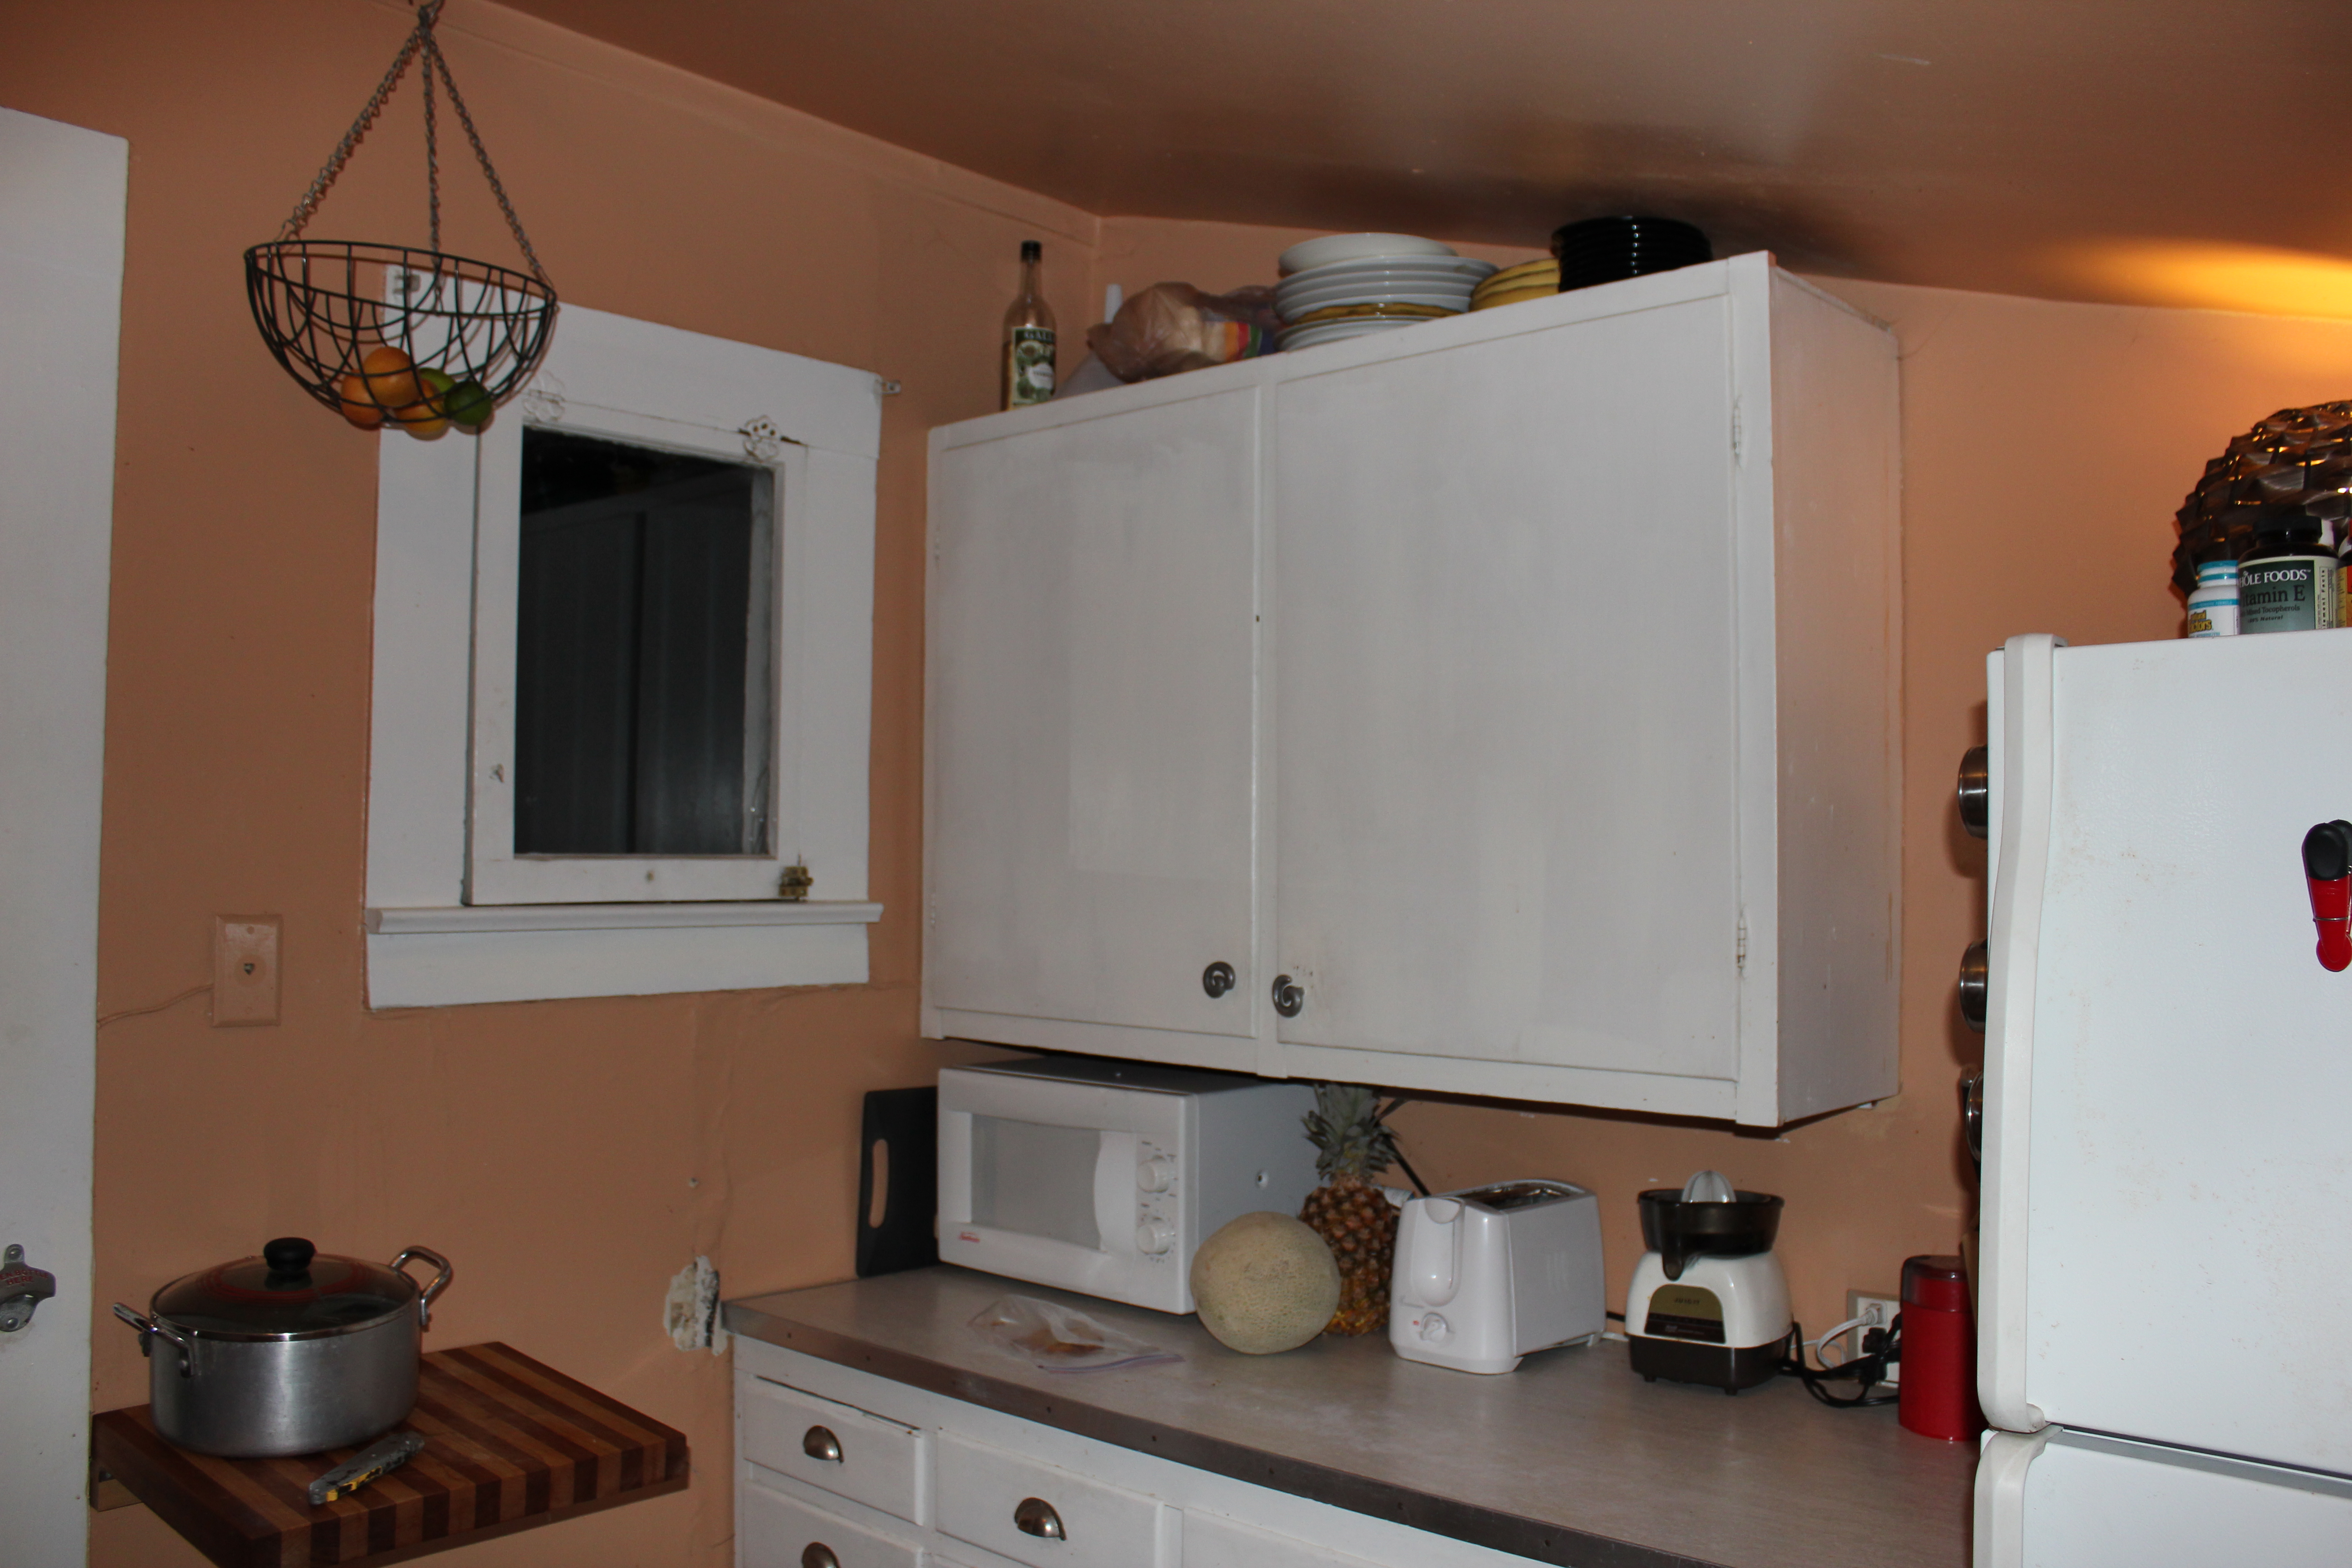 As you can see, from the first couple photos, the color in this kitchen encourages gag reflux, and the shape and size are nothing to write home about.
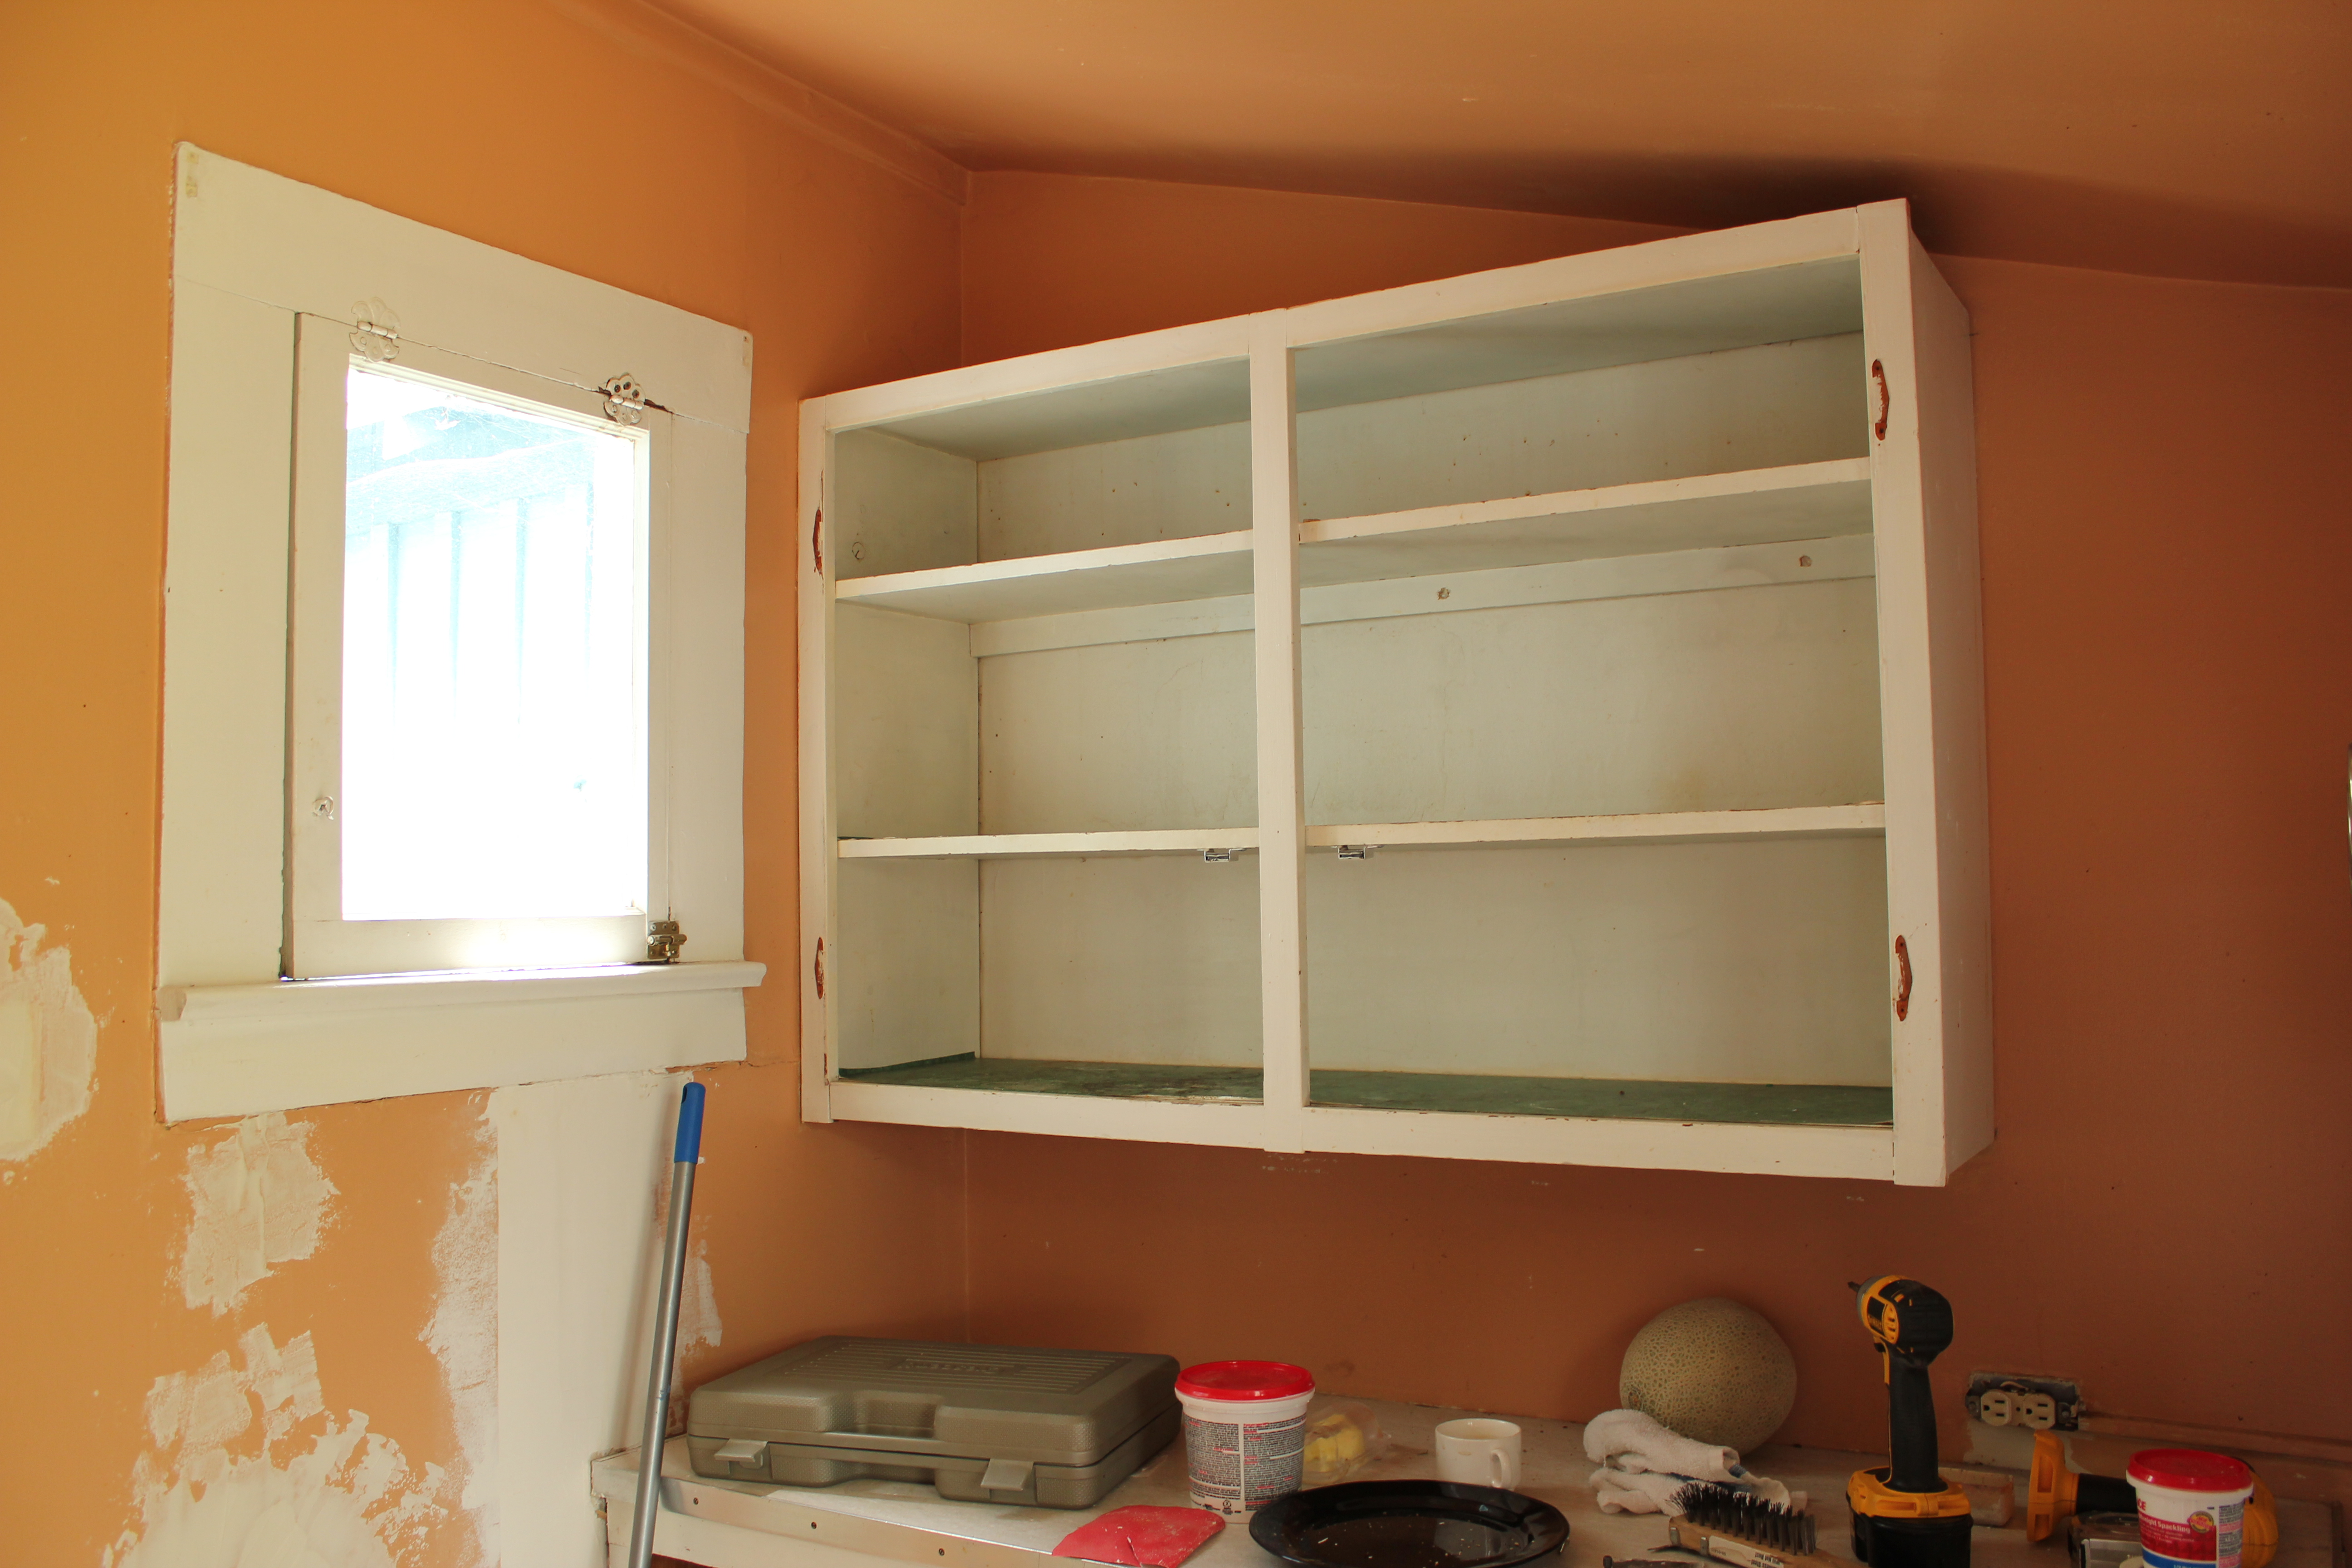 I knew right away, this shelving unit needed to change. It took up more space than it should and the cabinet doors made the function difficult. I decided creating a custom open shelving unit would maximize and open up the space.
After: 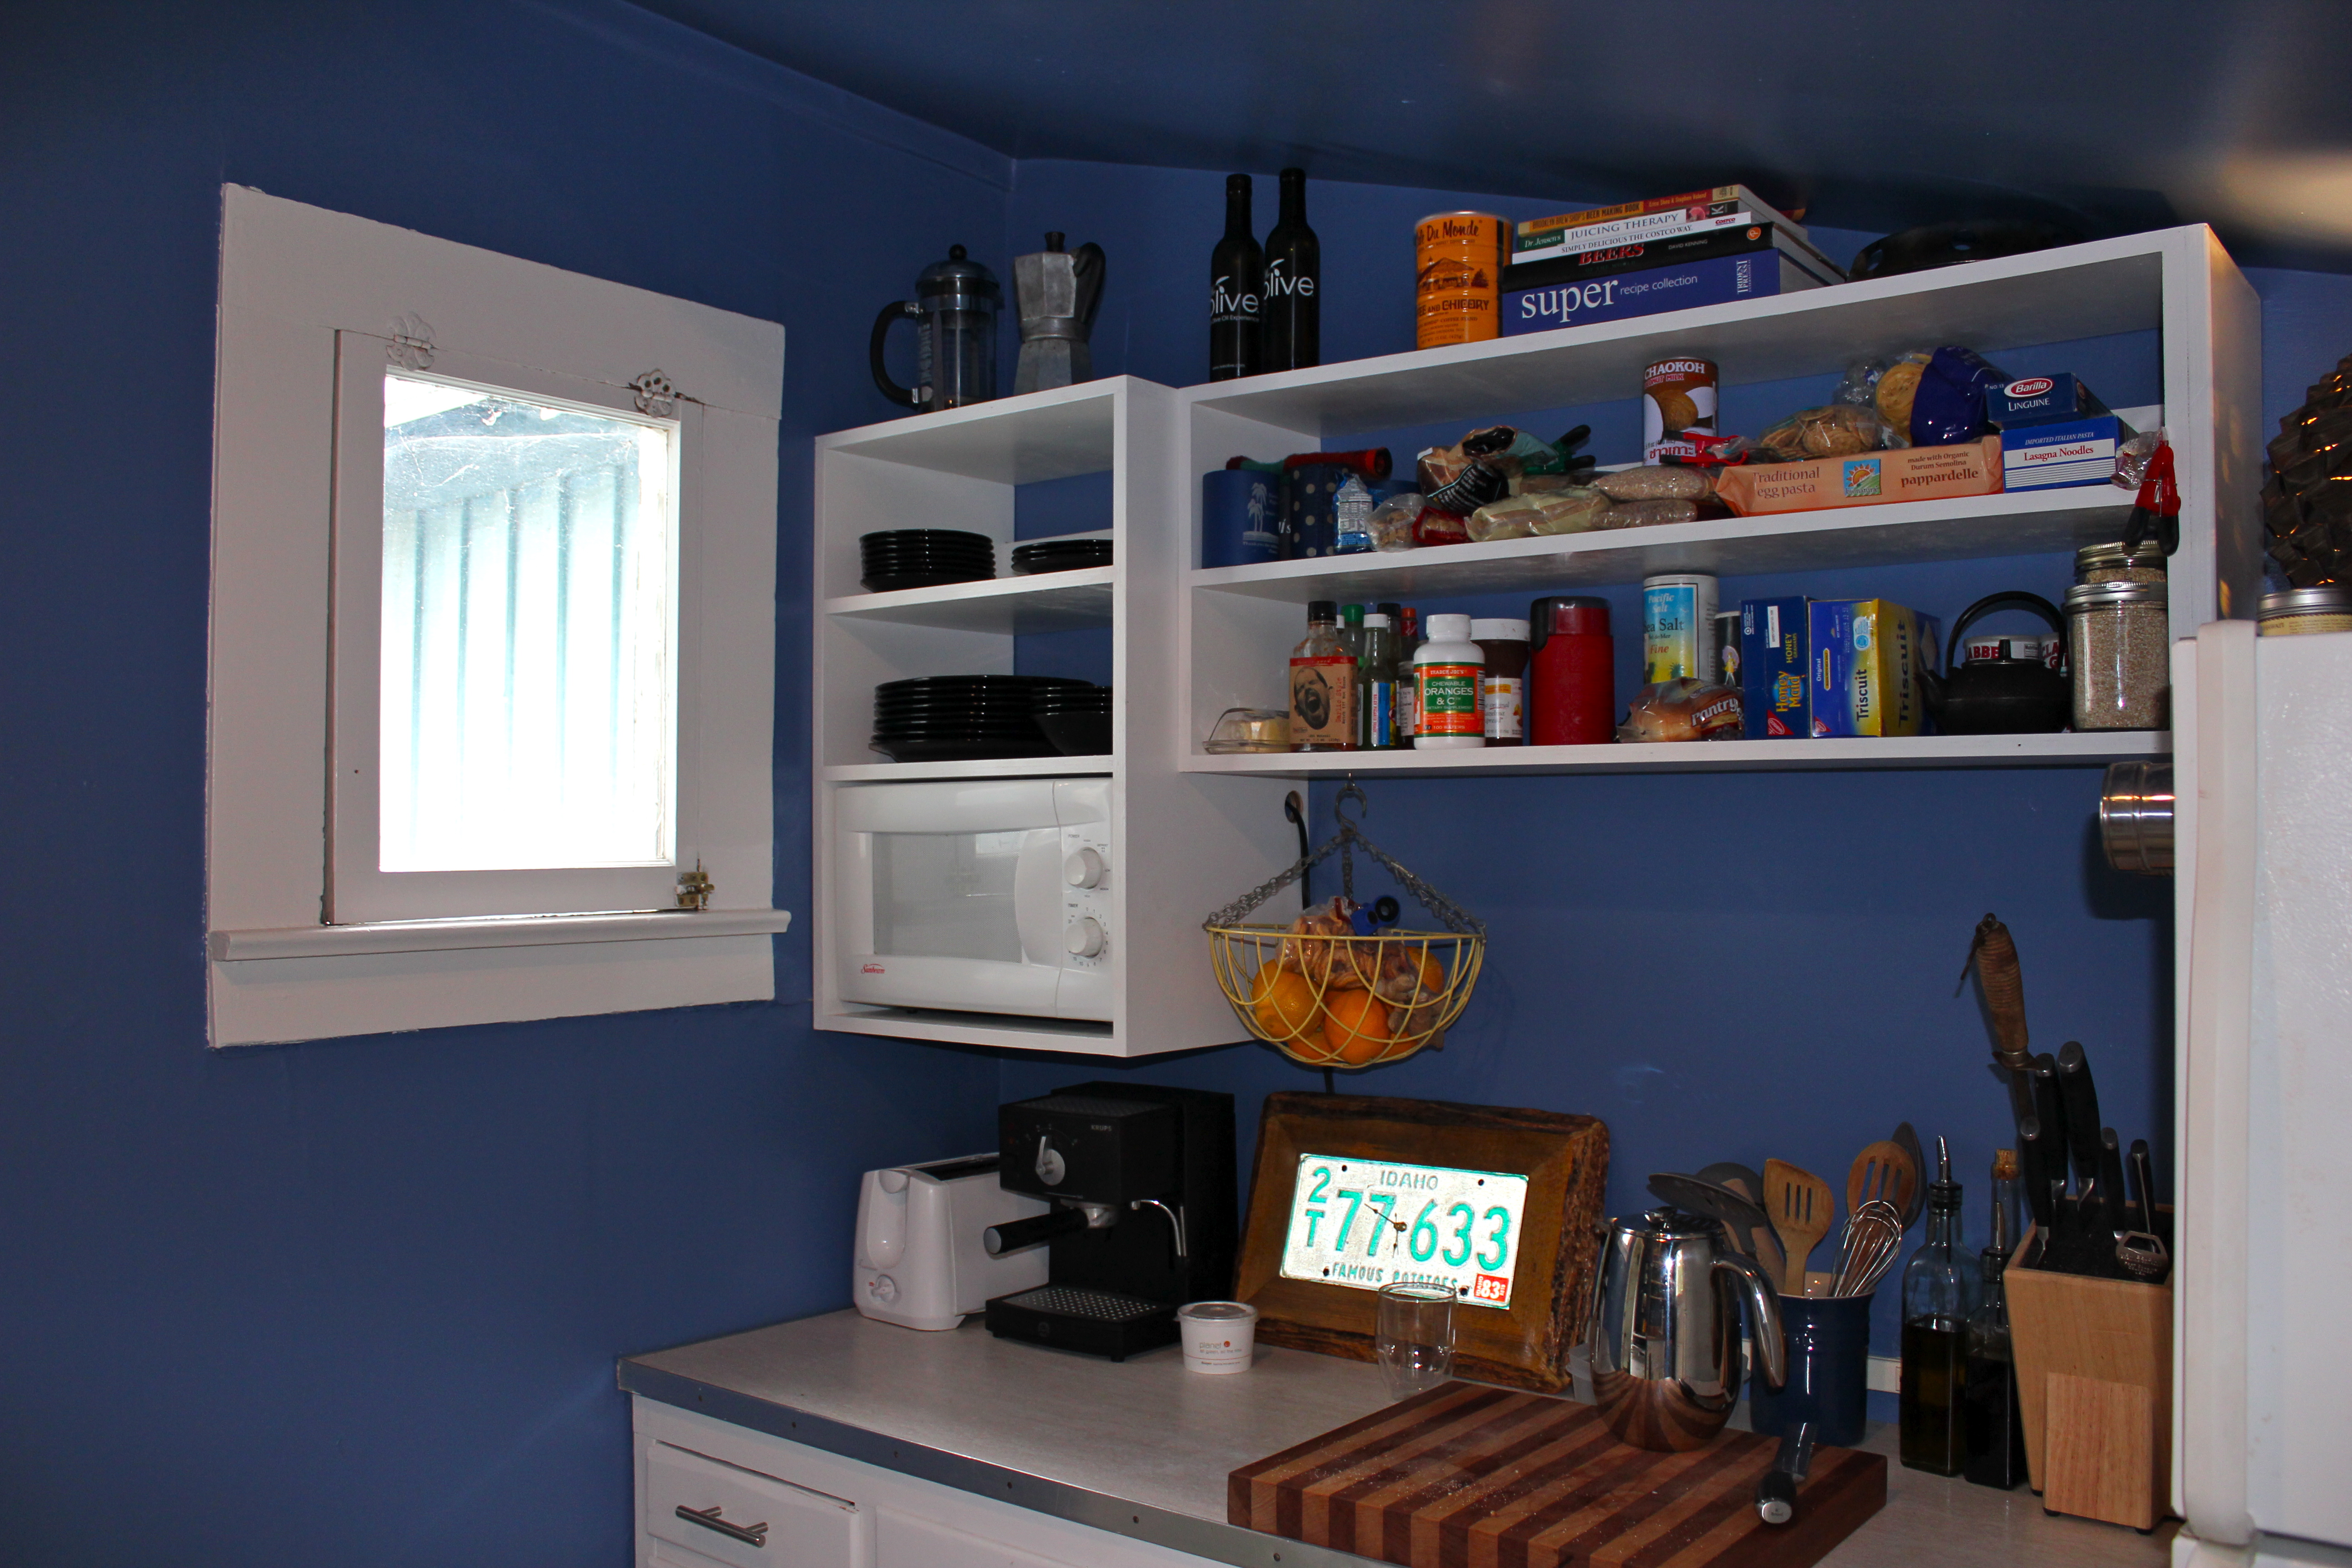
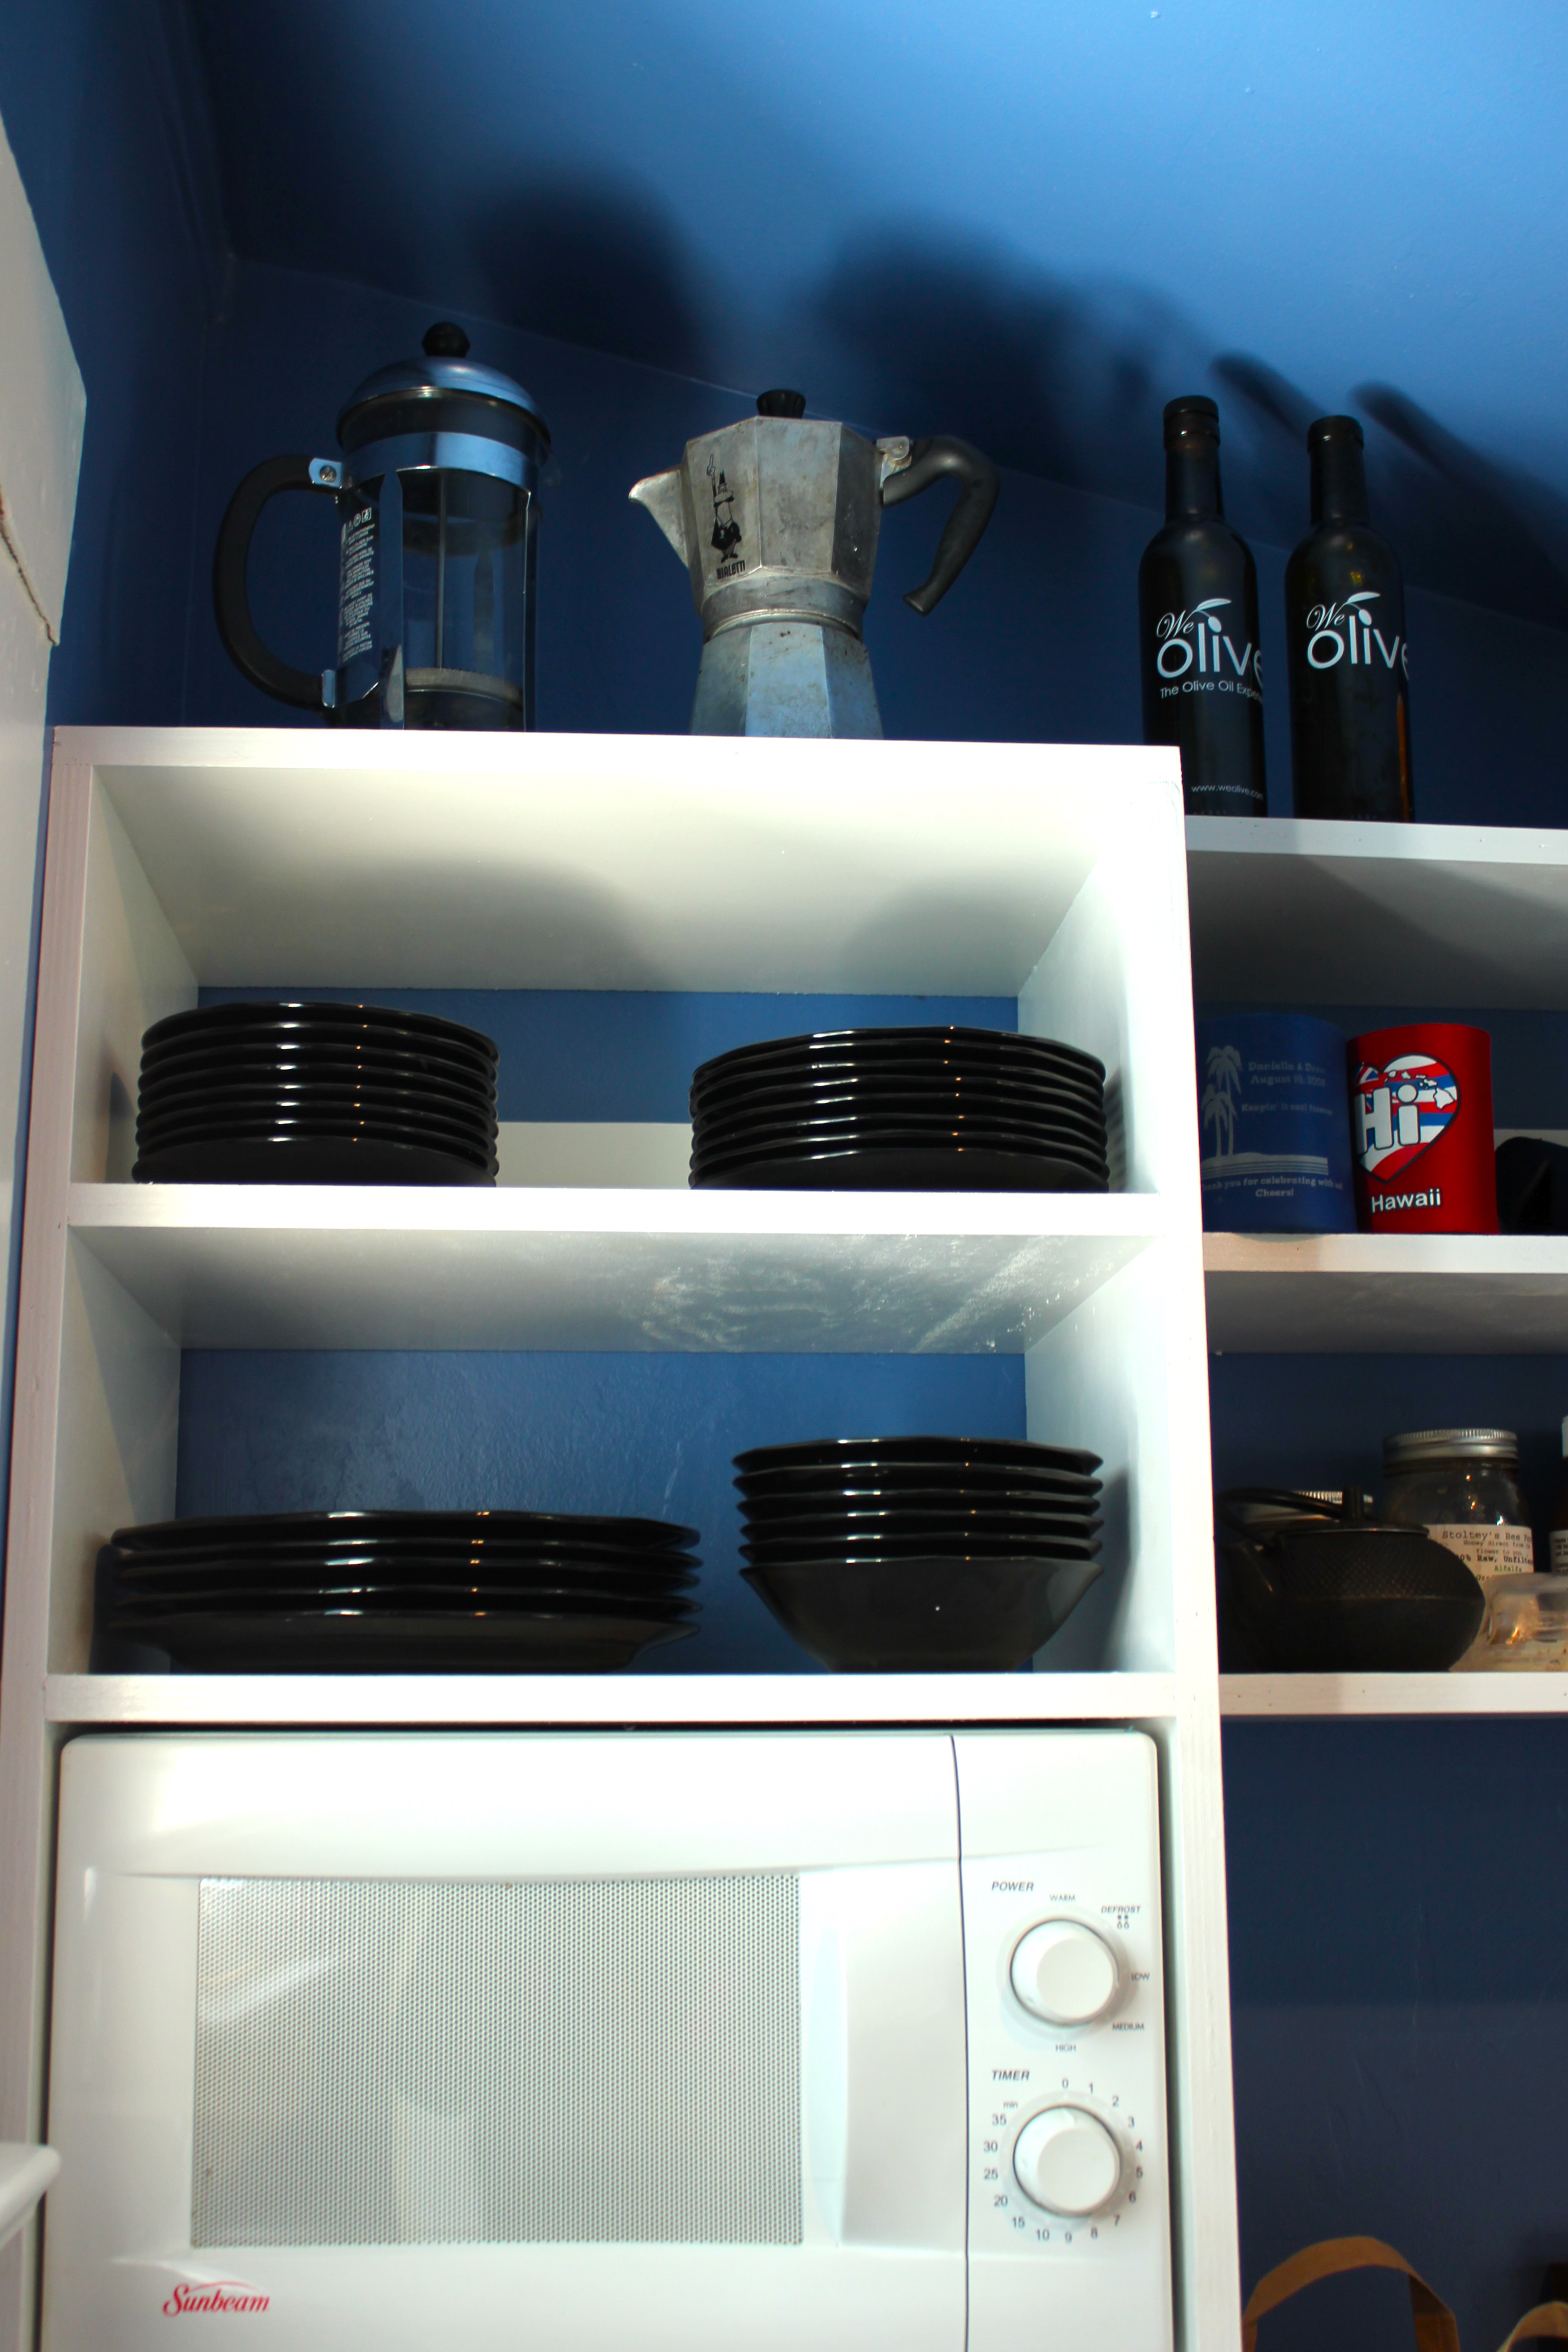
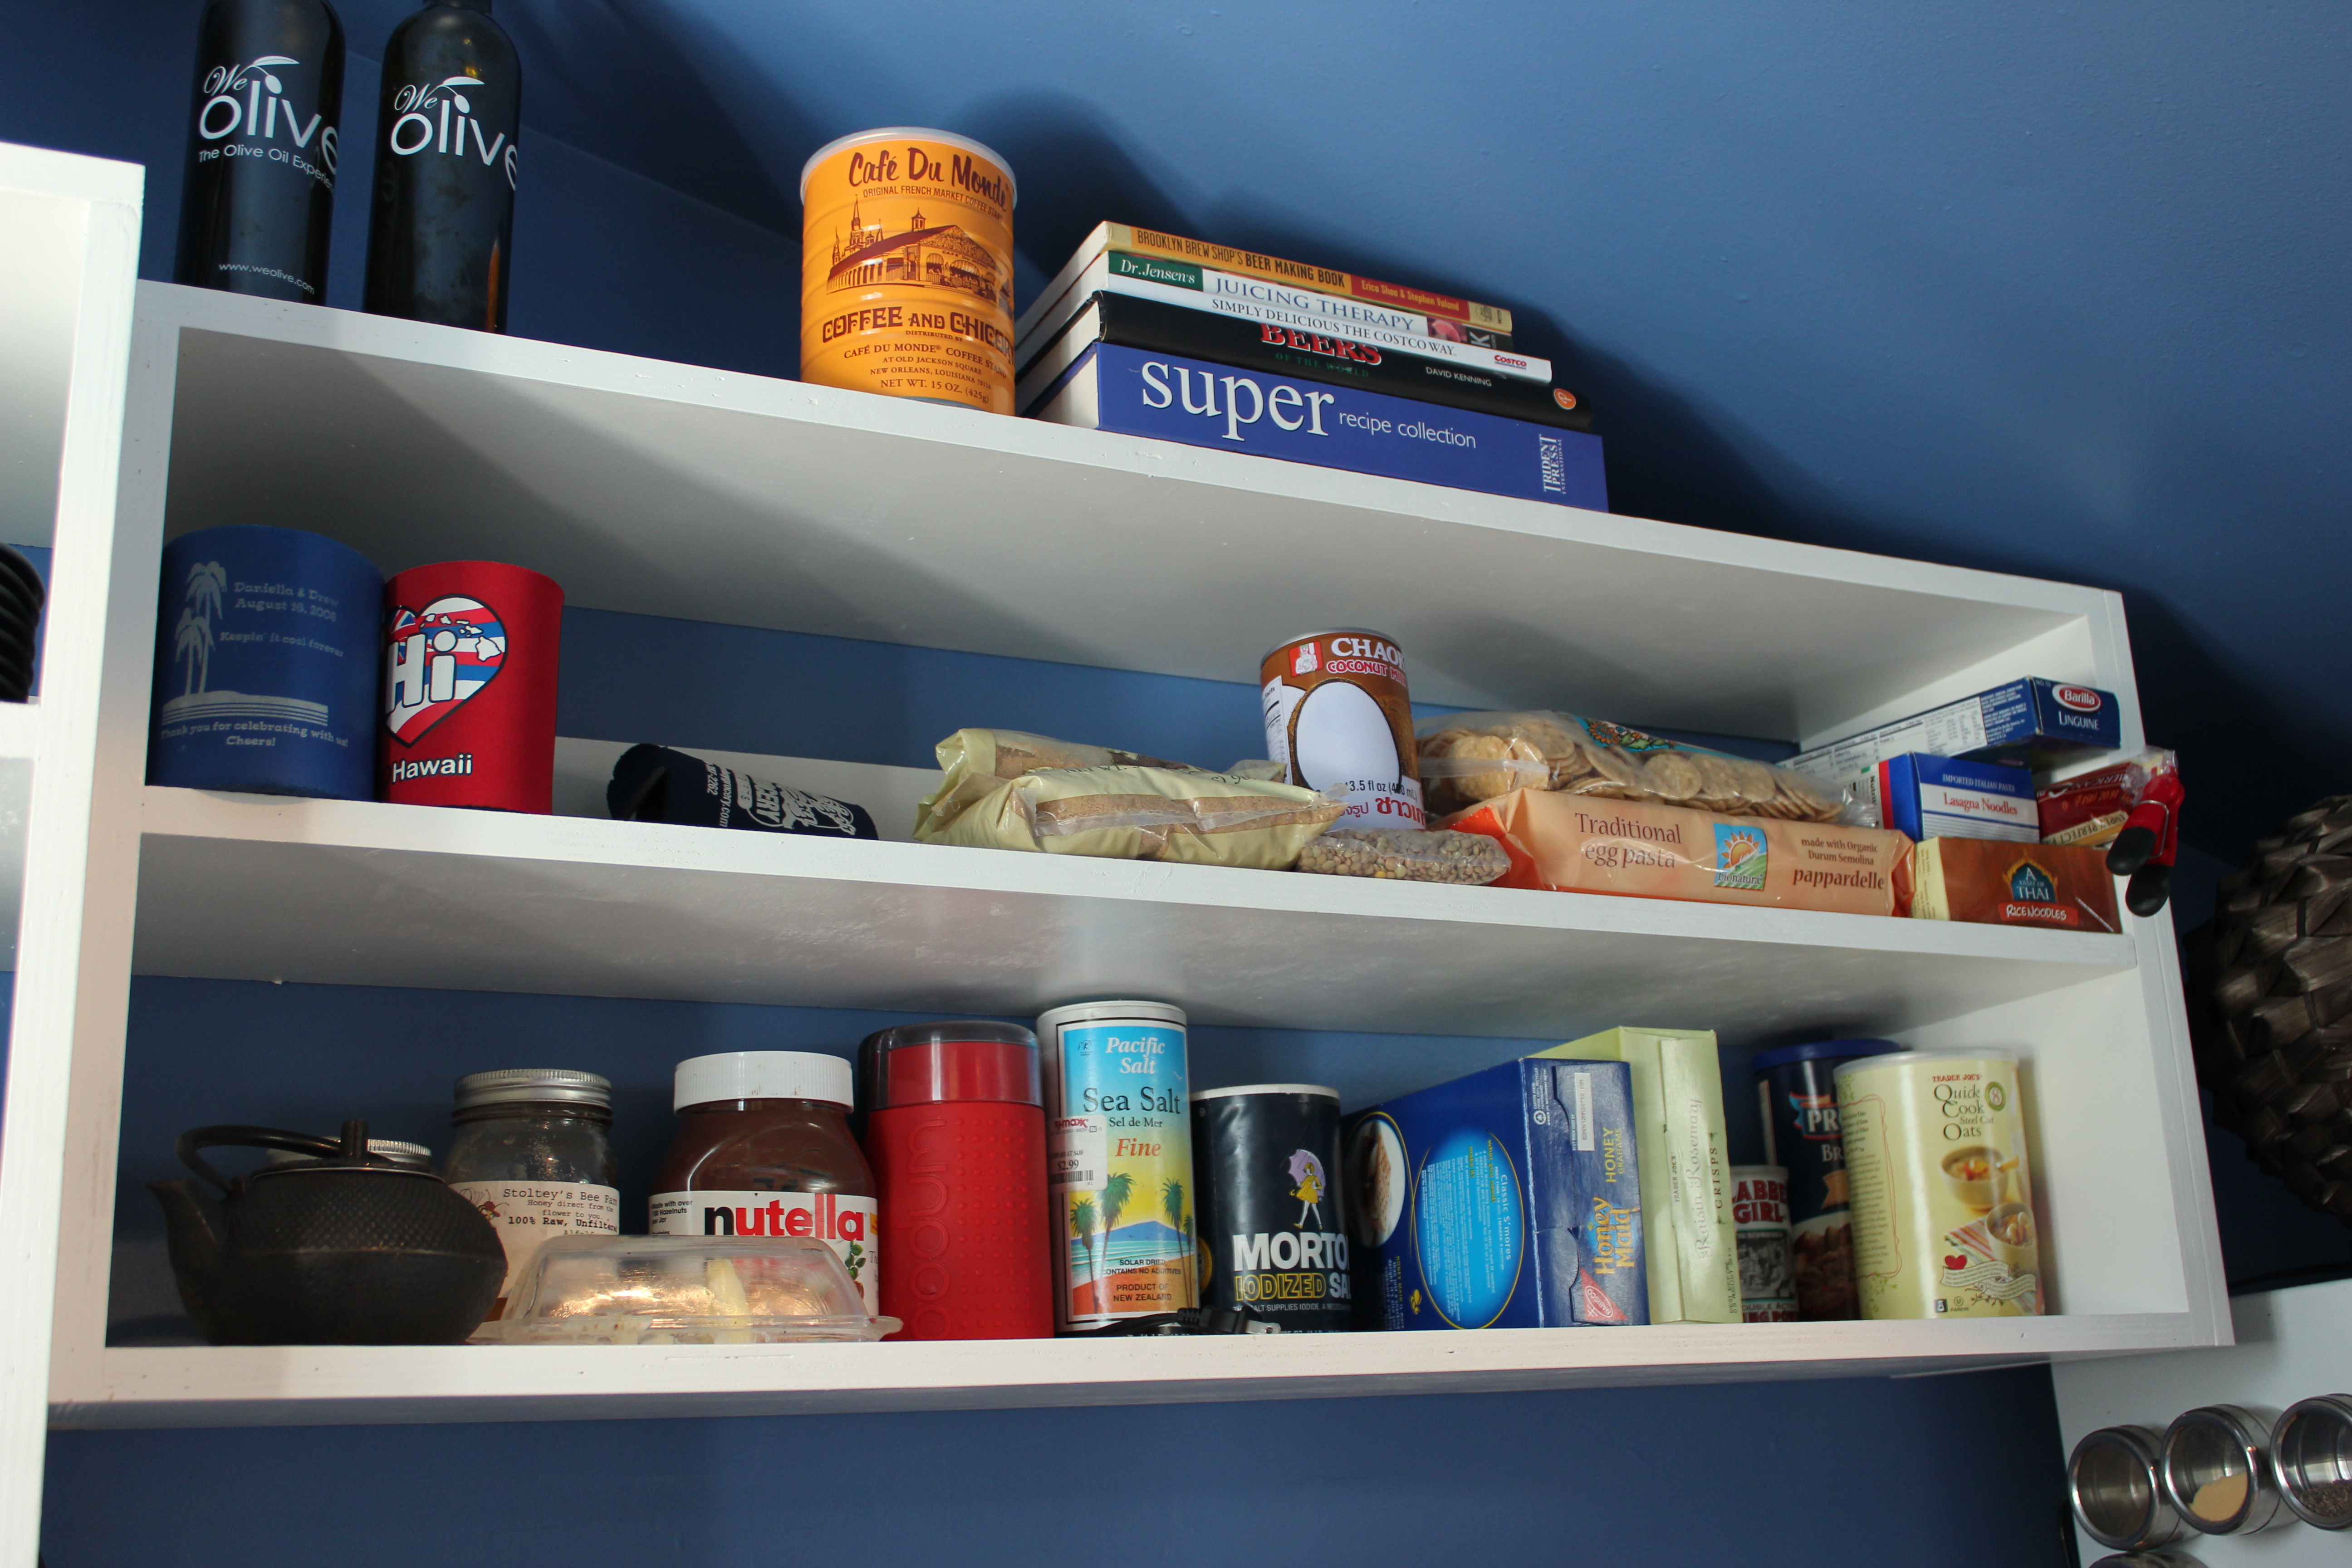 This custom open shelving unit, created more storage and by creating a custom cubby for the microwave, it gets it off the counter, opening up prep and cooking space.
Before (wall under window):  The floating cutting board was a creative idea, however, in this kitchen, with limited floor space, it took up even more unnecessary space. After discovering there was (cough) mold growing and the top layer of paint/plaster was peeling up, we had to cut away a big portion of it and re-plaster the wall.
After: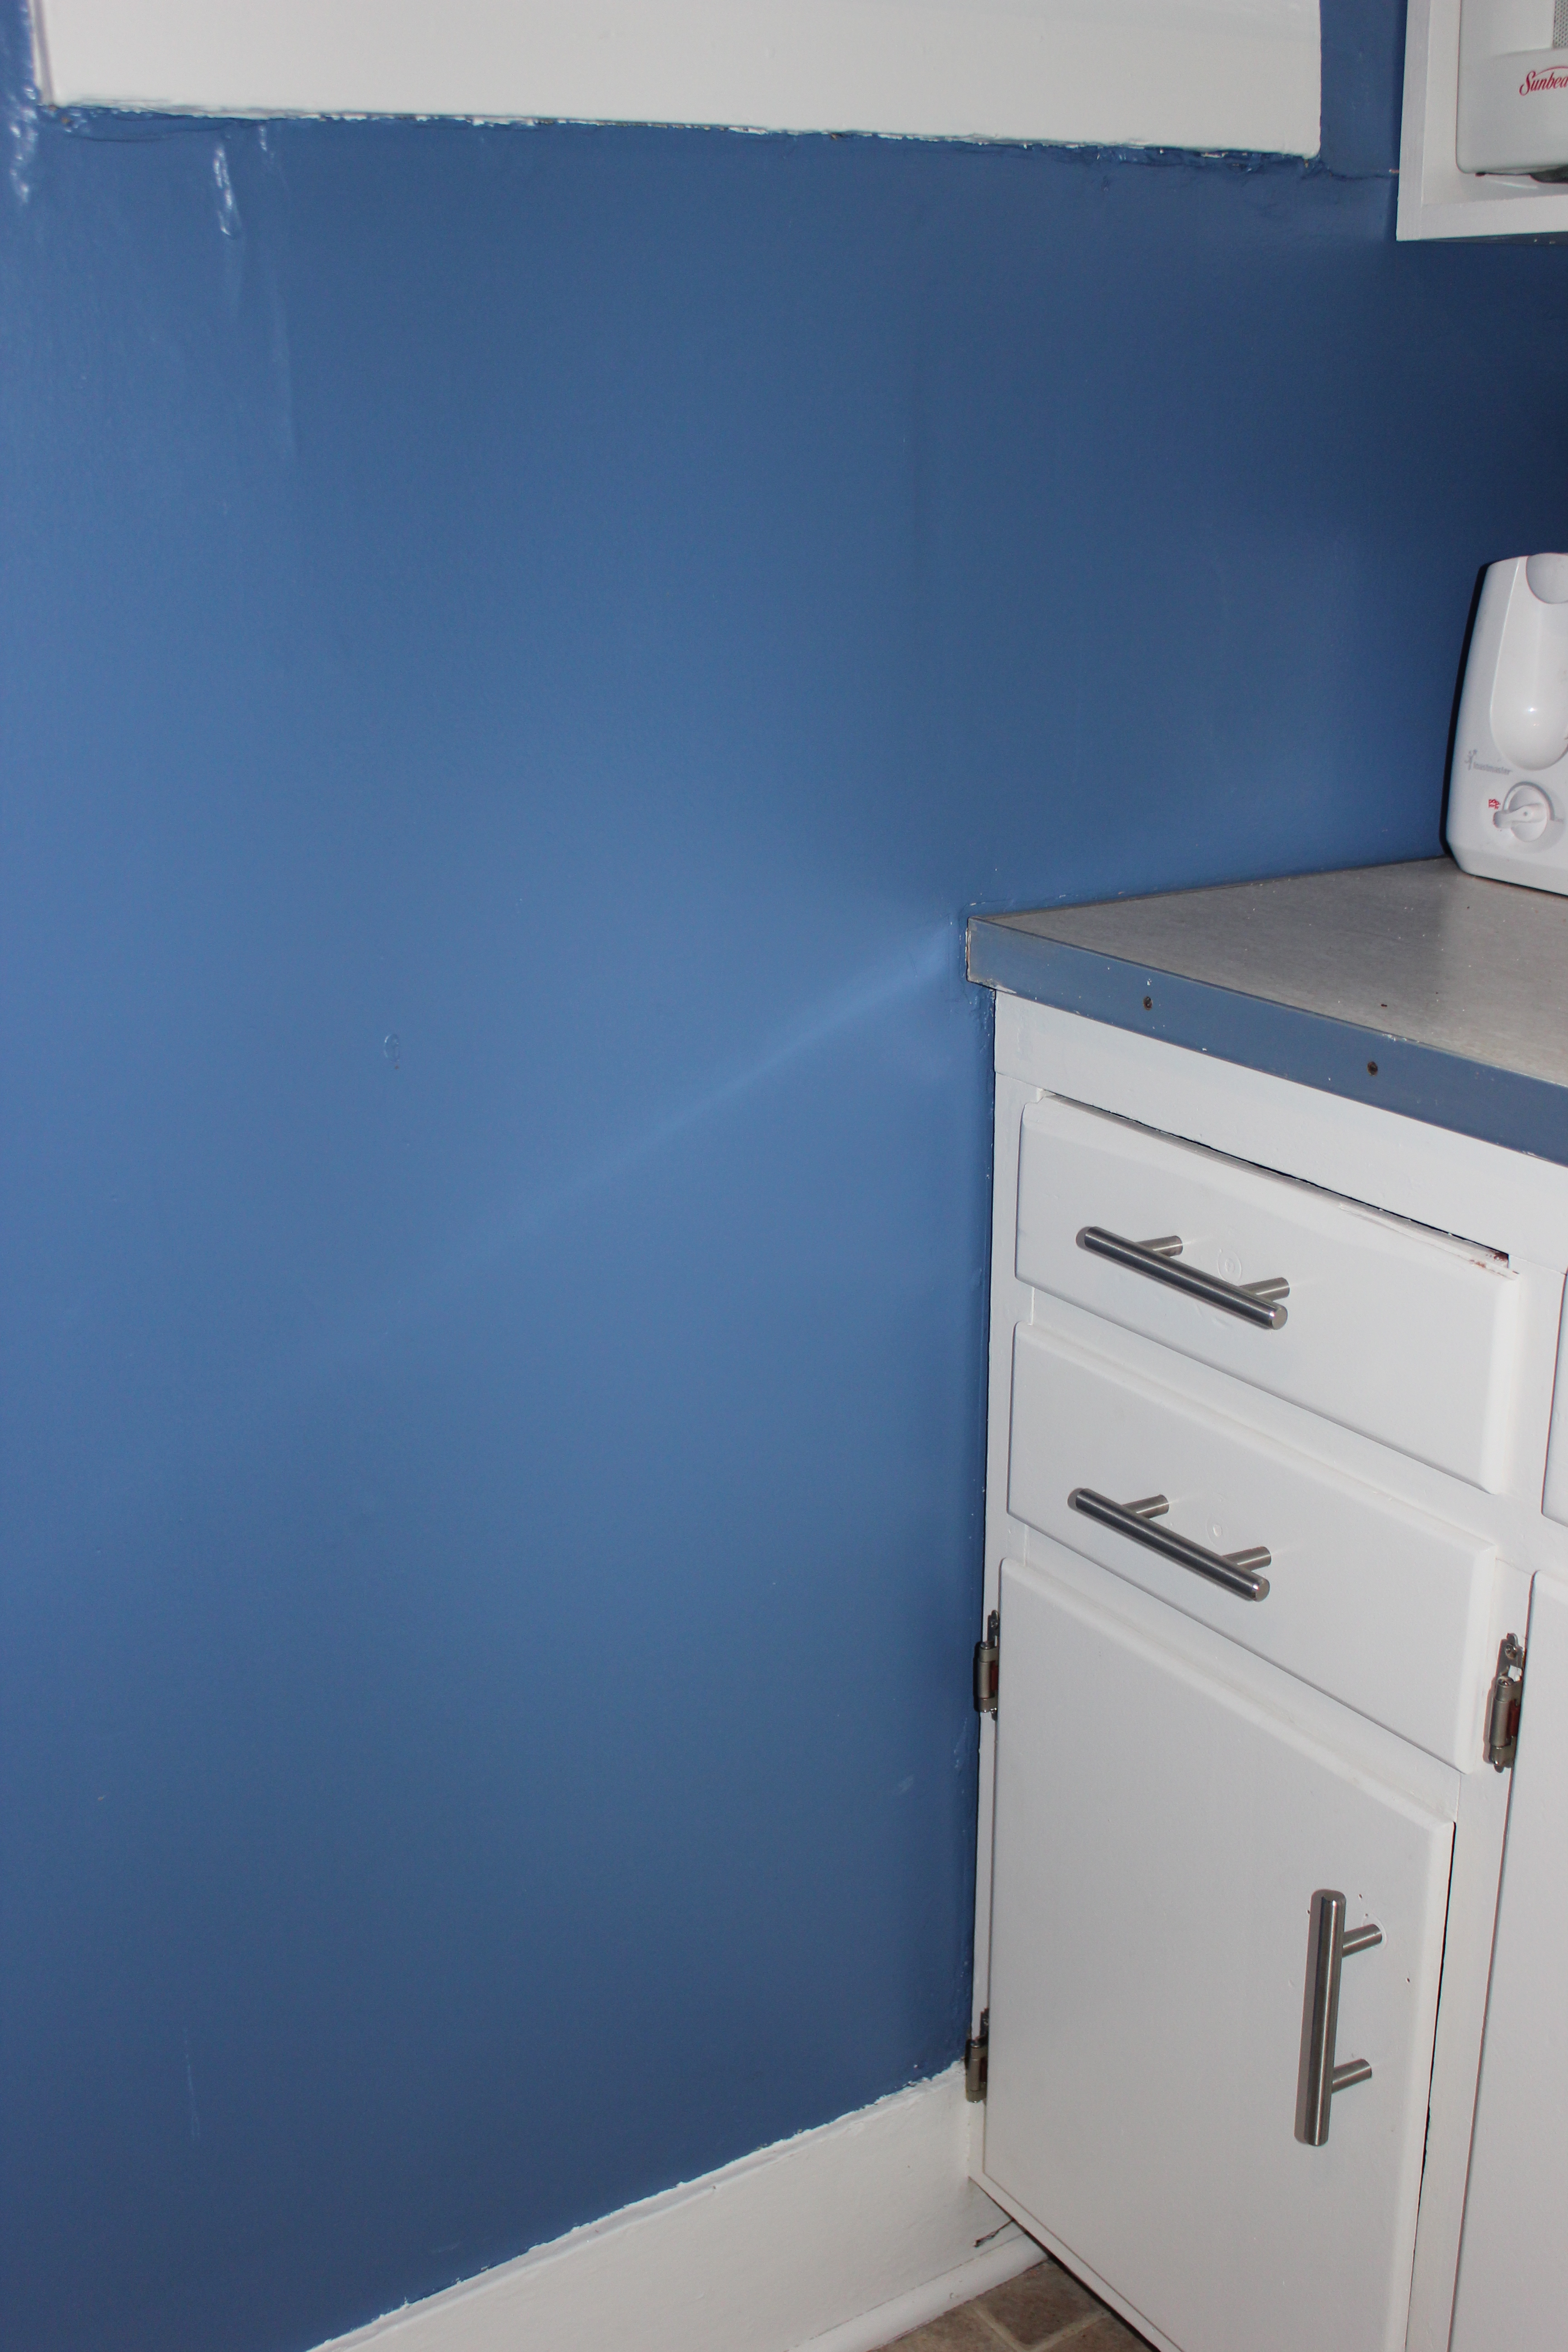
Before (shelving):
 After realizing this shelf on the right above the sink was probably the best thing for that space, and fit in with the open shelving concept, I still knew I wanted to repurpose it. And that shelf above the door? Immediately removed and discarded. No one needs shelves above a doorway – talk about shortening and cutting off space!
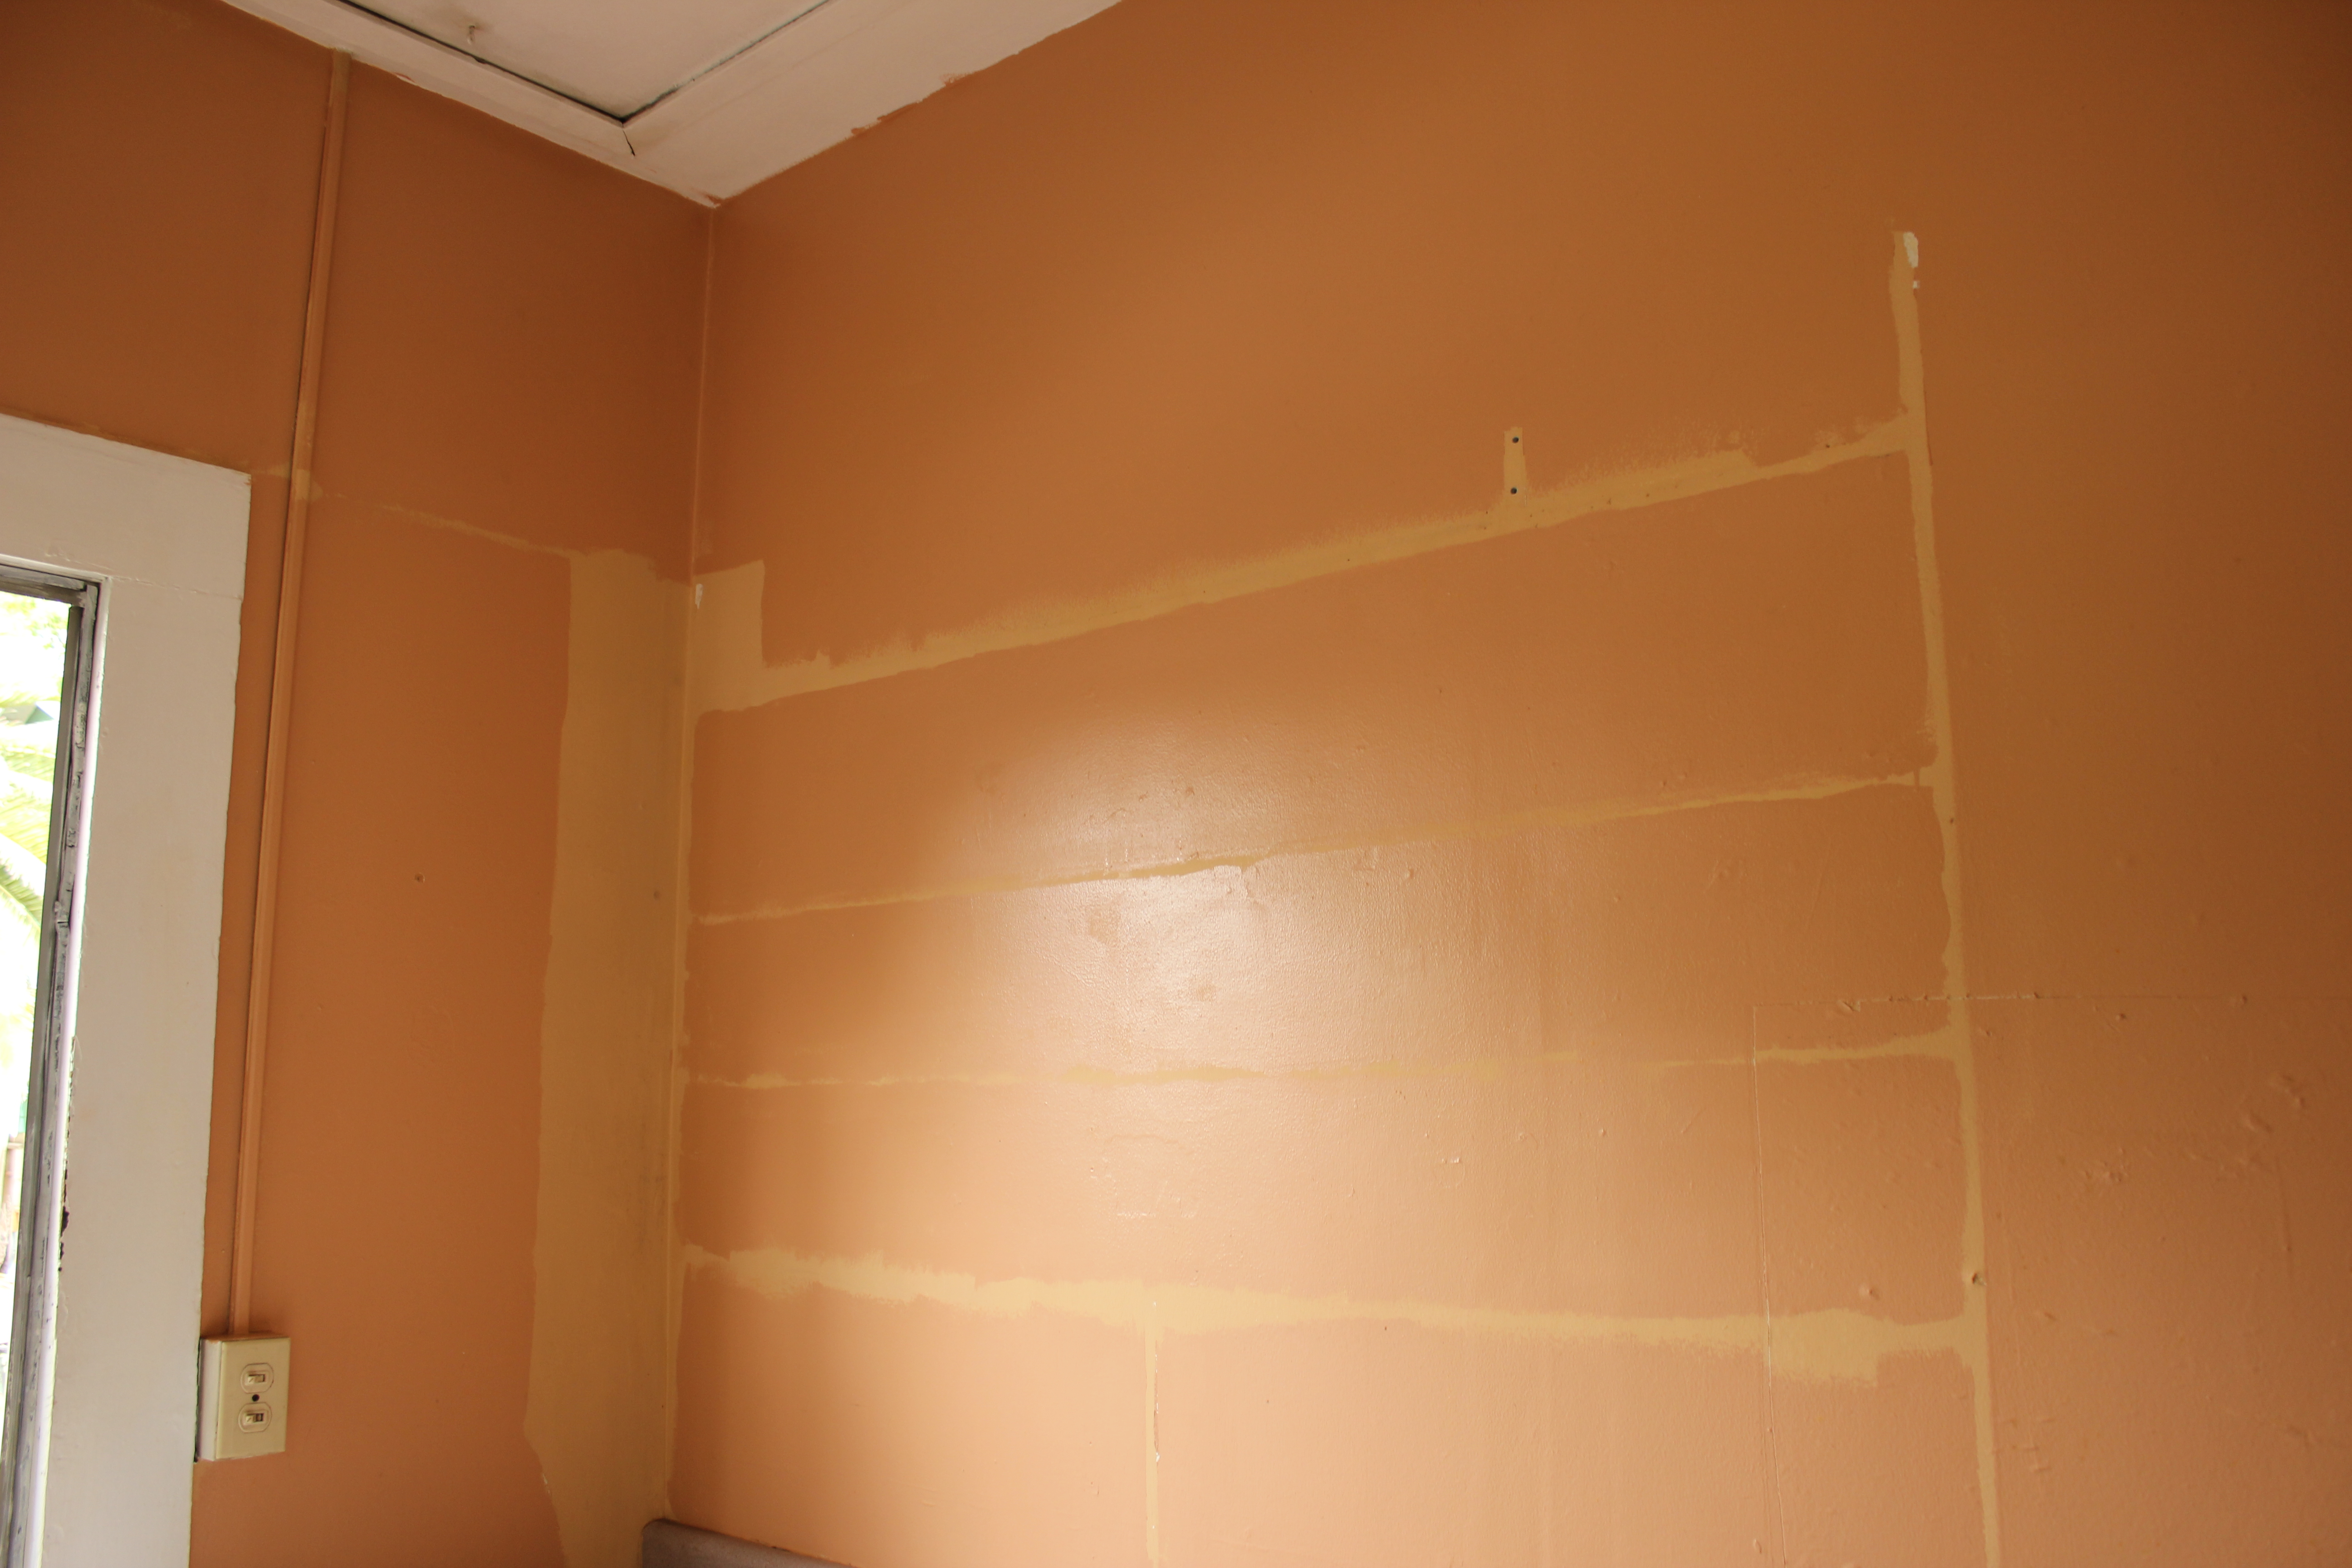

After:

Before (lower cabinets and drawers):  Upgrading cabinetry is actually fairly easy and VERY affordable and one that makes a big transformation. This was one upgrade that really brightened up the place. I removed all the doors, hardware and drawers, sanded them down, and installed in, clean lined hardware. The new paint and hardware brightened up the small space and elongated the cabinetry.


 After sanding the painting the fronts of these cabinets, I was about to paint the backsides when I realized that the worn, refurbished look appealed to me more – PLUS that meant I didn’t have to take twice the time or paint to ‘finish’ painting them!
After: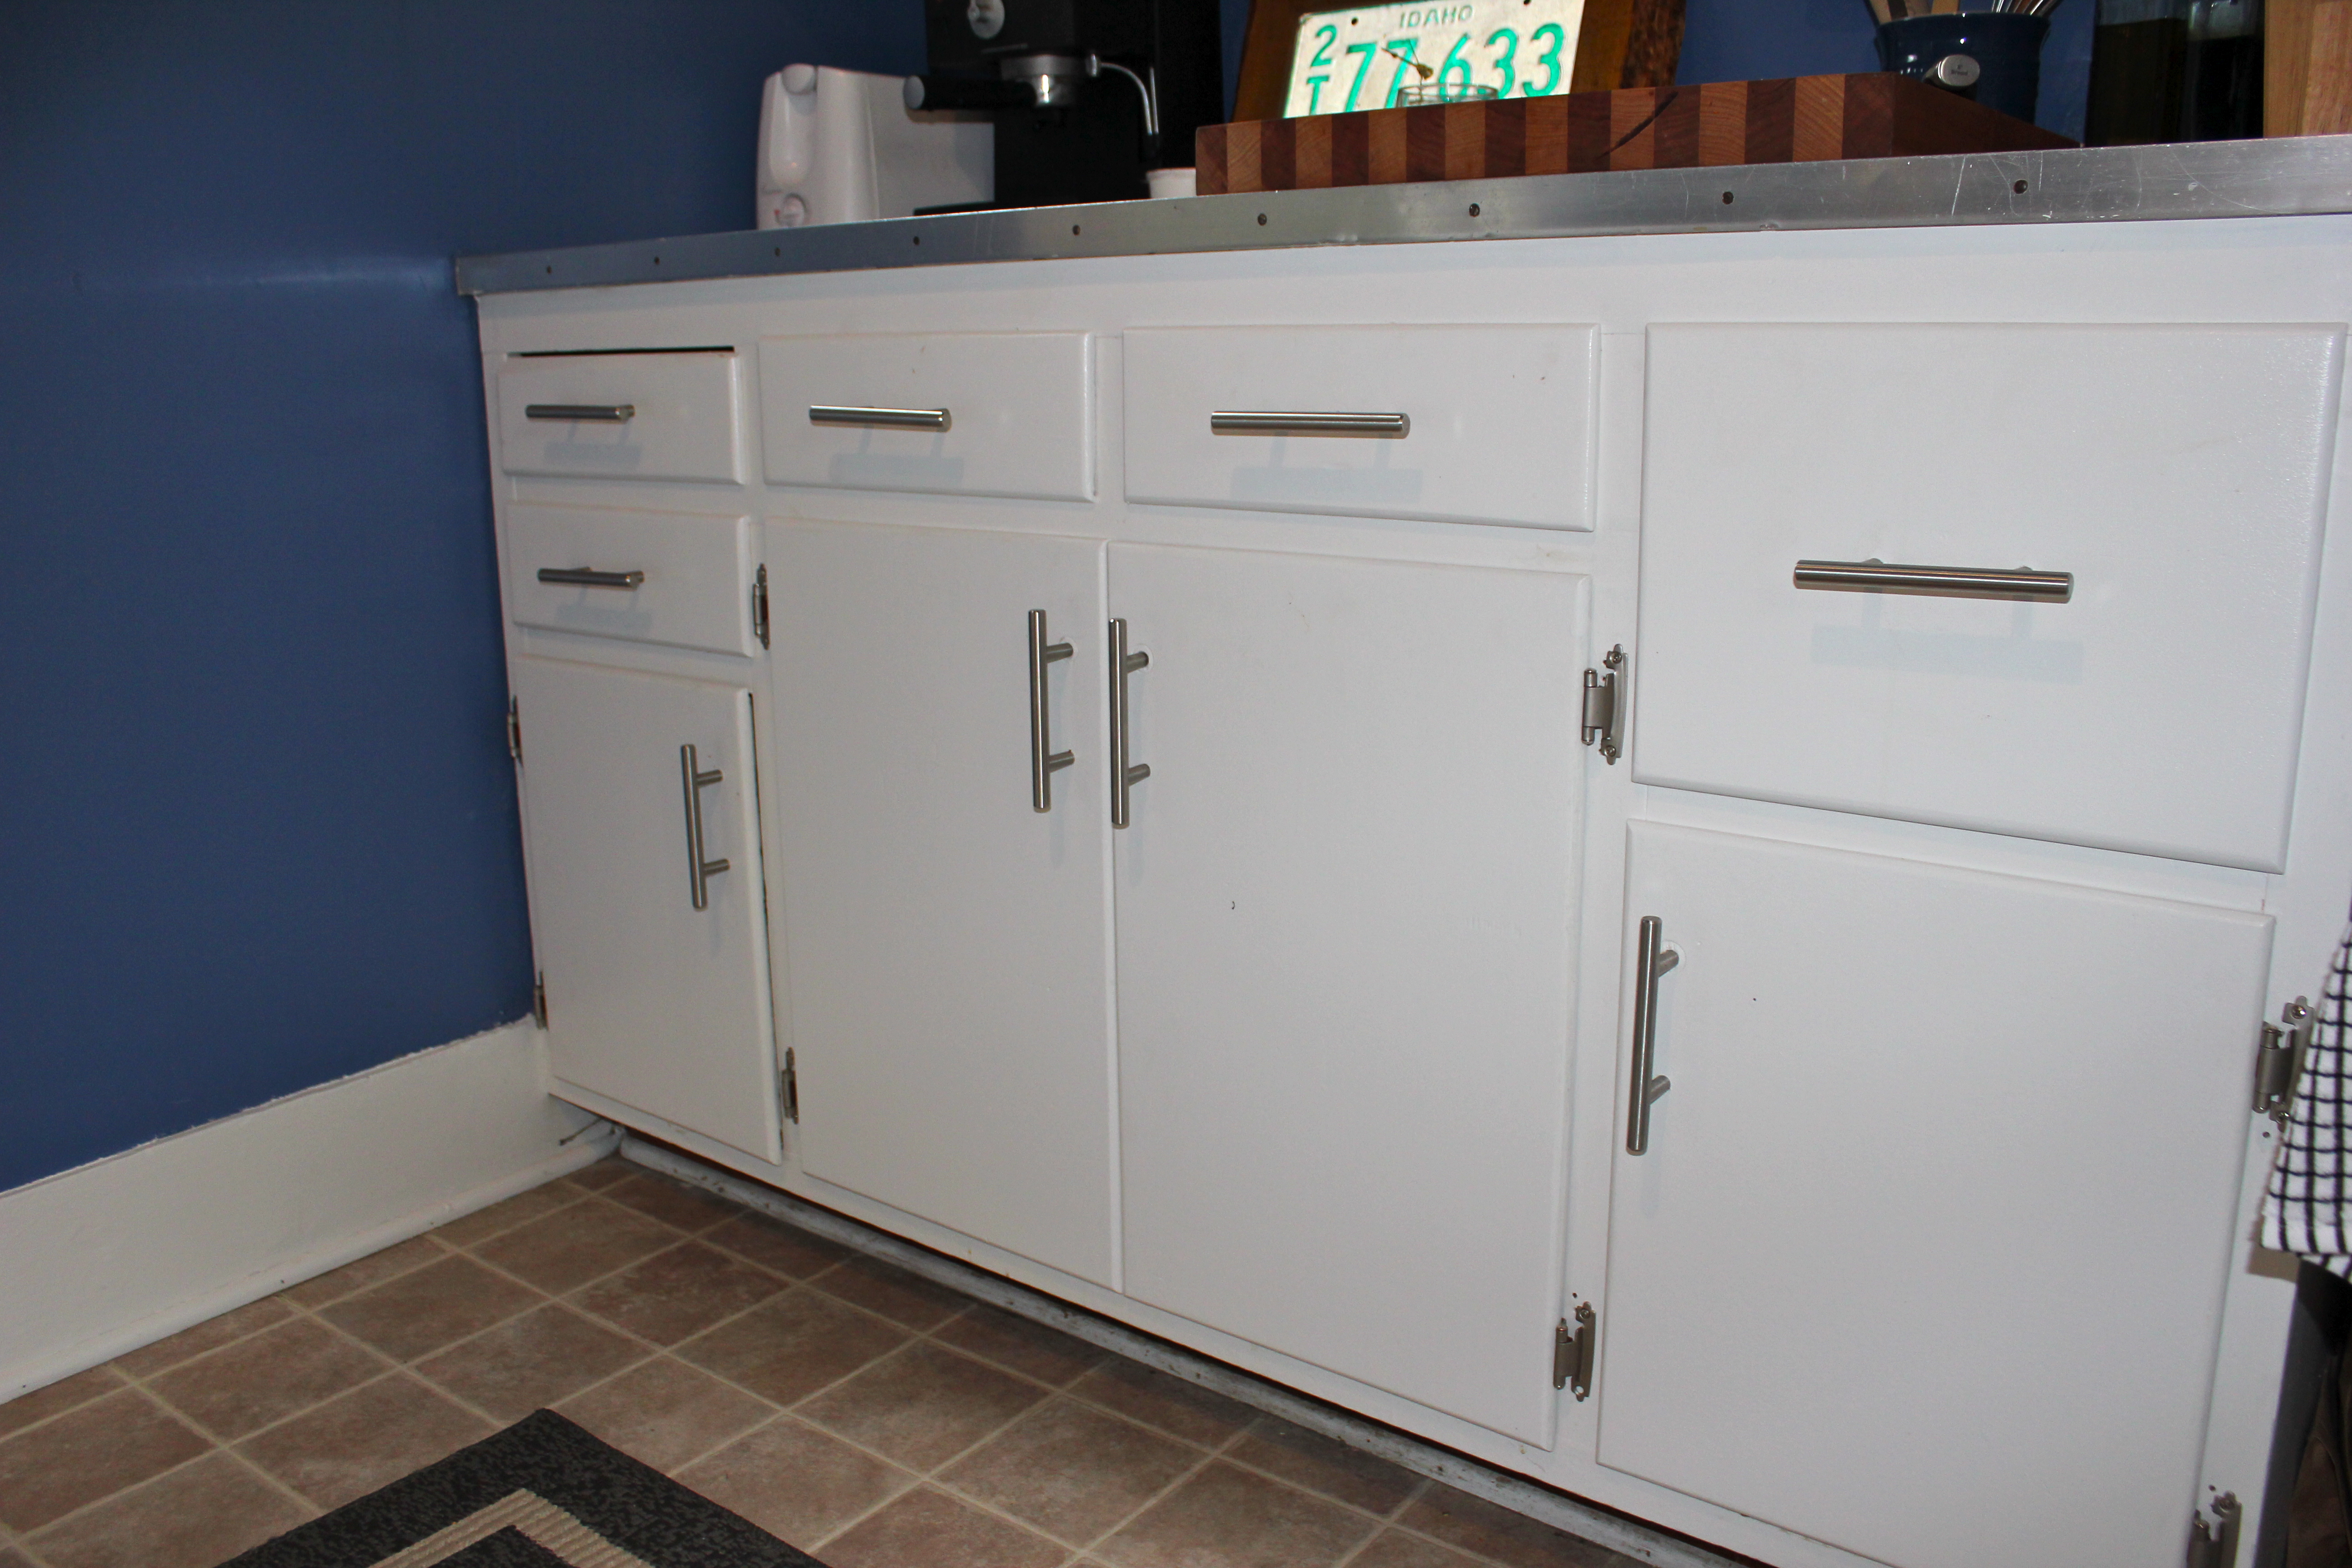

Before (above stove area): The industrial creativity behind this pot and pan hanger would be nice for a garage or something. It was too cold and inefficient for a home. With the cabinet reorganization, there was plenty of space to house all the pots and pans which opened up this space immensely.
After:
 I found these mirrors at the swap meet and made a little project out of them (here) knowing that they would be the perfect thing not only in a kitchen but in a small one where mirrors will help reflect light and open up the space.
So, there are the Before’s and After’s my friends! Unfortunately, I realized I didn’t have any stellar overall photos of the entire completed kitchen, but I hope you can grasp it all the same. I love a good remodel and facelift to a place so follow along for some more in the future! I would love to see any of your work out there as well…Post a link and share. Happy Sunday, folks!
Cheers!
L.
