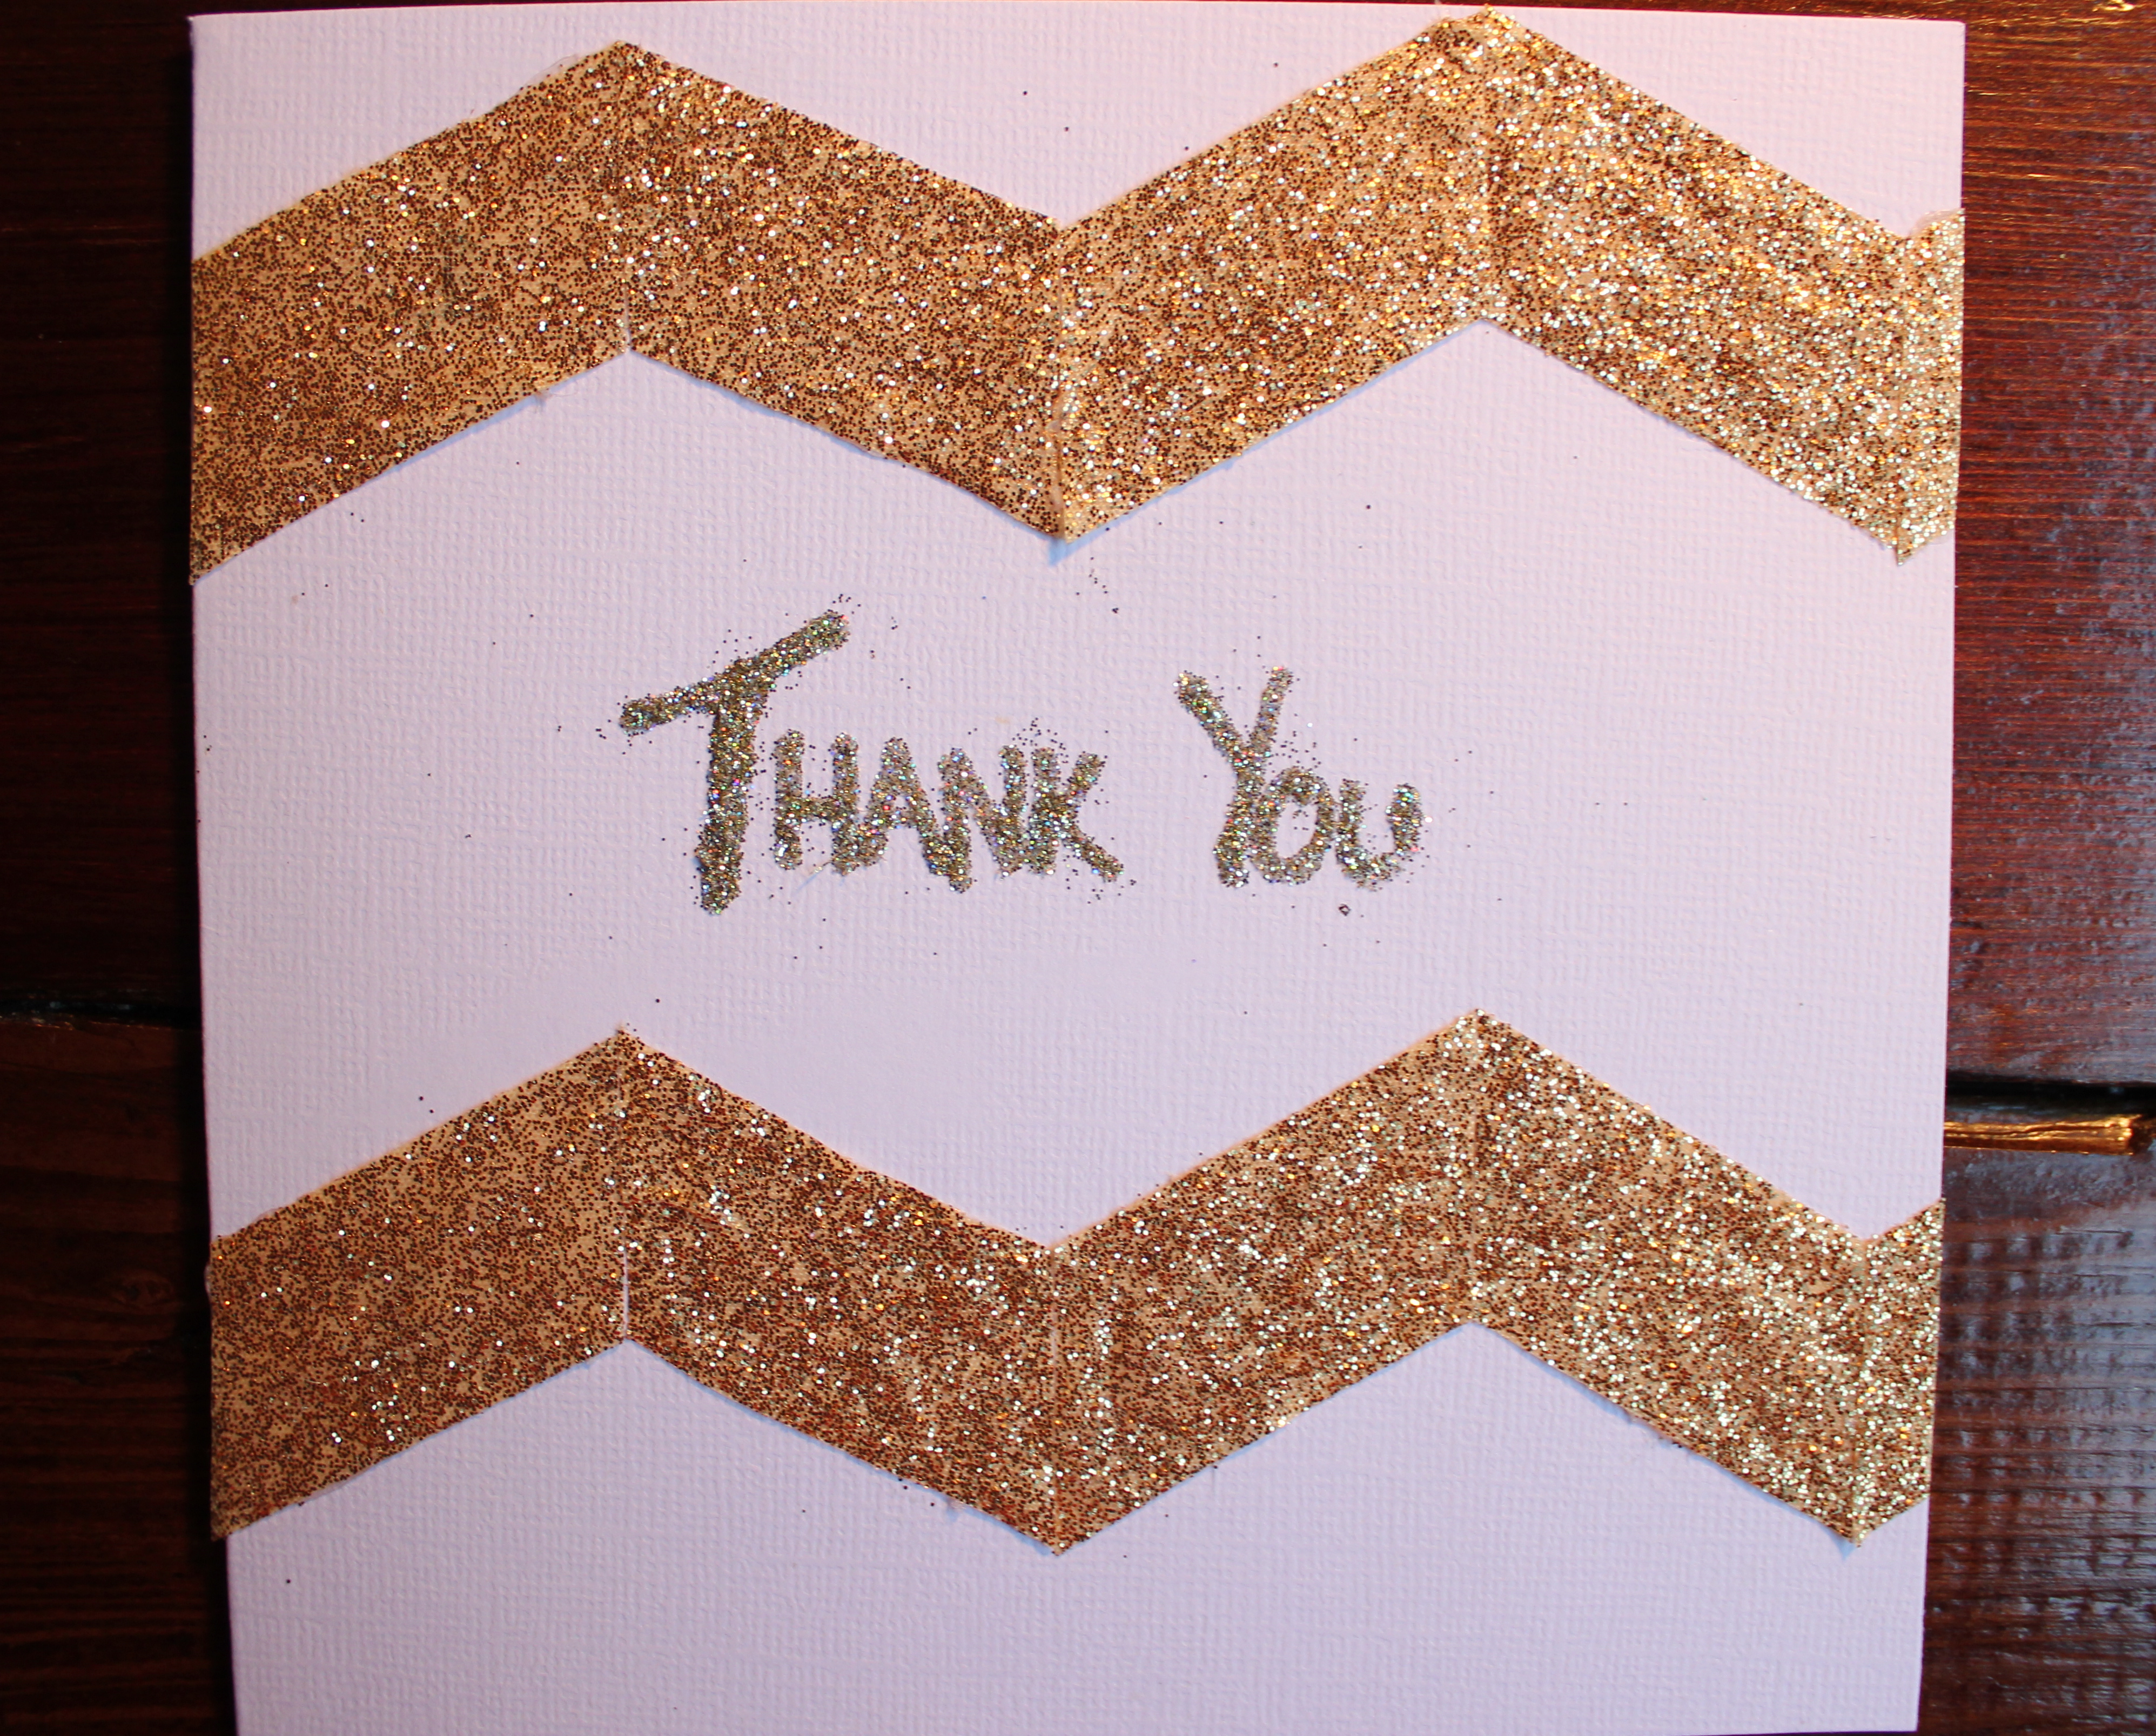
Chevron pattern is all the rage right now. It’s on rugs, pillows, purses, dresses, painted on walls, and much more. While contemplating a “Thank You” card design, I decided to make a chevron themed thank you card. After looking in my suitcases, I had all the necessary supplies to create a beautiful, sparkly, classy card.
~What You’ll Need~
~ Ribbon of any color or design ~ Scissors ~ Hot glue gun ~ A blank card ~ Glue Pen ~ Glitter

After you have all your supplies together, measure an equal distance from the top and bottom of the card towards the middle, so your chevron lines are equal. I measured an inch and a half. Mark your lines, and place your ribbon on the mark, then mark lines on the ribbon, so you know where to cut.


Cut your first ribbon section. To follow an even, easy to put together pattern, flip over the first section (using it as a stencil), lay it over the front of the ribbon and cut. After you’ve cut enough pieces to reach the end of the card, lay them out making sure they fit together.


Grab your glue pen, and write the theme of the card, in my case, it was Thank You. Pour over the glitter, and wait 3-5 minutes before removing the glitter. Shake it off, and gently rub the remainder glitter off the card.


In the end, you’ll have a great card that was worth the effort to make. Whoever is receiving it, will love the thought and time it took!

Cheers! -L
