 I’m a sucker for All October Goodies but especially the miniature pumpkins. They’re perfect for easy decorations, detailed corners, porches, and projects! We used to paint faces on these little orange pumpkins as a way of decorating them. Now, pumpkin decorating and carving, for that matter, have reached new levels. For my mini-pumpkins project this year, I purchased a variety of mini pumpkins and blitzed them out…
What you’ll Need: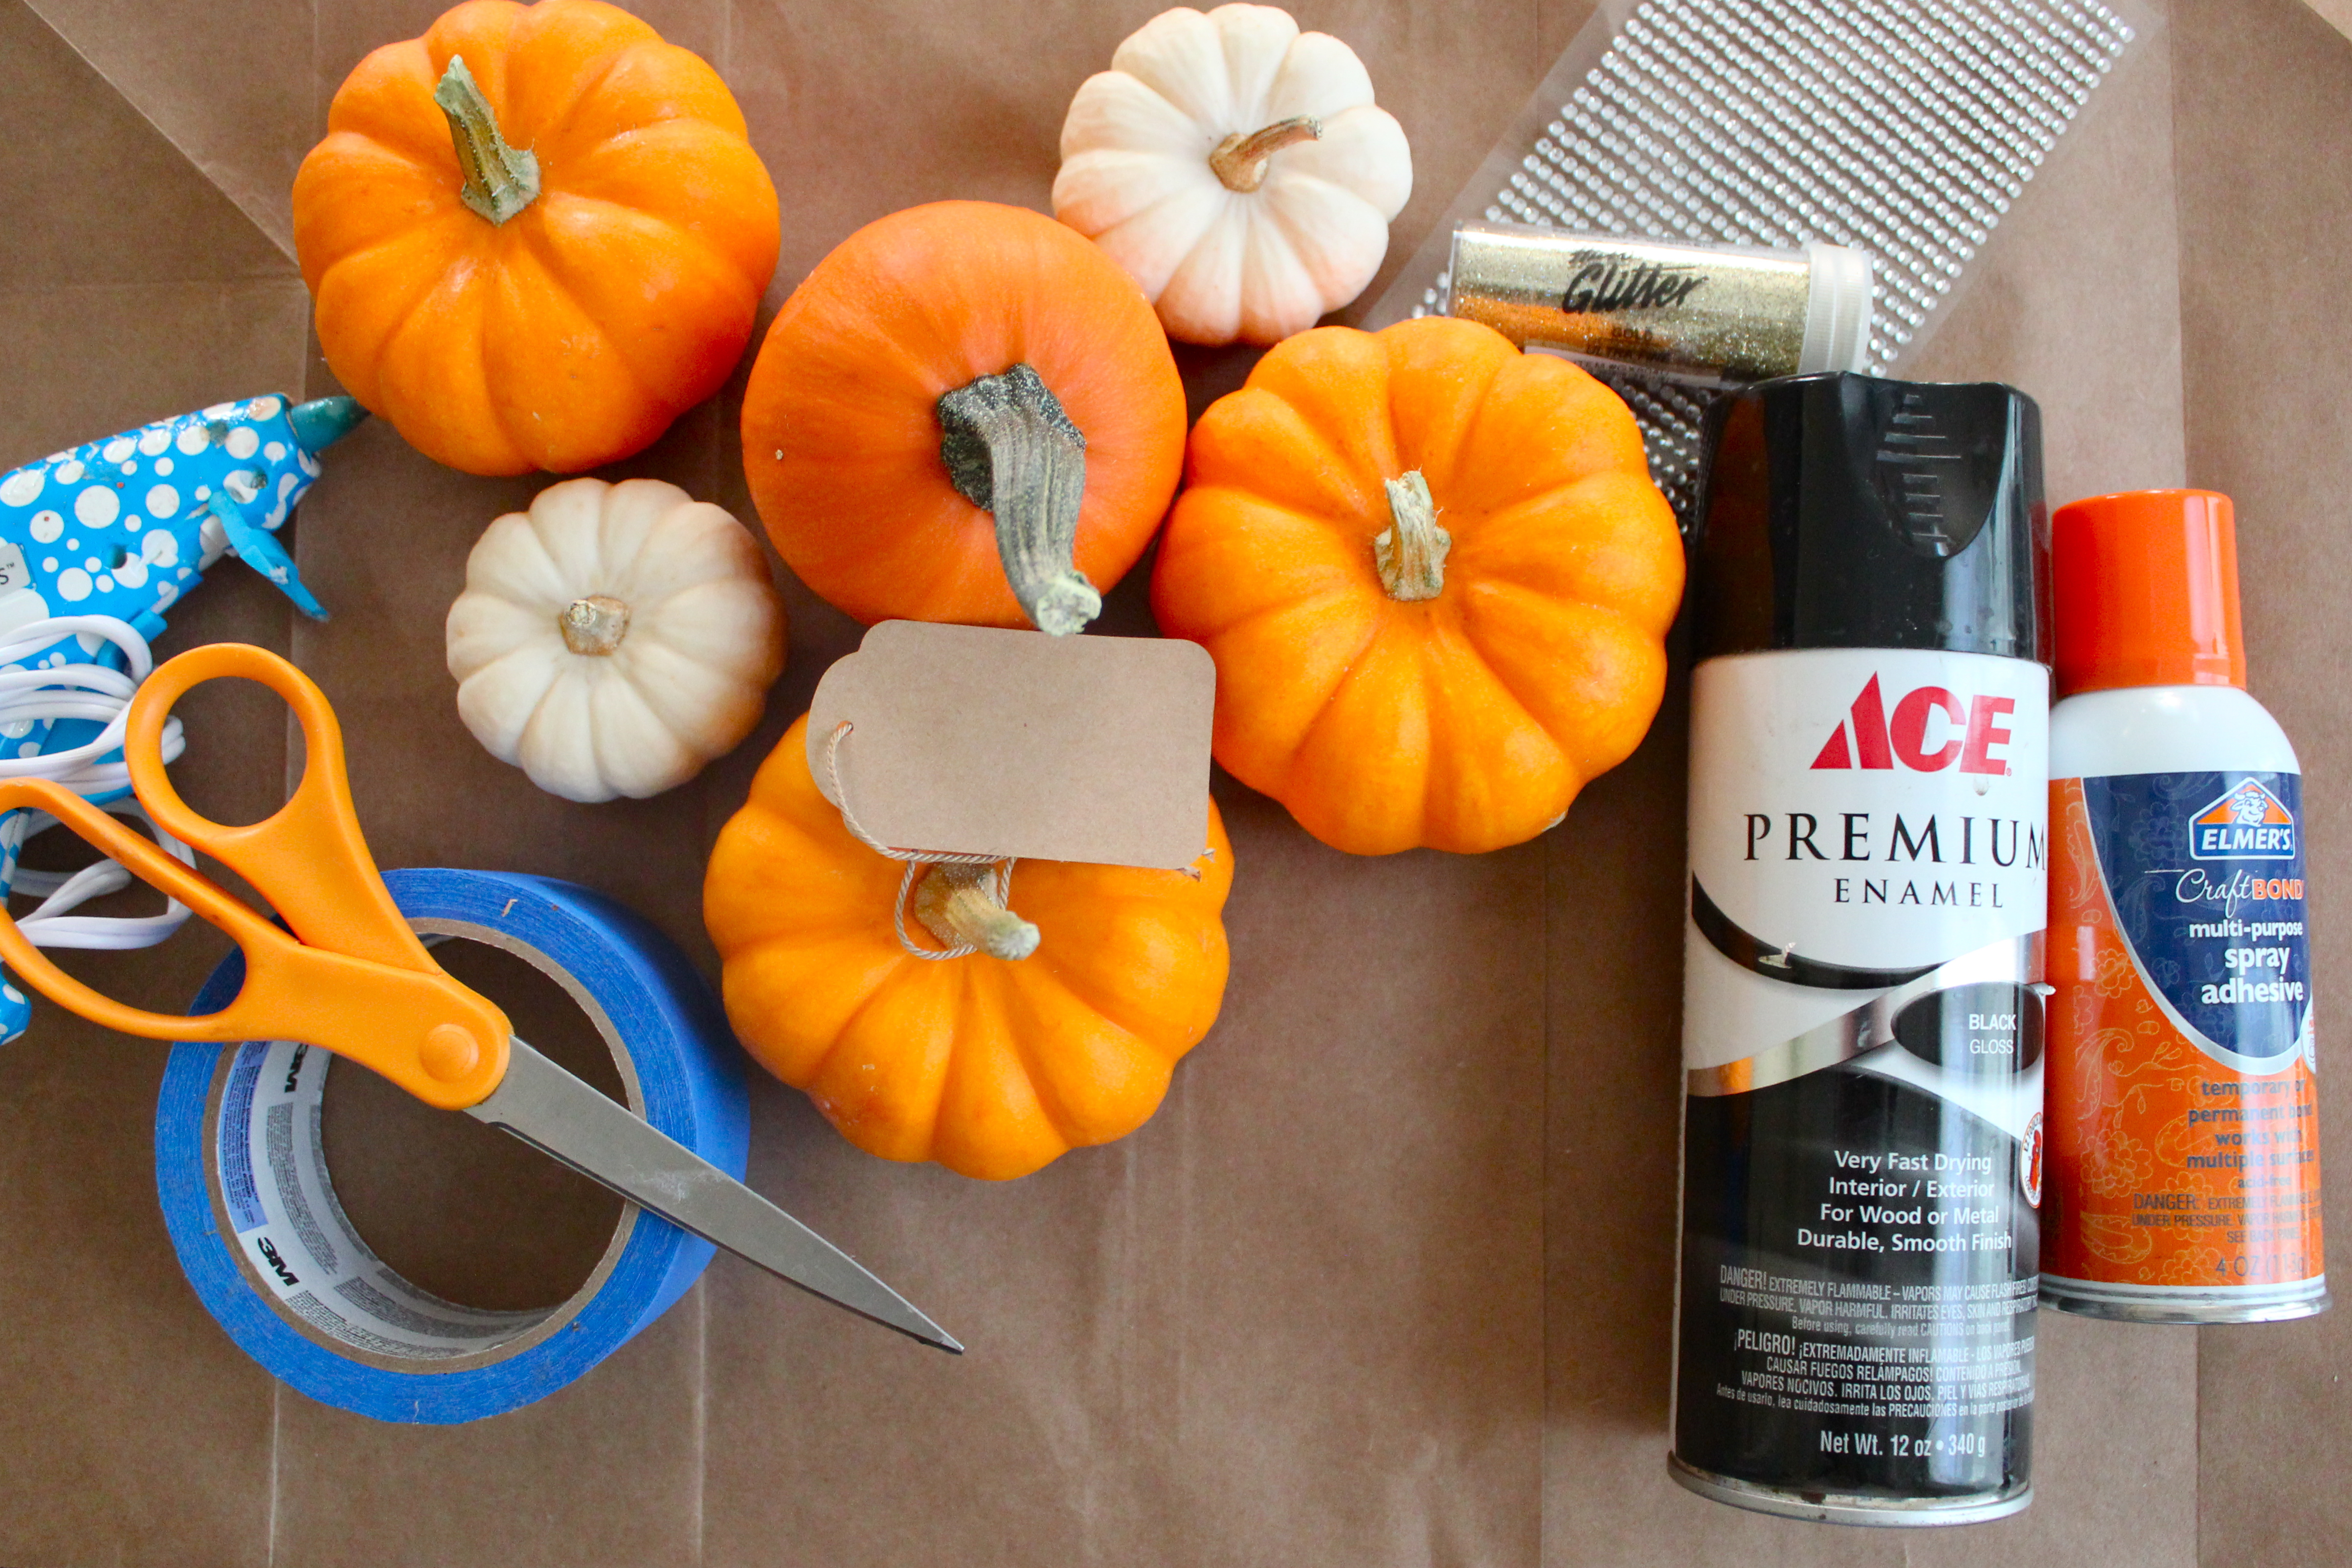 {blue painters tape, hot glue gun, scissors, miniature pumpkins, loose glitter, sticky back rhinestones, spray adhesive, black spray paint,newspaper/brown shopping bag}
THE PUMPKINS:
{{Half Enchanted}}
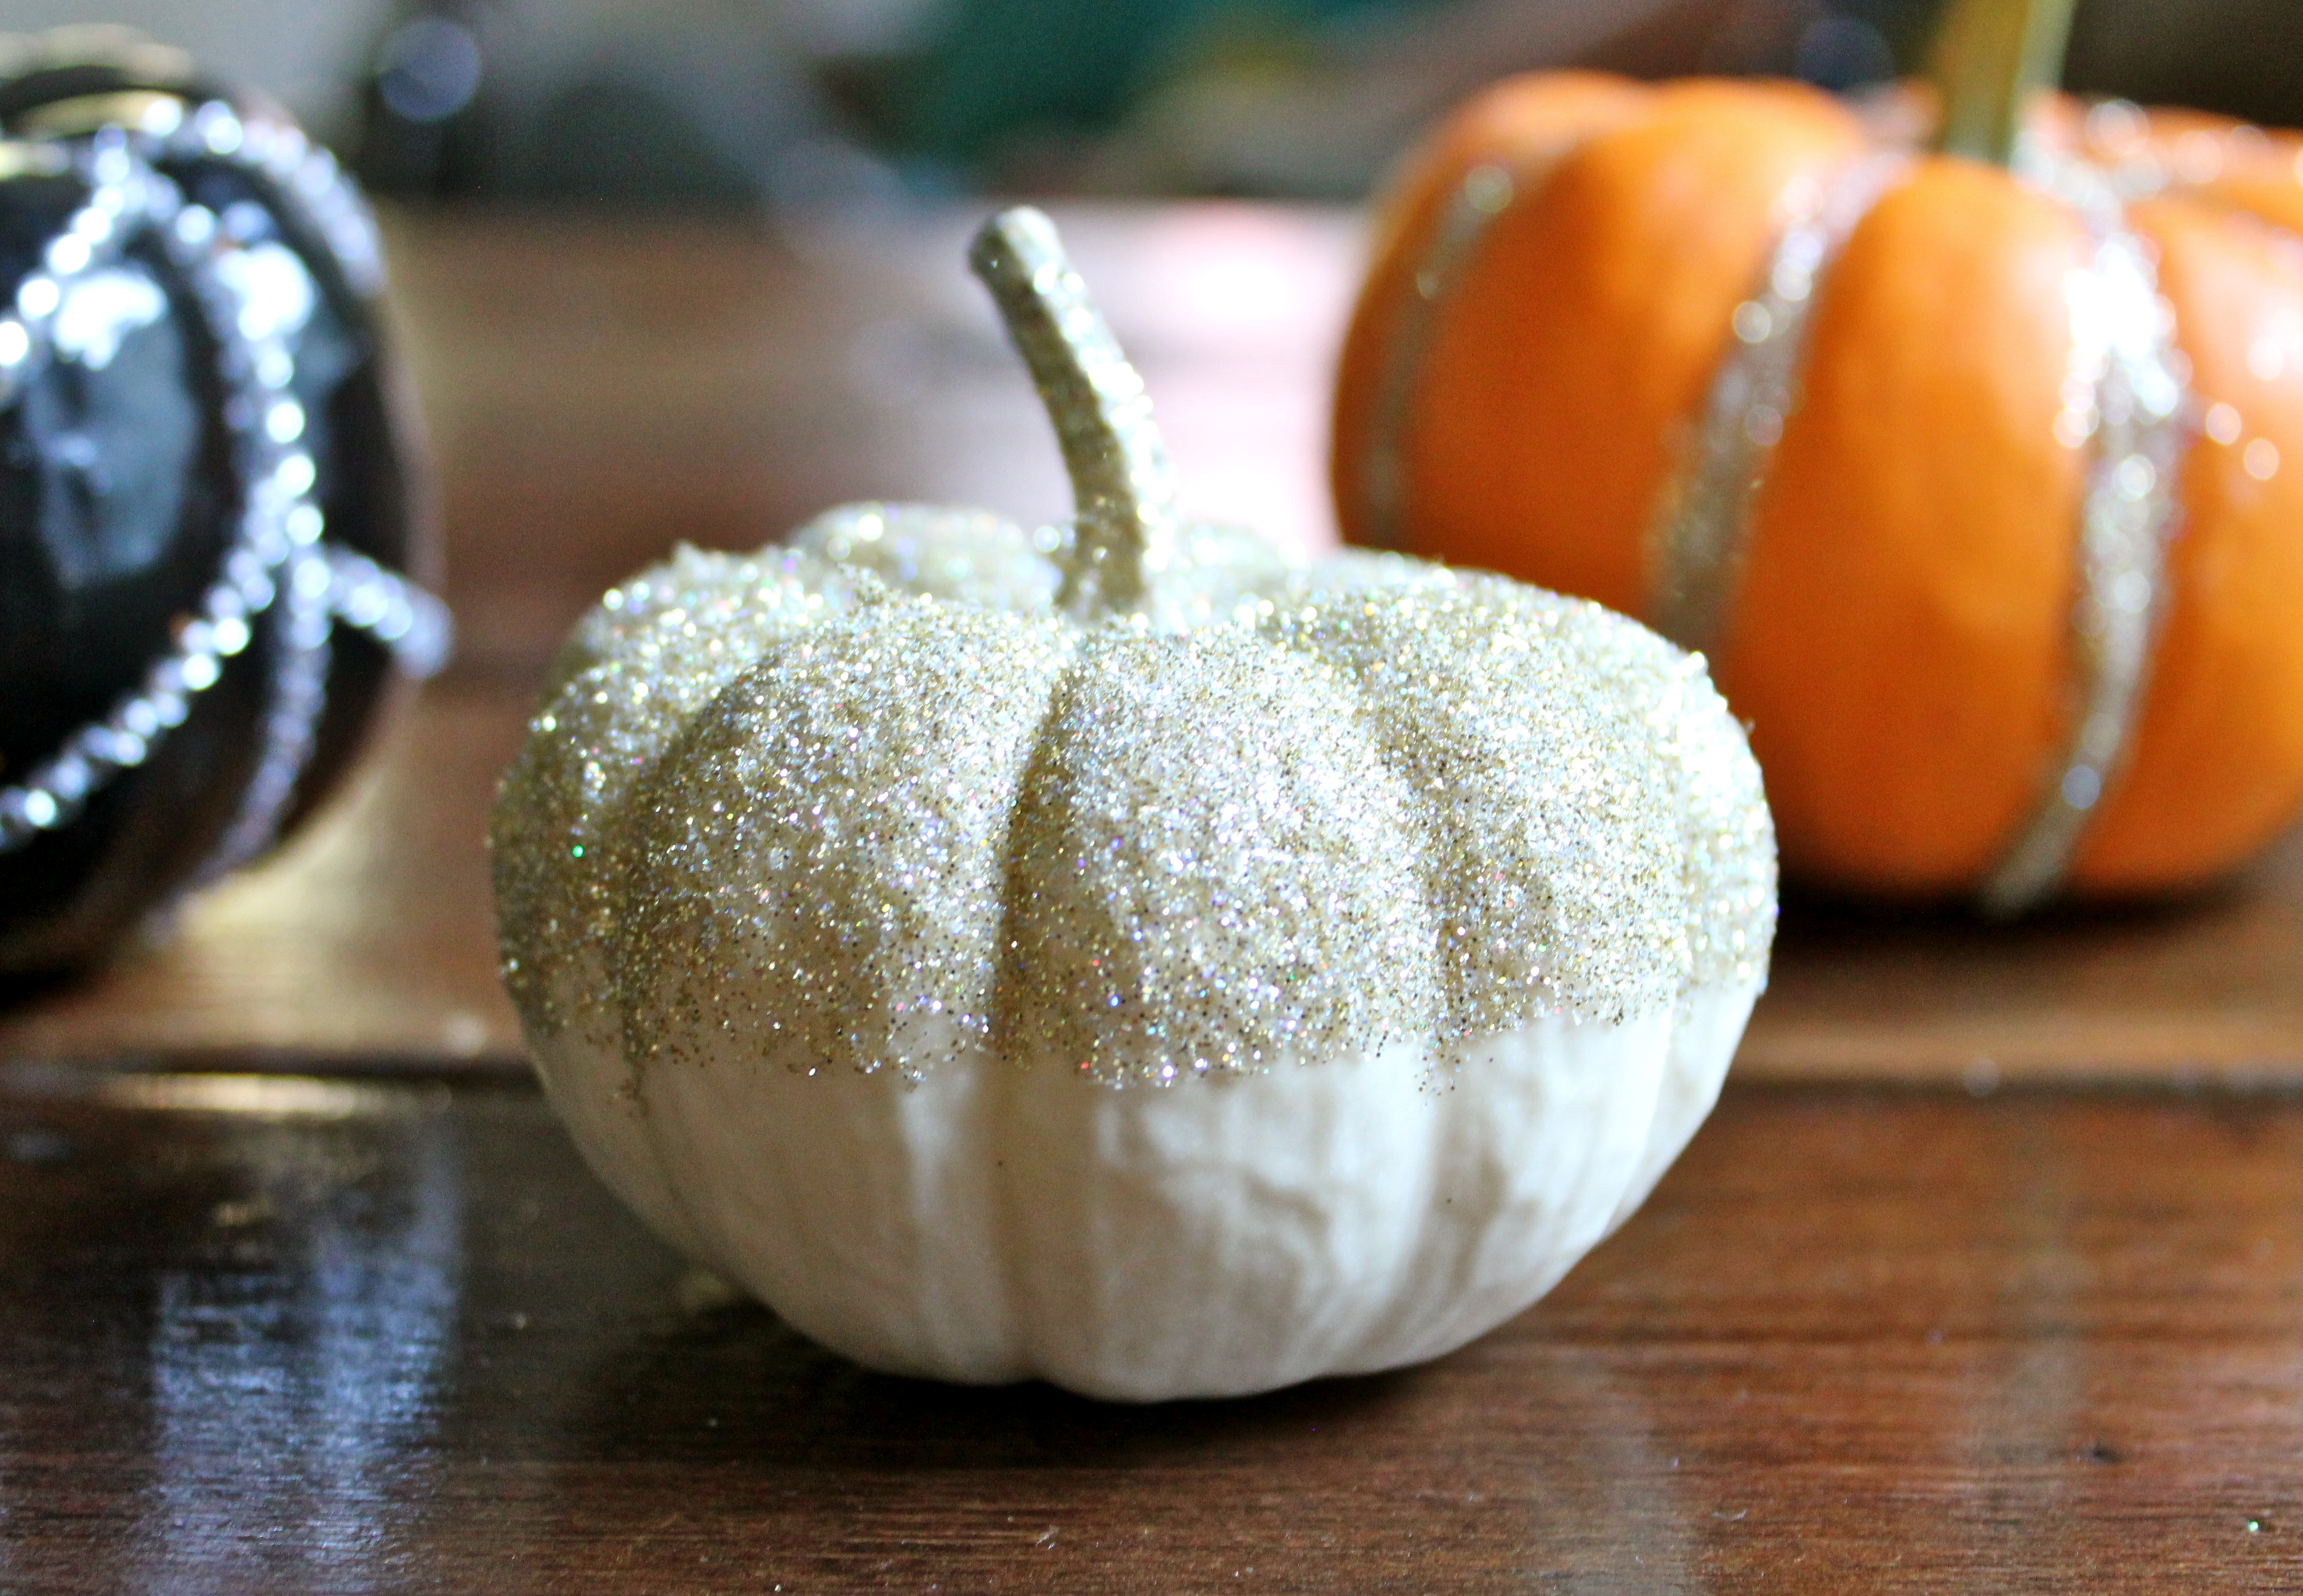
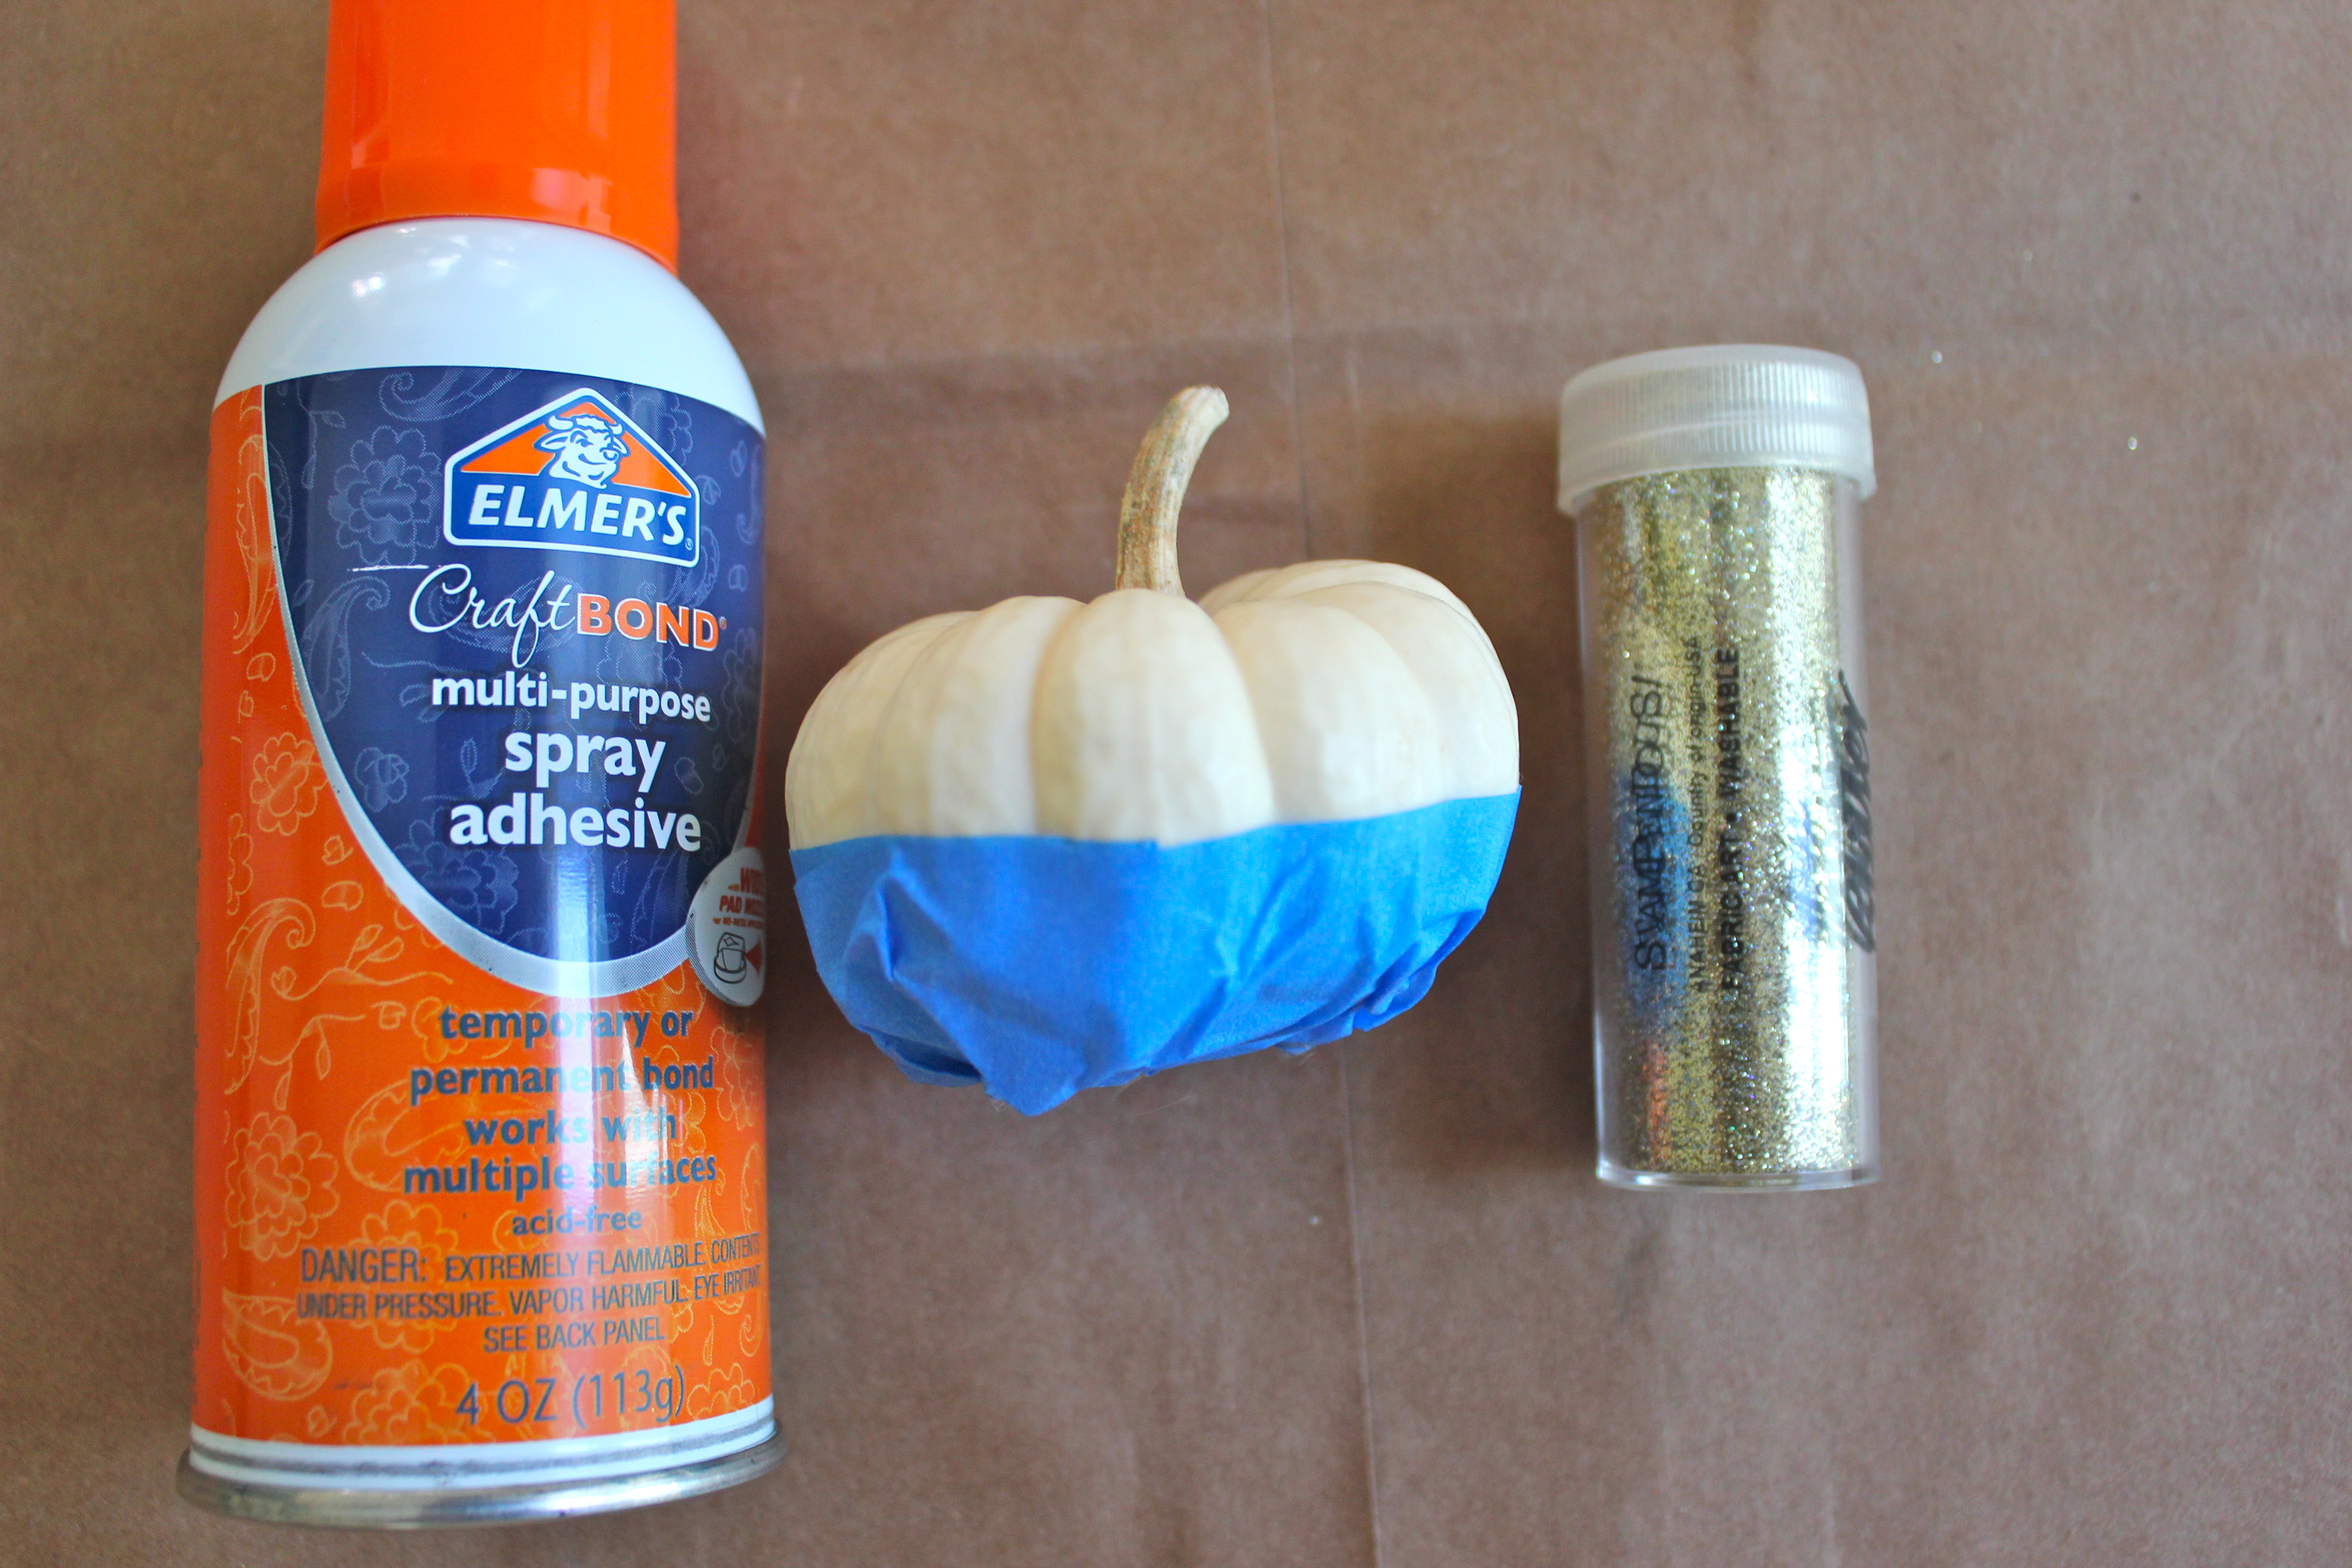 For these little white minis, it’s hard to go into too much detail because of their size, so I decided on an easier route: Step 1: Put down the newspaper on the table as a protective layer…Step 2: Wrap blue painters tape around the bottom half of the pumpkin…Step 3: Spray the whole upper half of the pumpkin with the spray adhesive…Step 4: Wait a couple of seconds and pour your glitter! Be generous – you can always recollect the extra glitter and put it back in the container. Let dry for at least 10 minutes before peeling the tape away, 20 before touching it. Now you have a Half Enchanted little pumpkin!
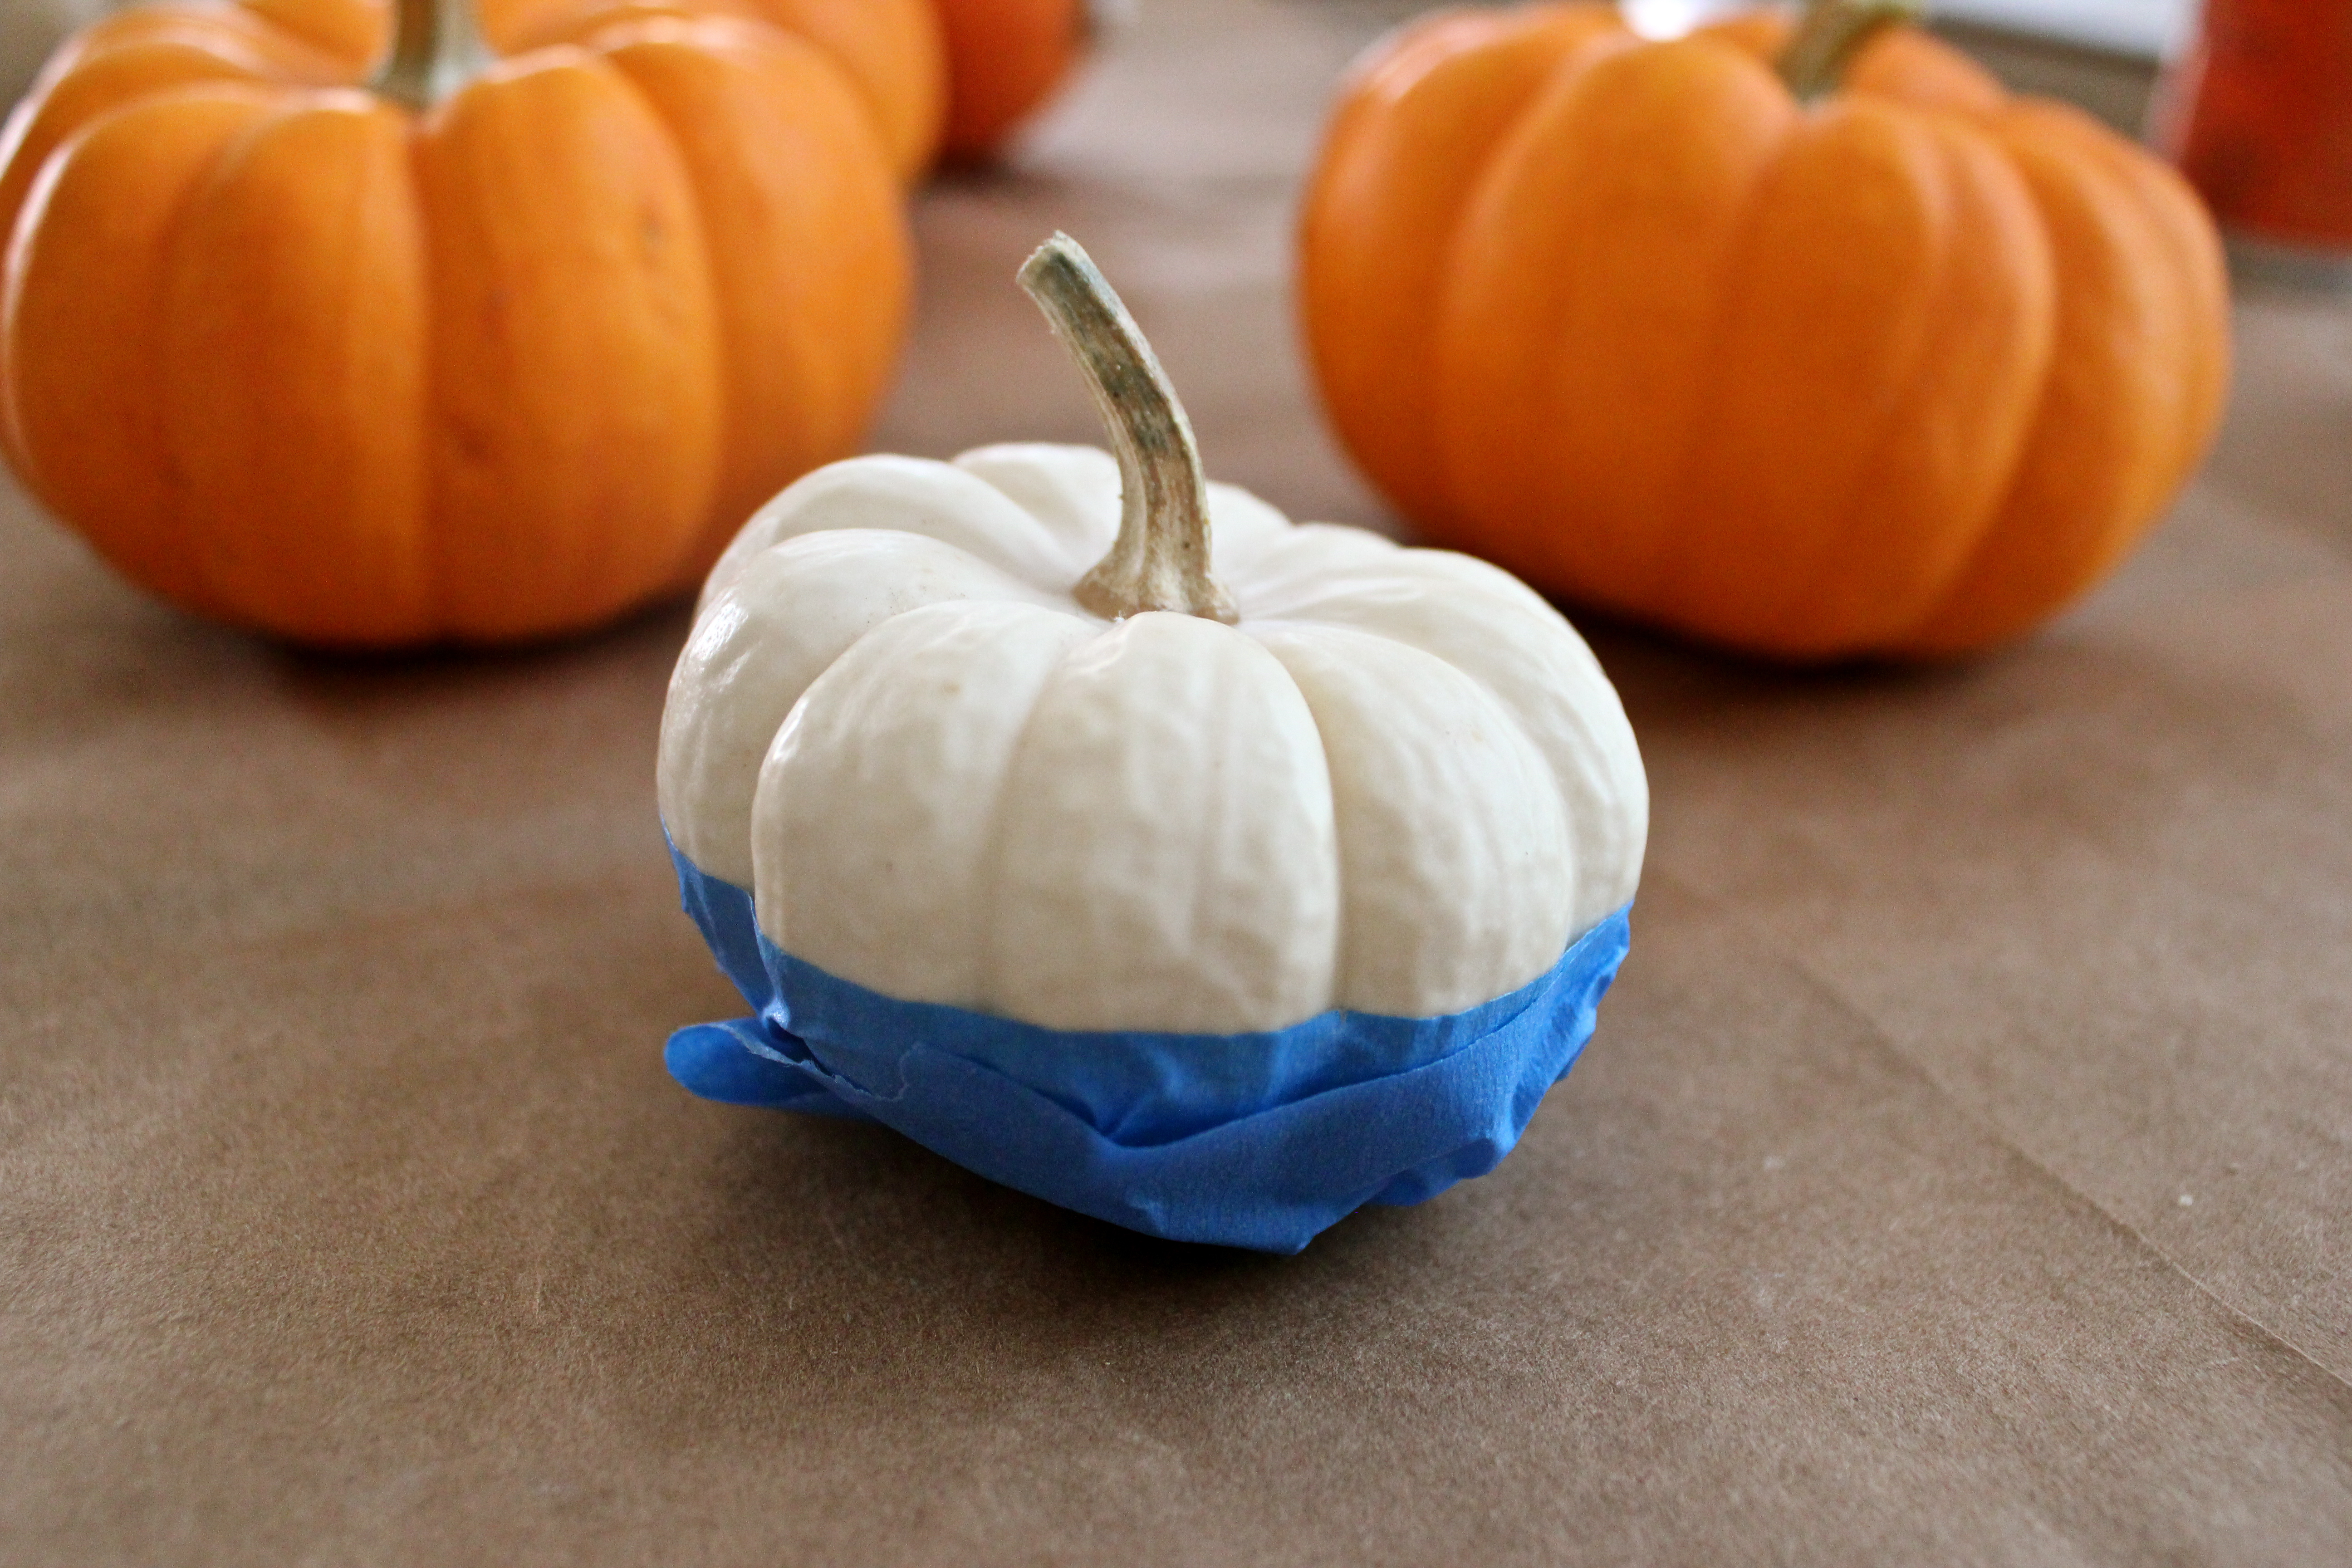
{{Wicked Web}}

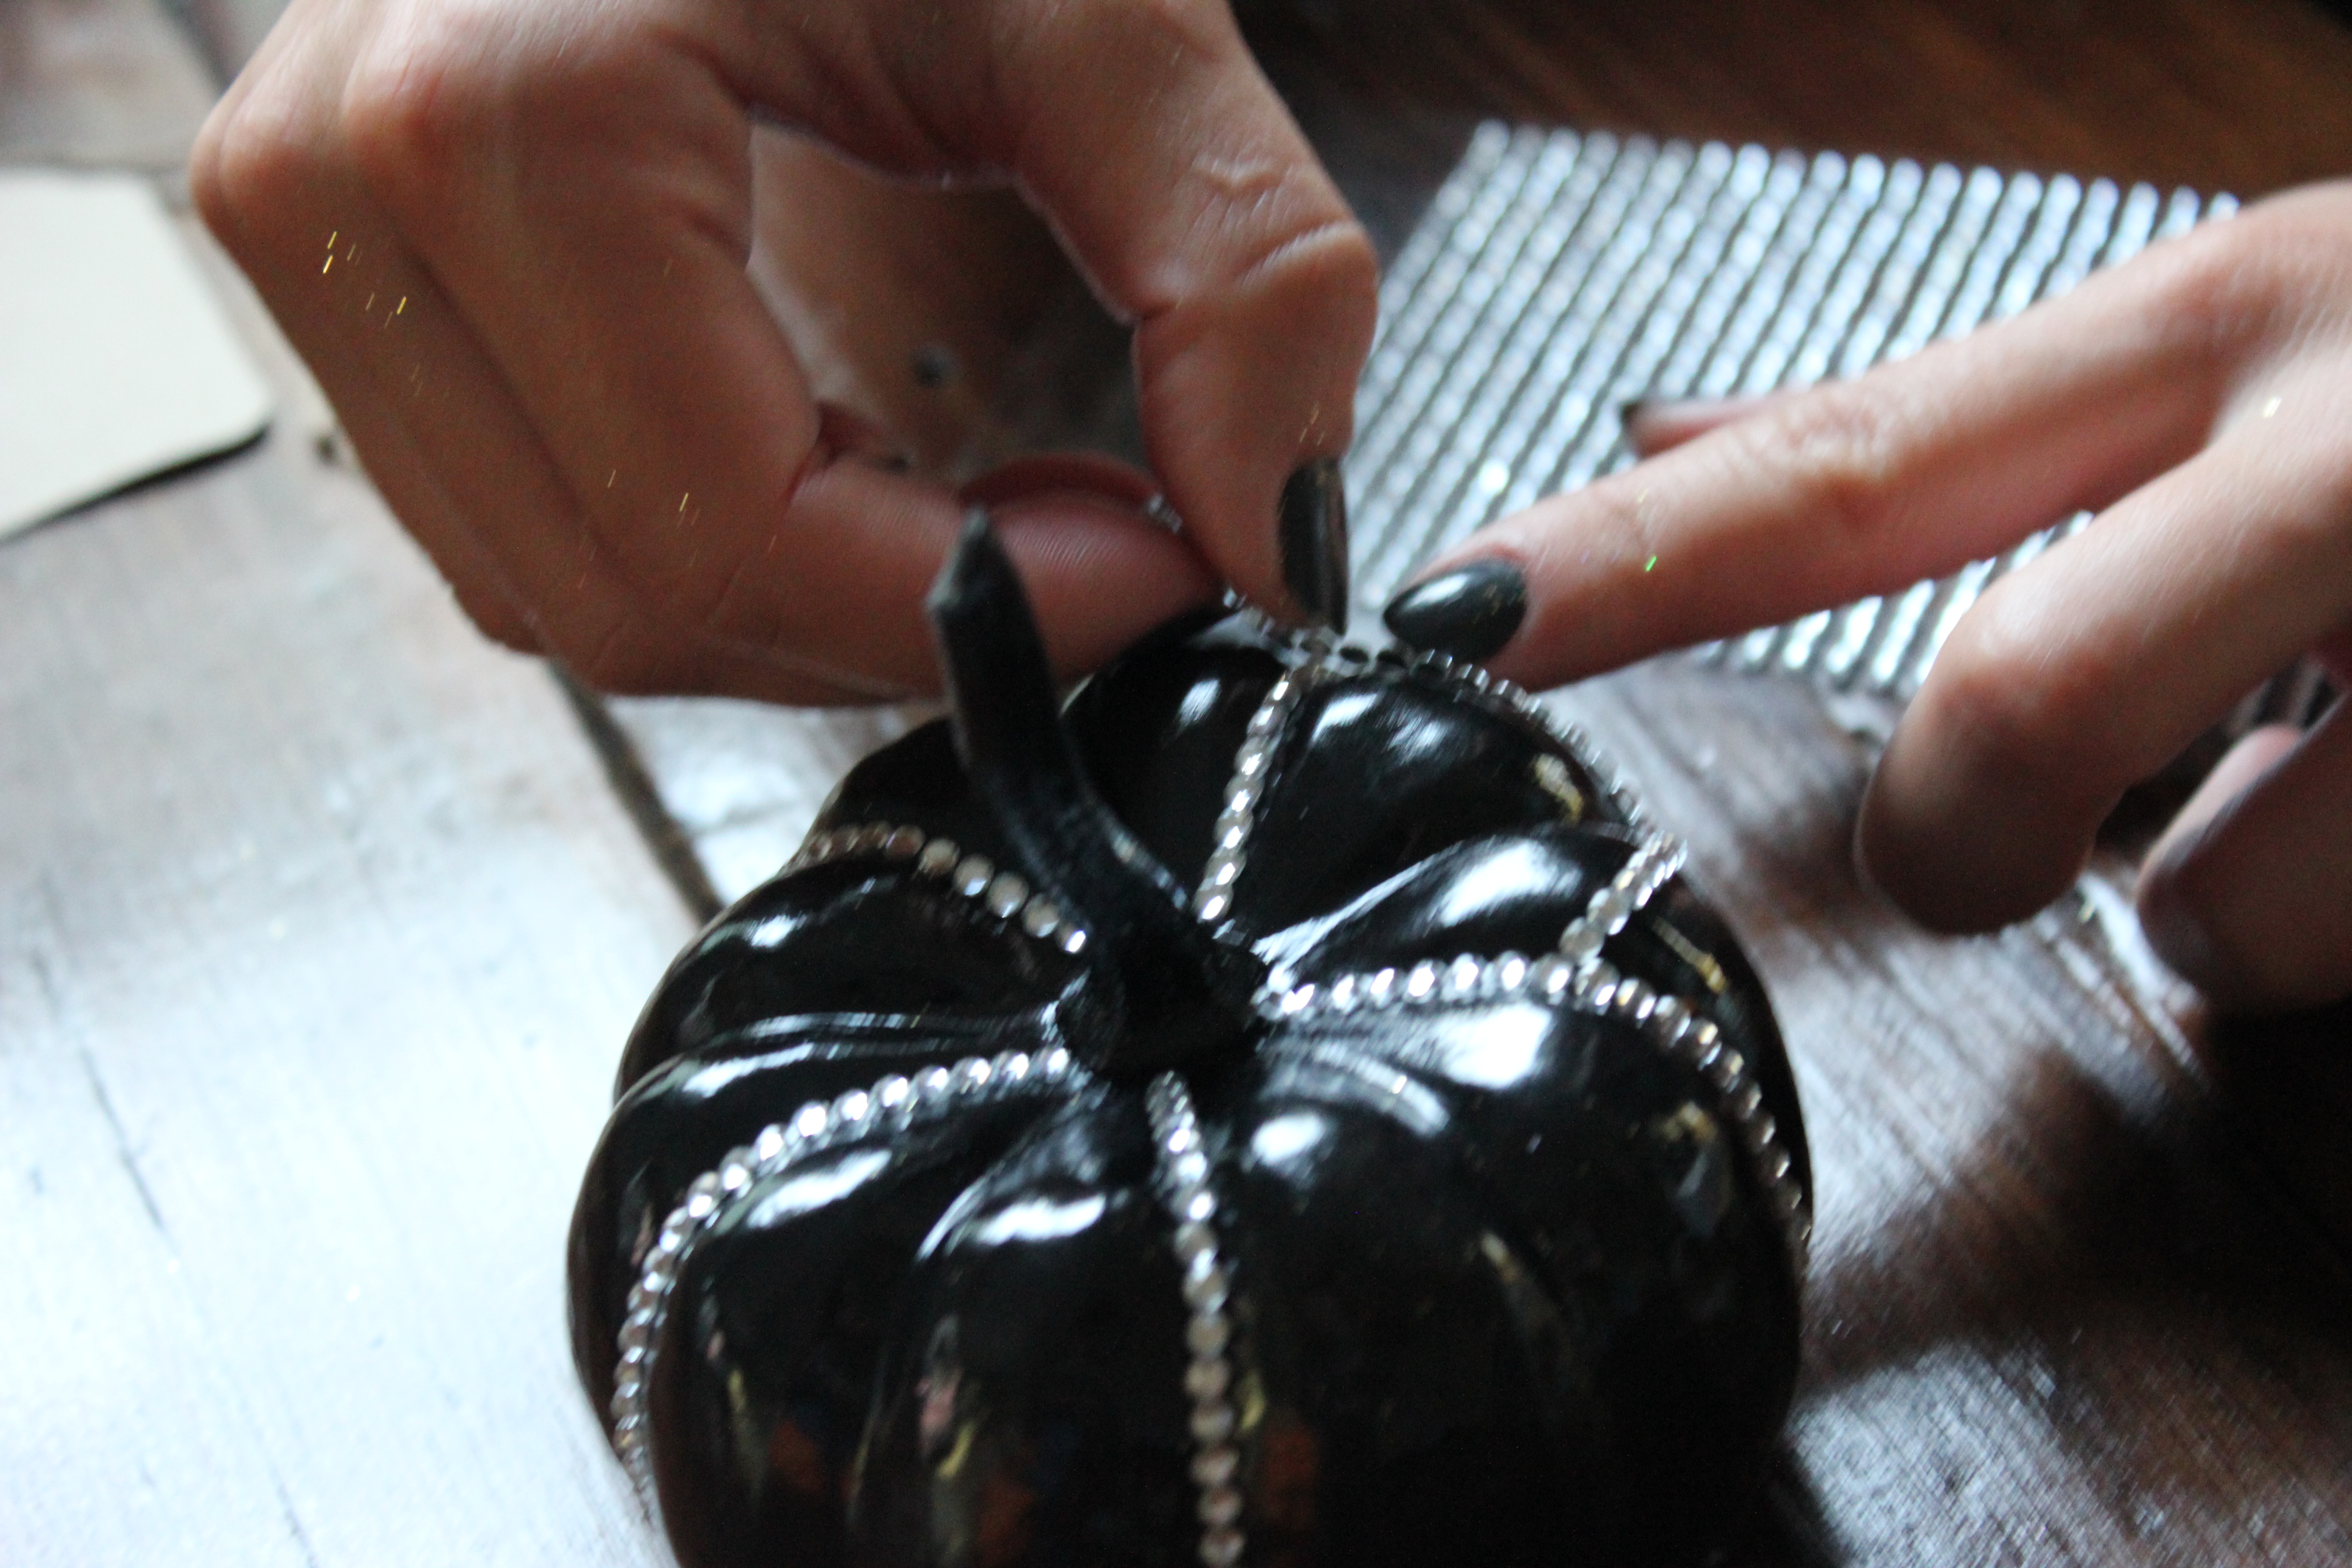
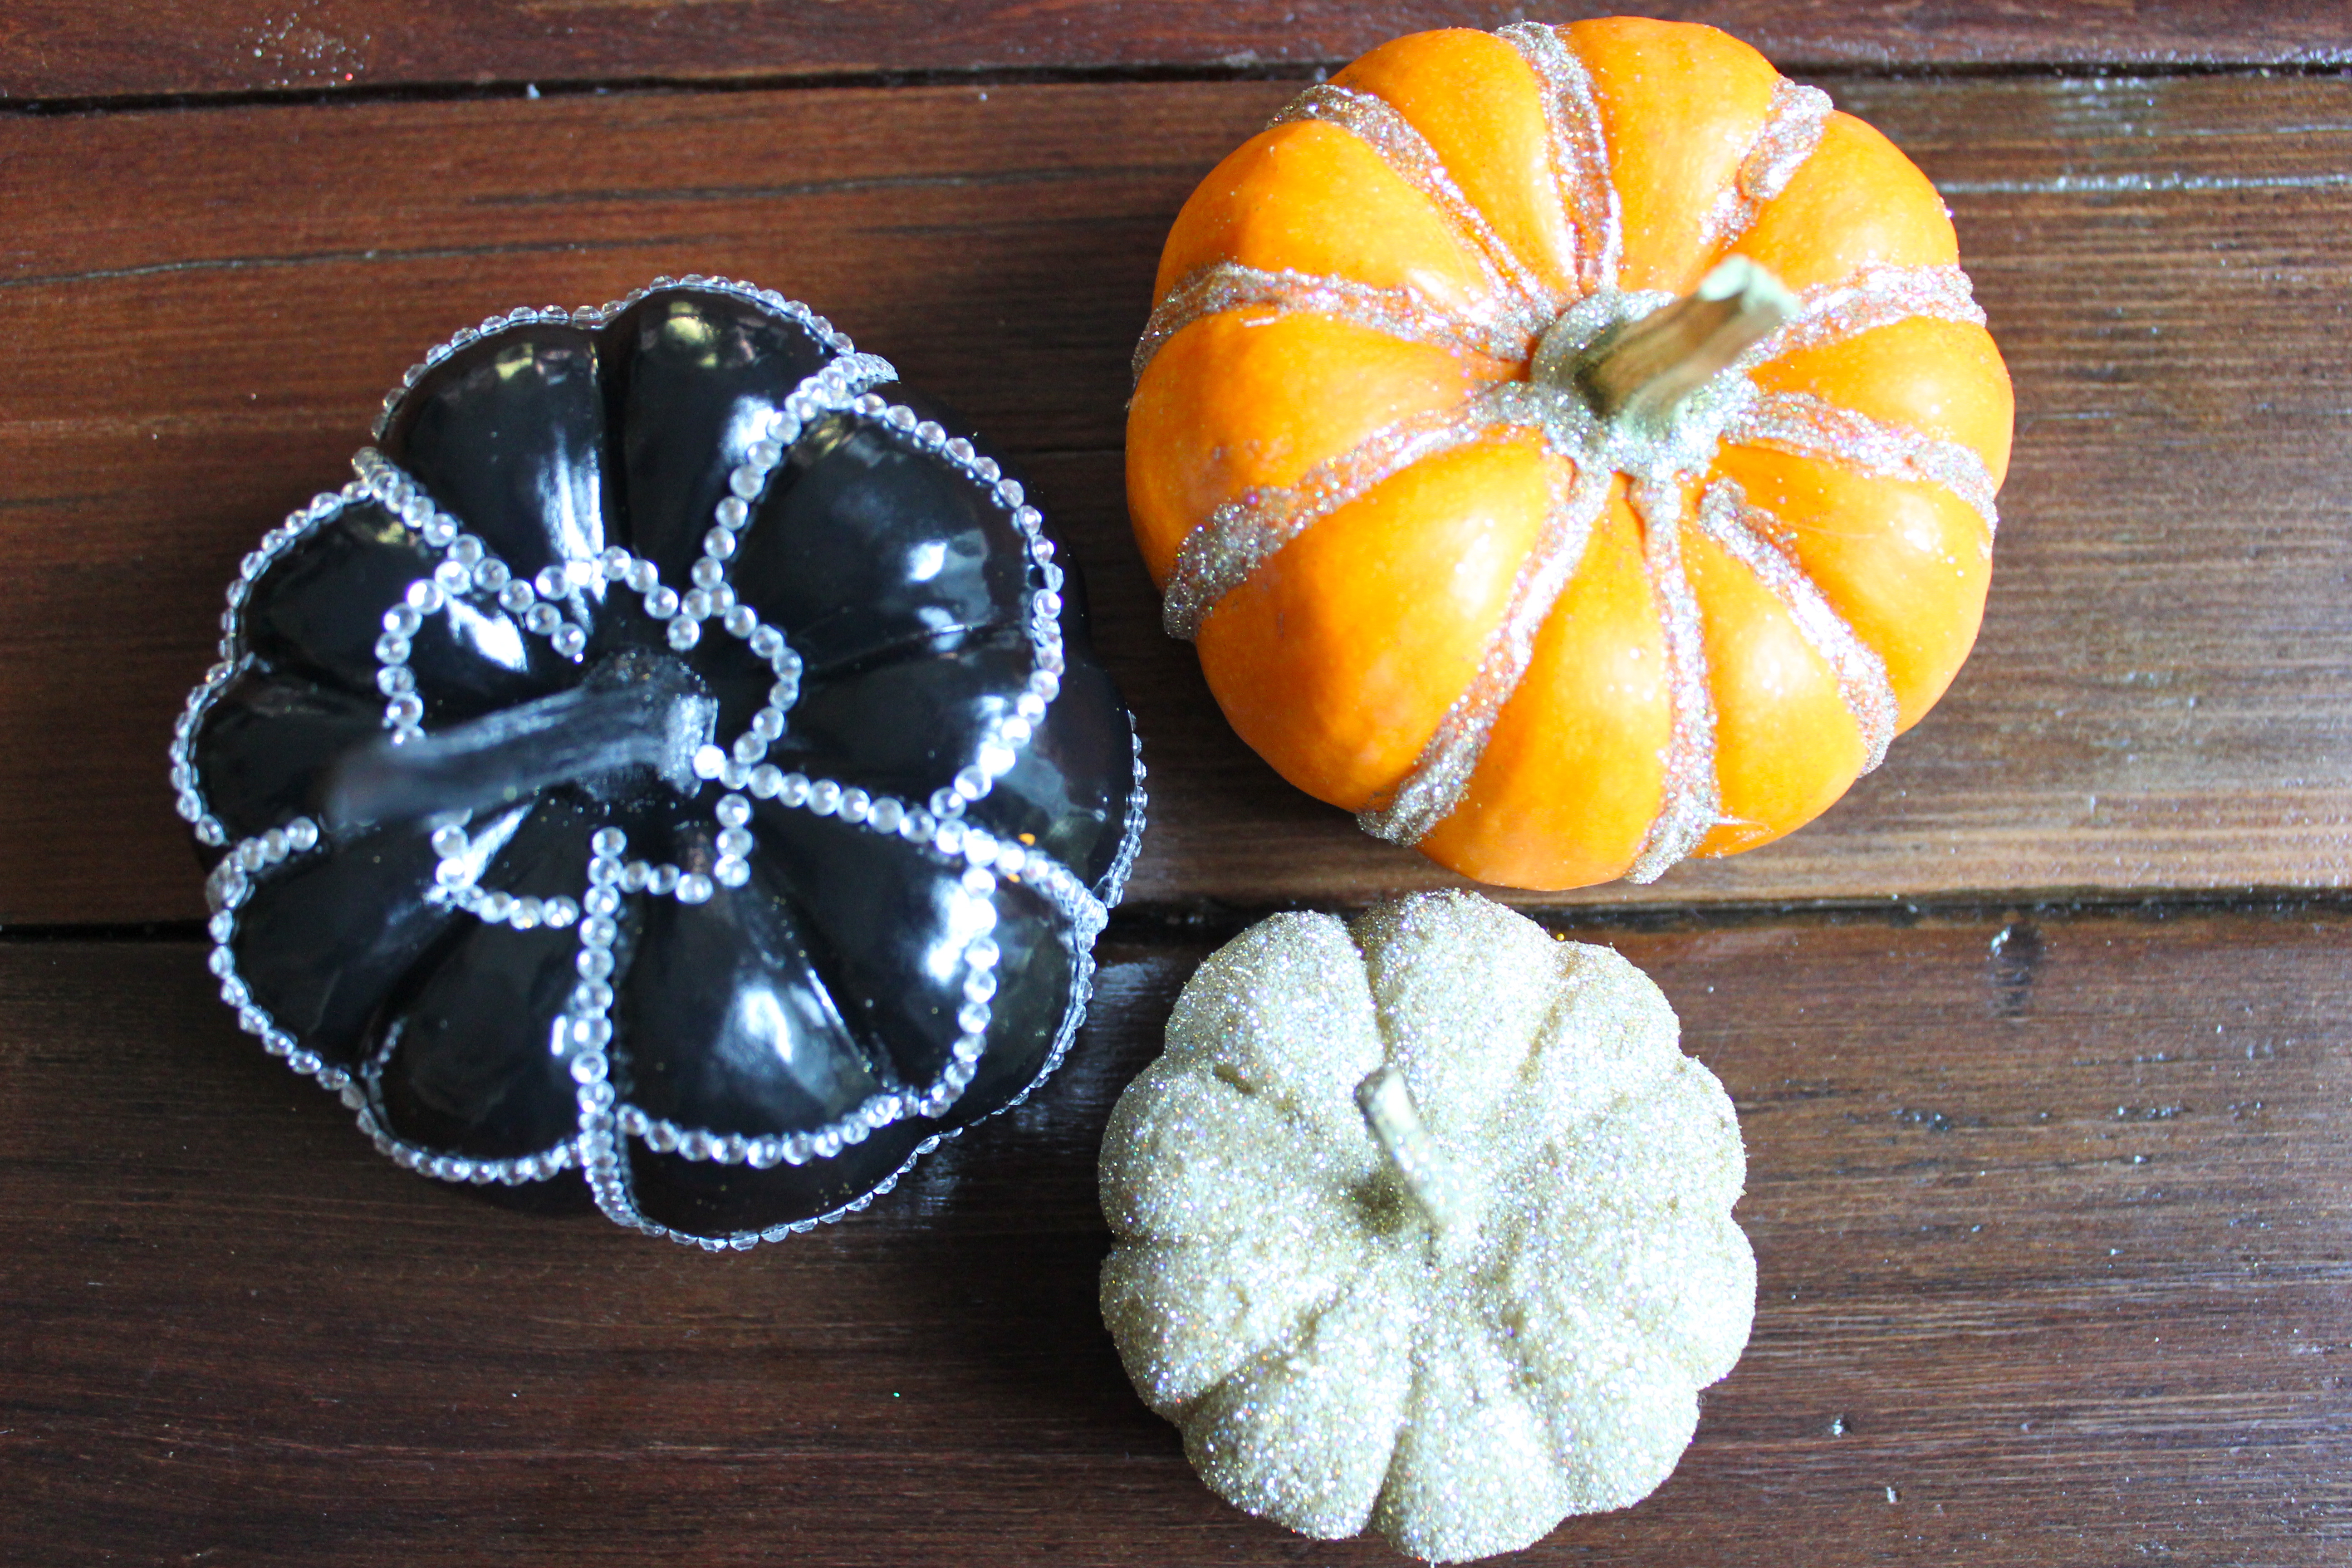
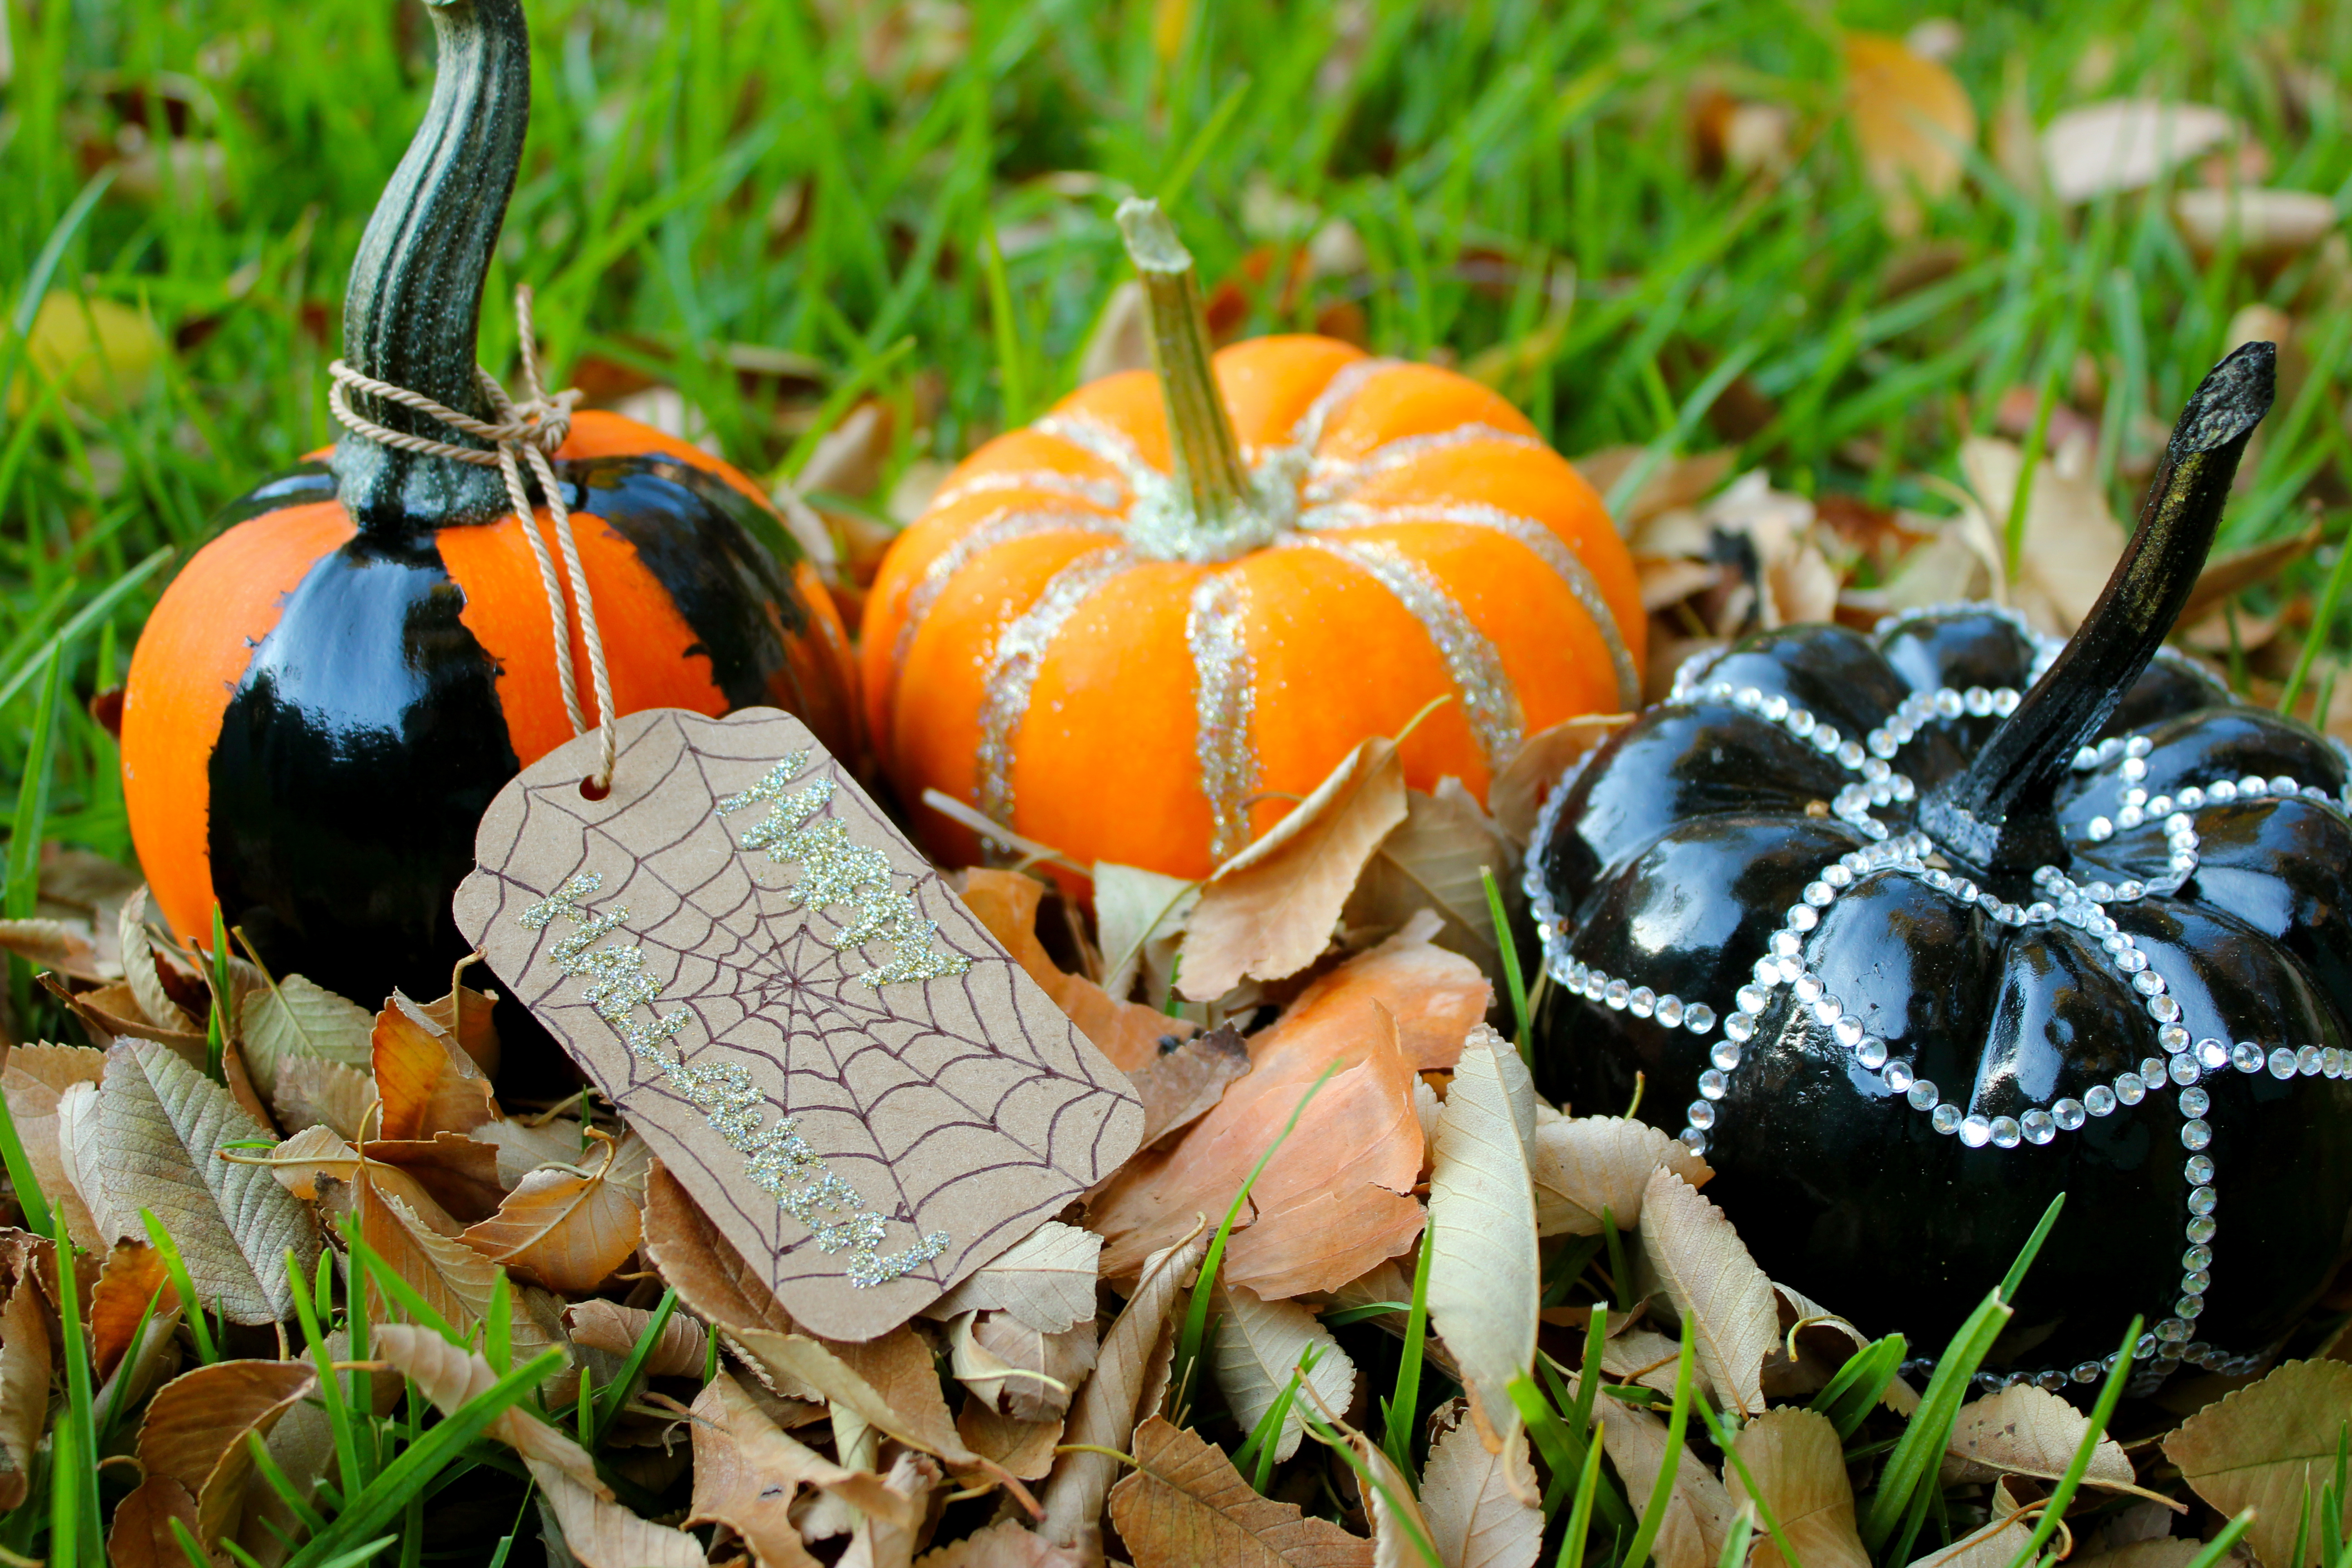
Step 1: Spray your entire pumpkin black. Let dry at least 20-30 minutes…Step 2: Grab the sticky-back rhinestones…Step 3: Peel one strip at a time and place in the pumpkins vertical indents. Start from the stem and press firmly on each section as you lay down the rhinestones. I chose to do every other indent…Step 4: When you’ve gone around the pumpkin, start creating the web by making wide “V’s” going from one strand of rhinestones, to the next. I did three of these per section and altered each section so they were off a bit from one-another. Continue around the whole pumpkin and you’ll soon have a Wicked Web!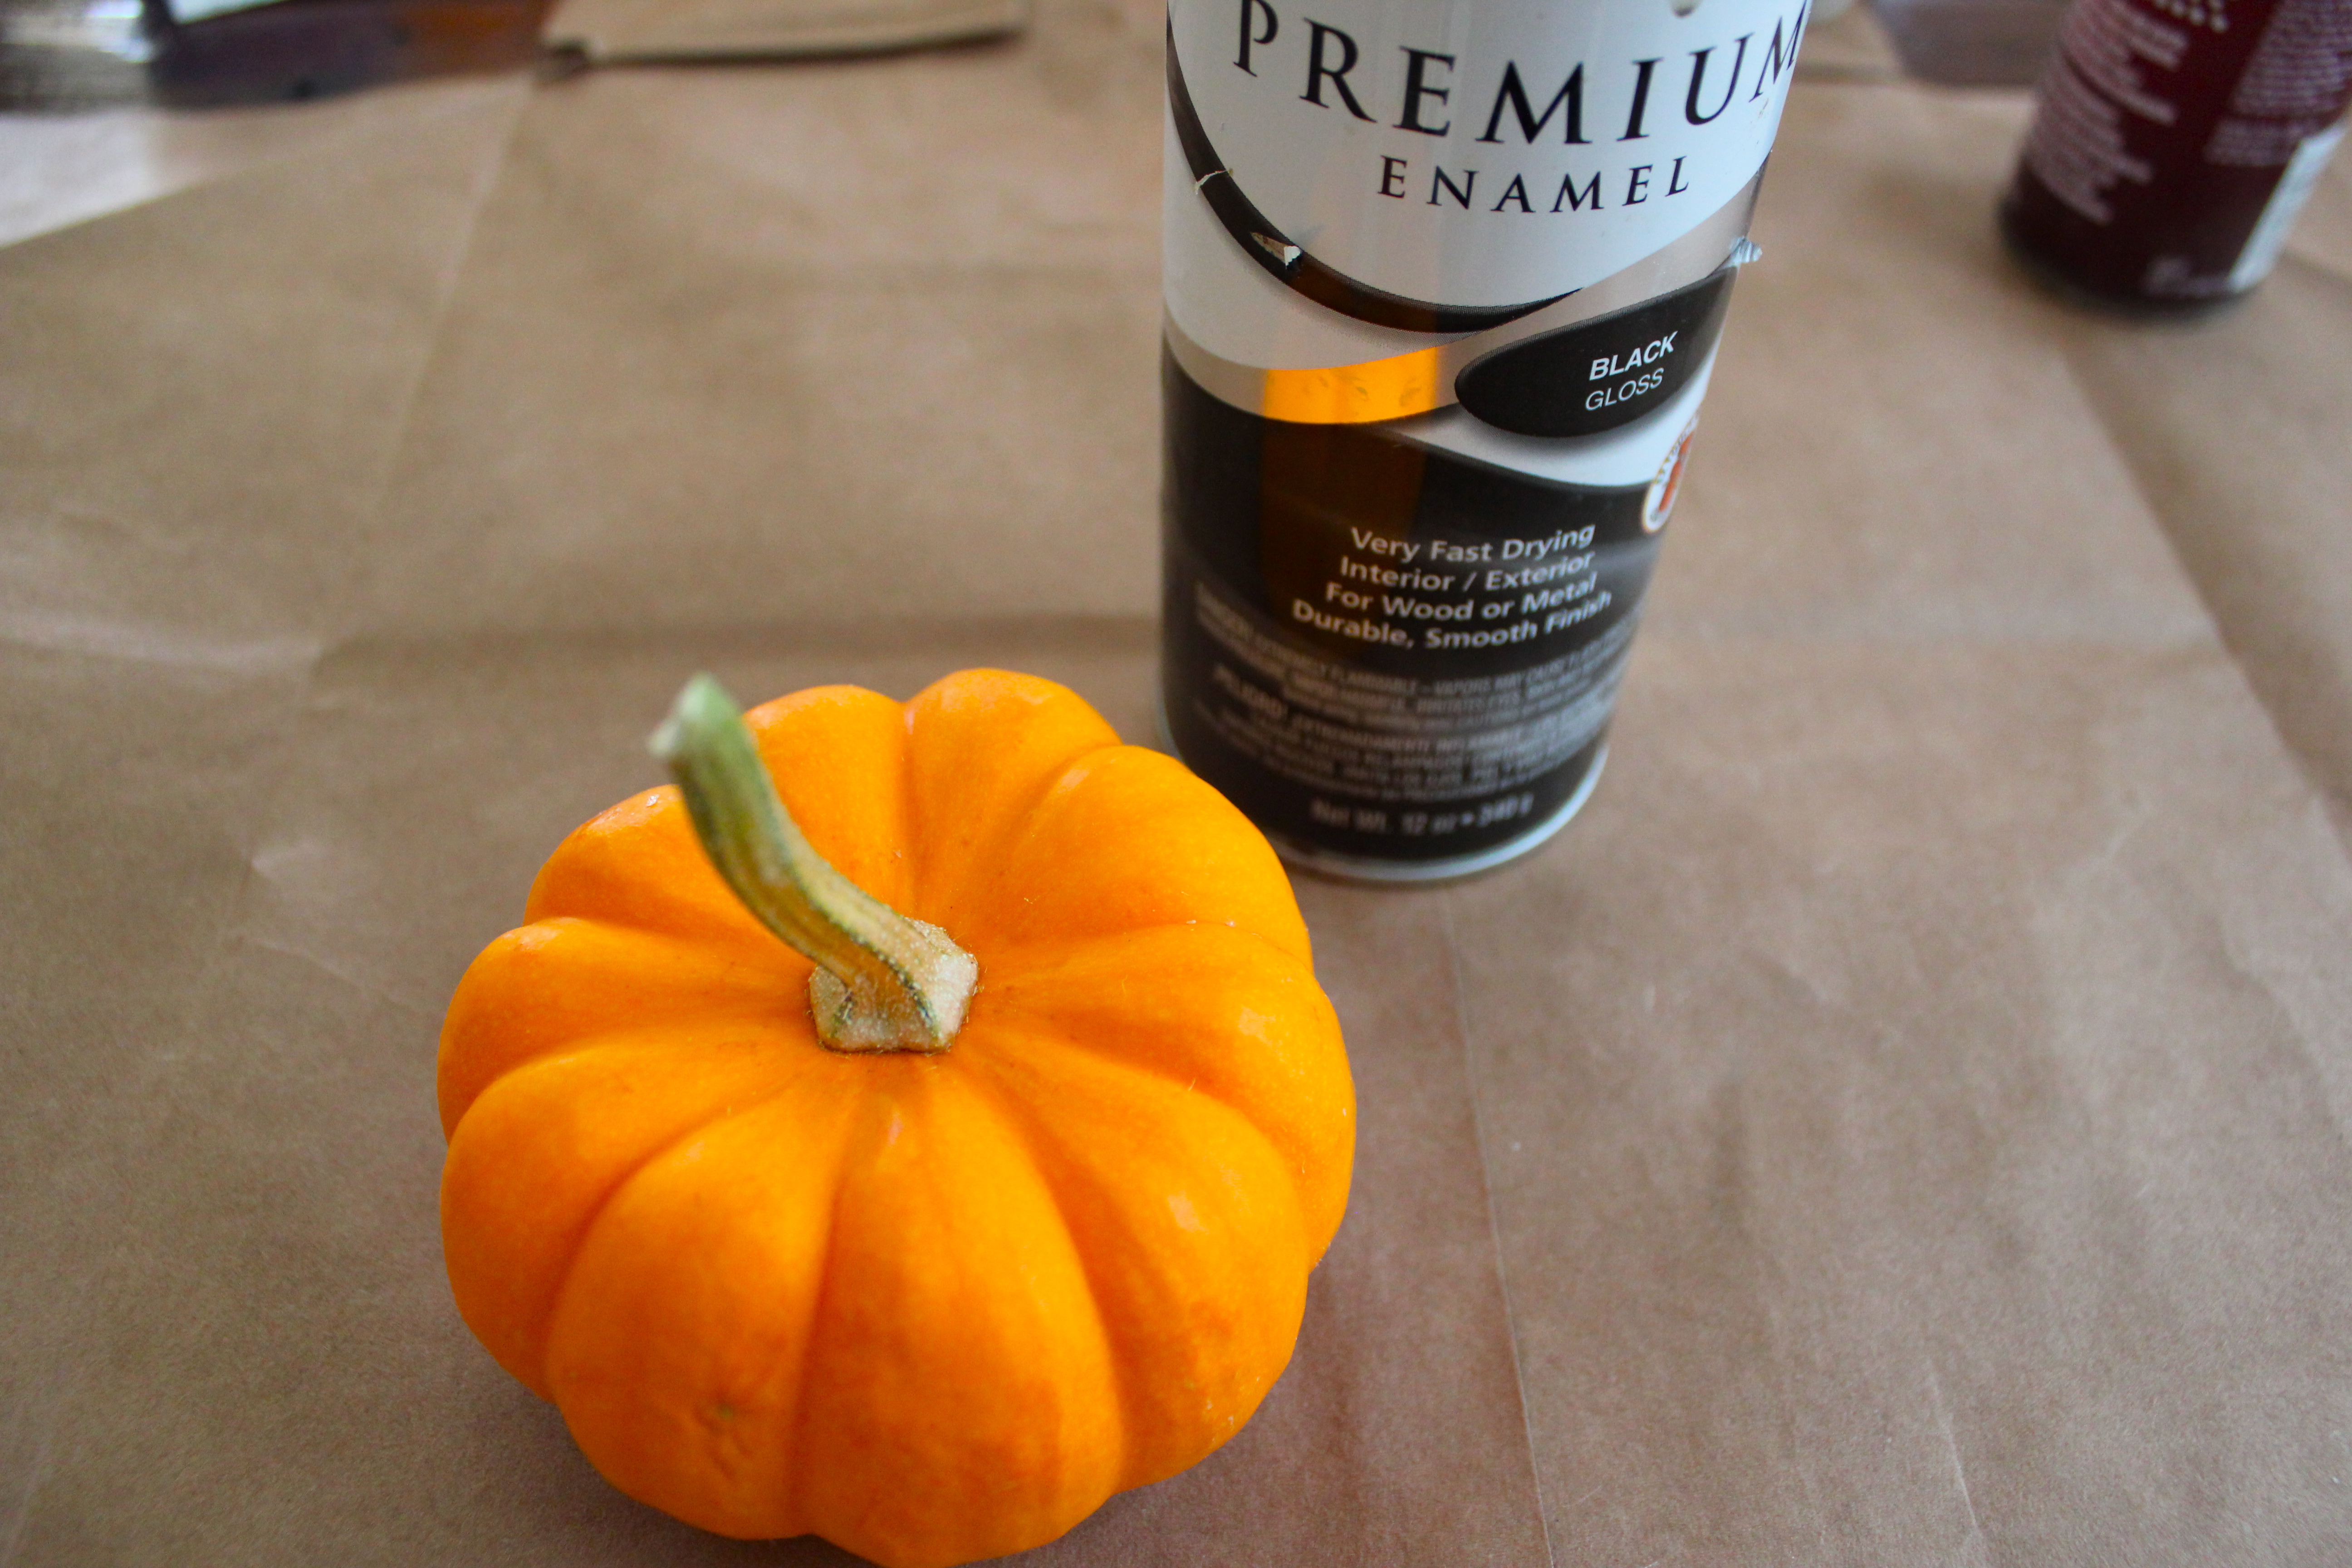


{{Sweet Spell}}
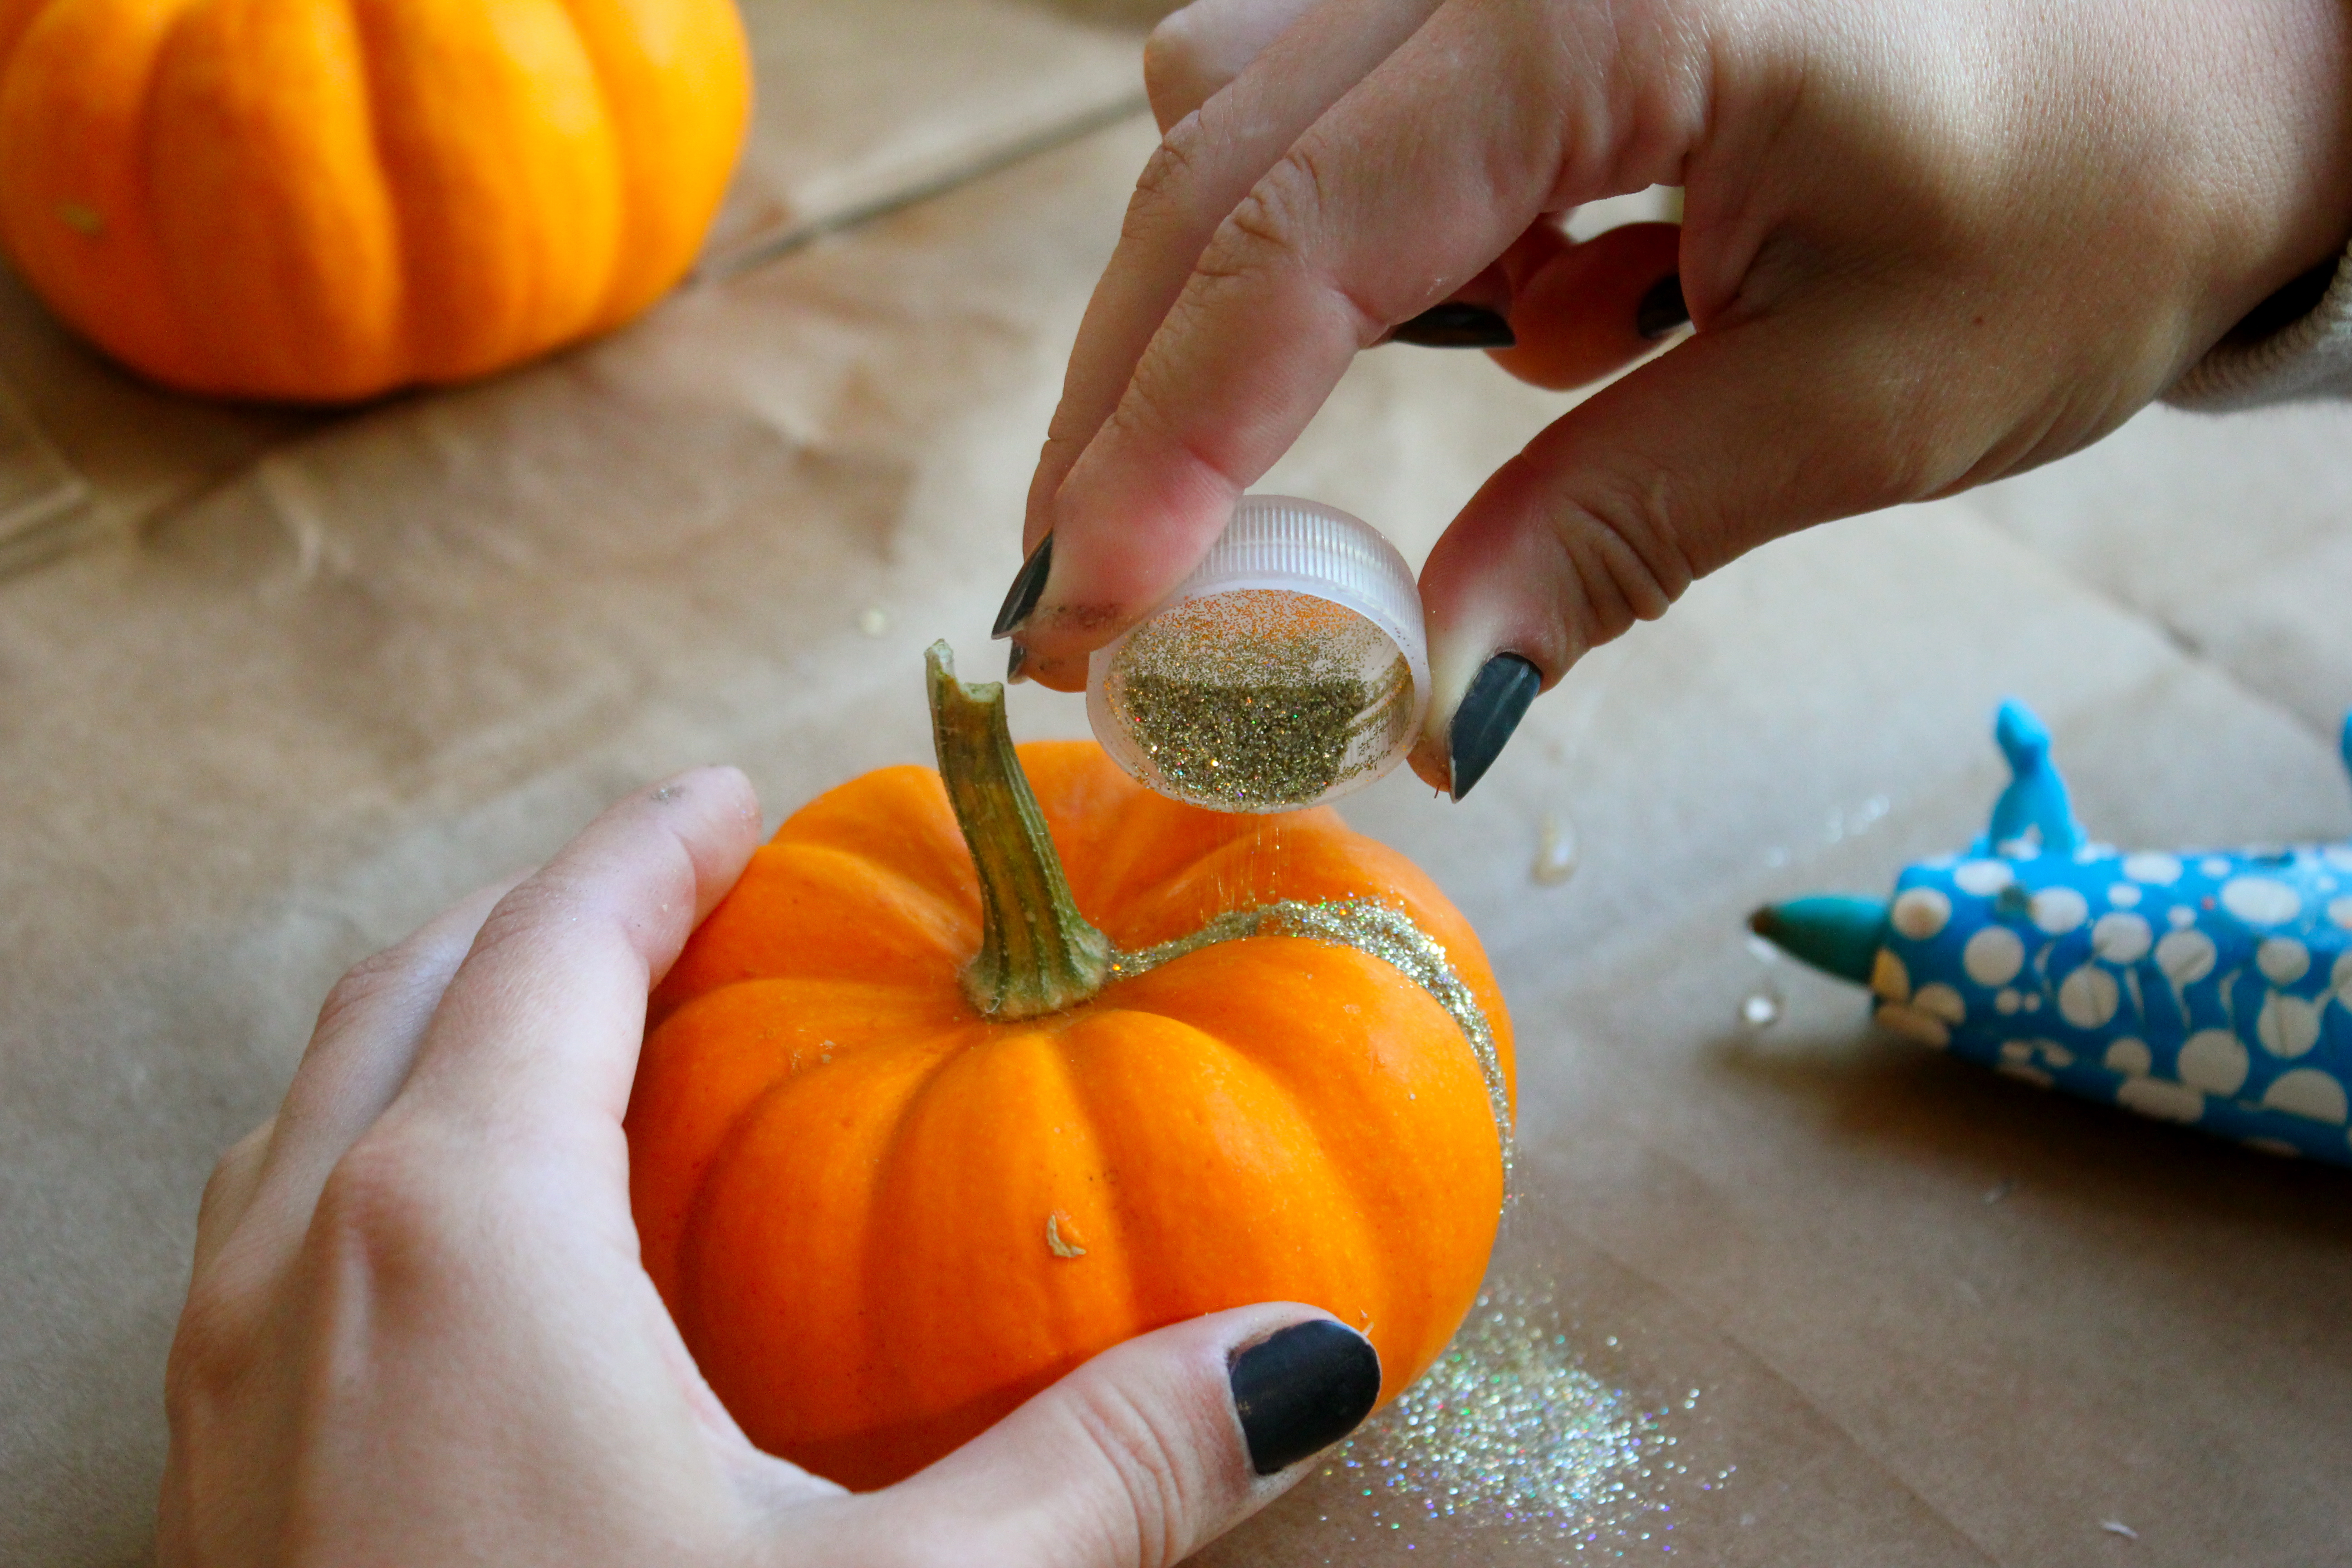
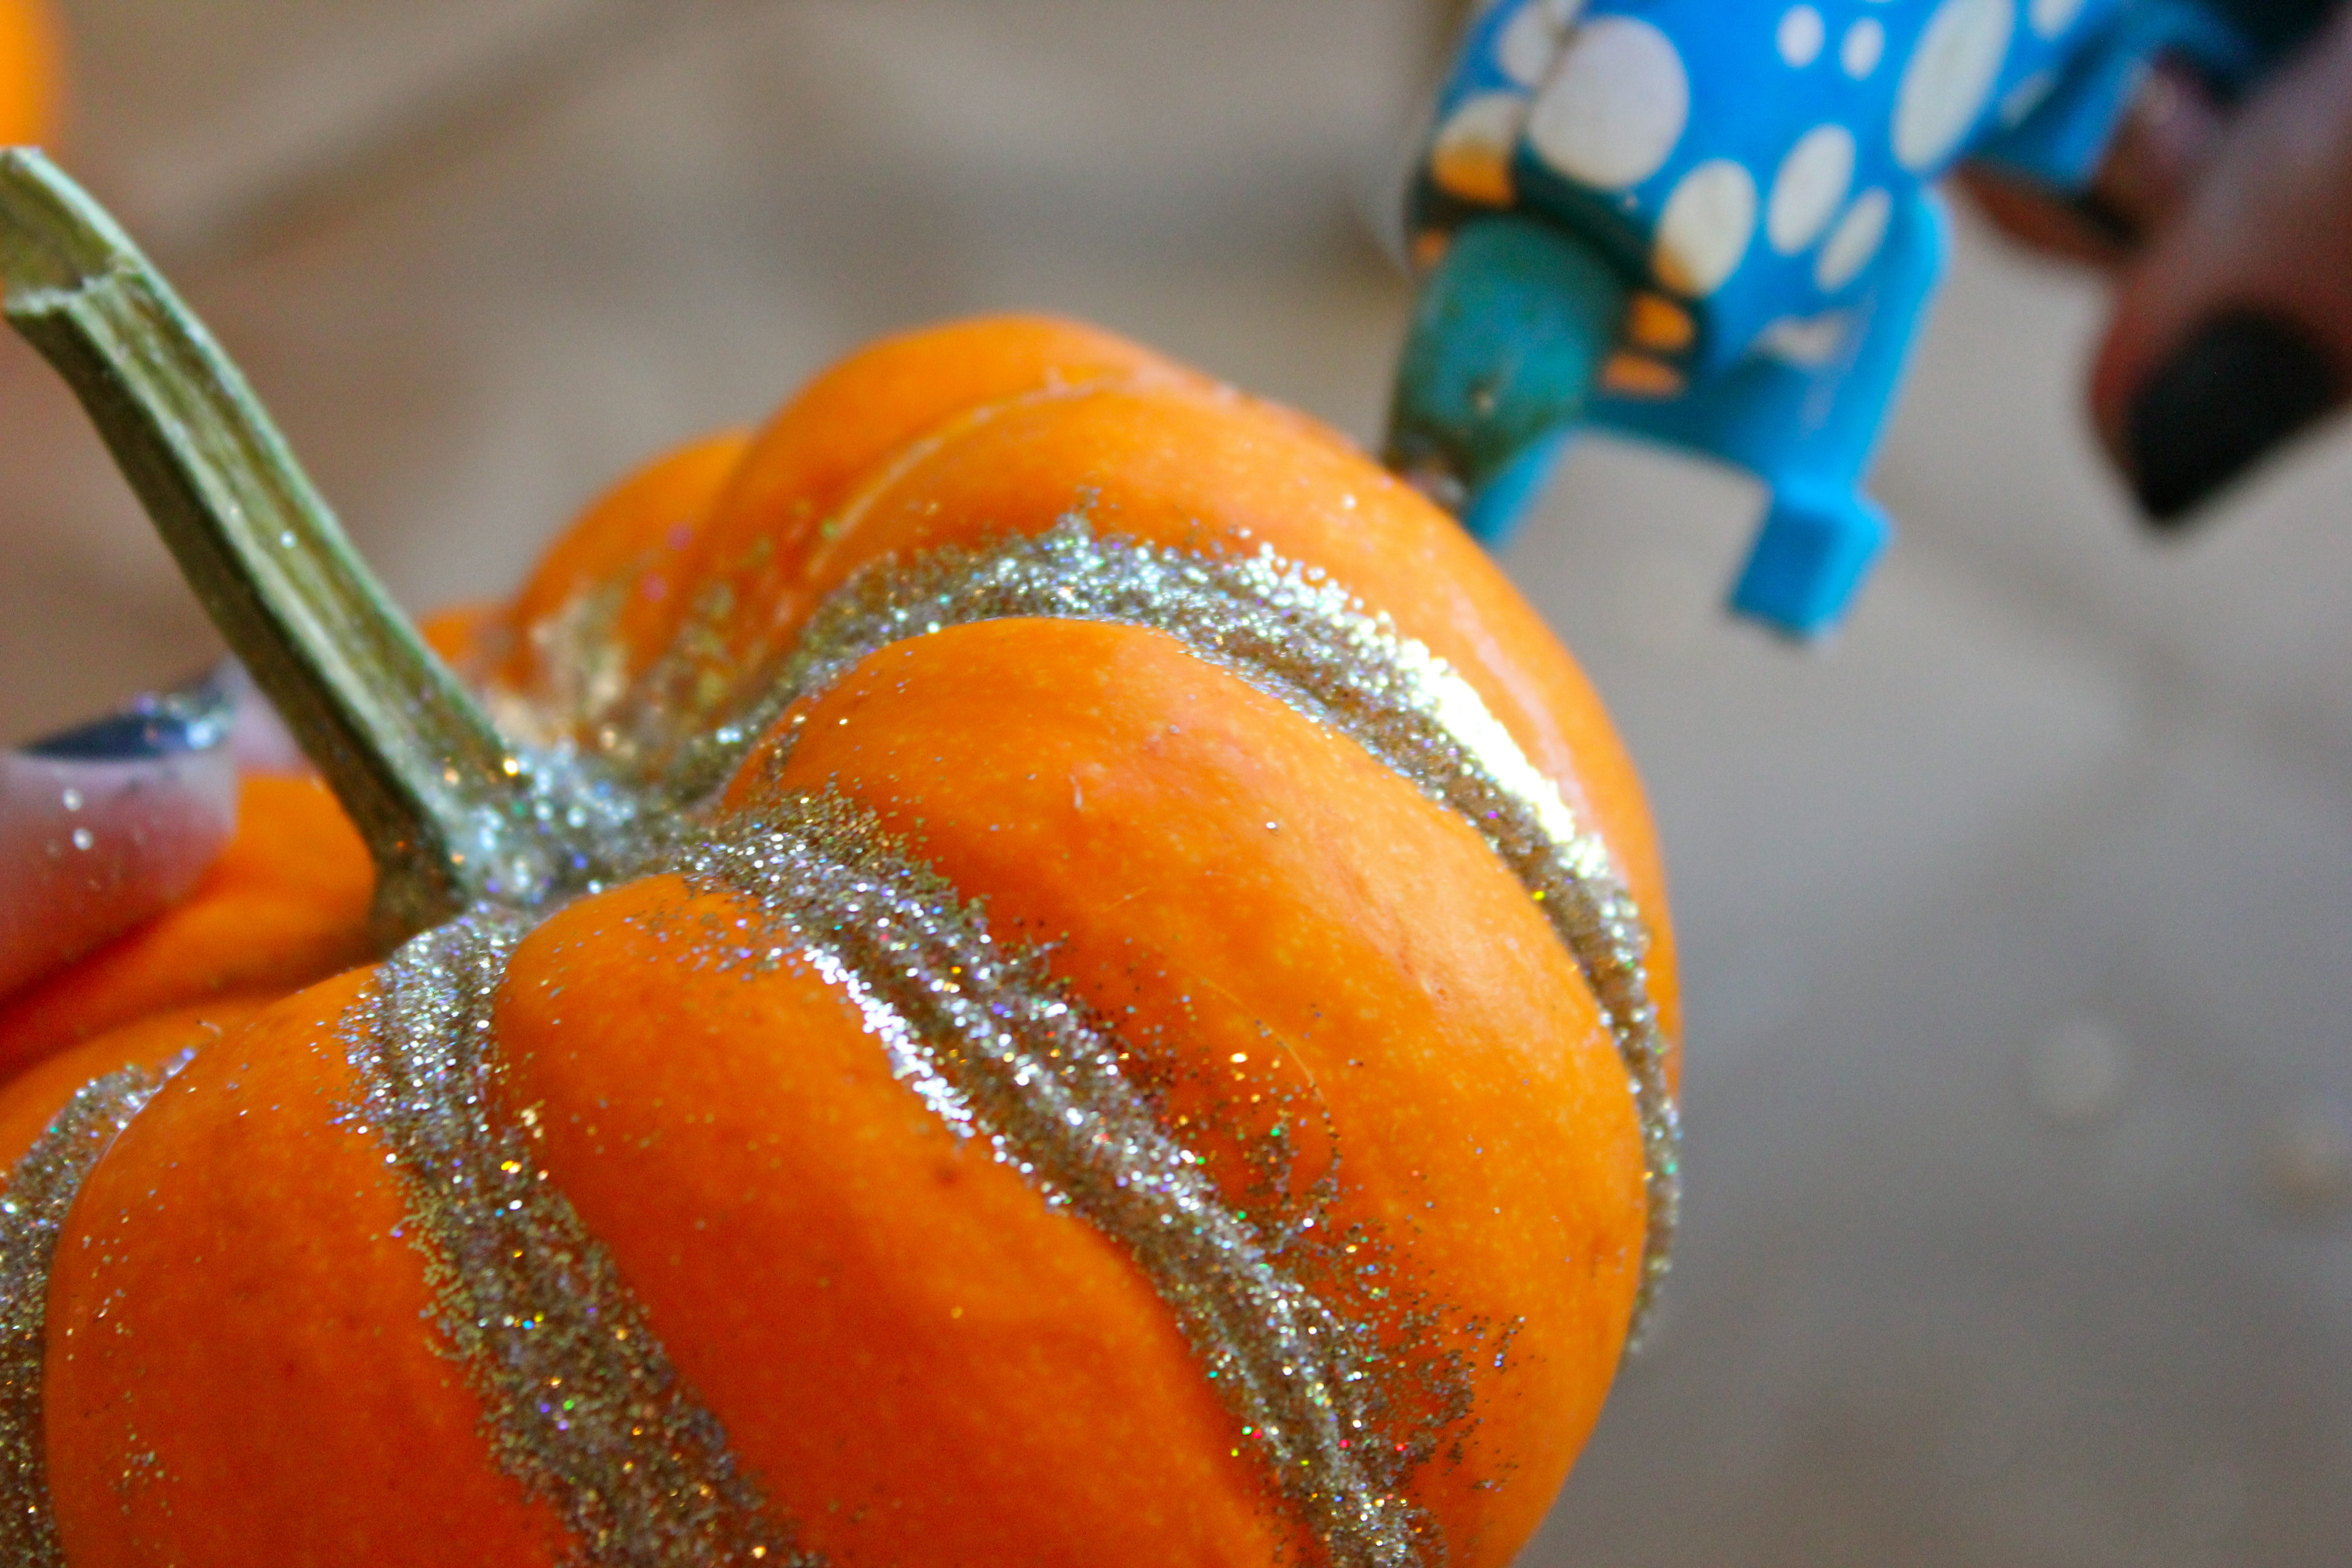 Step 1: When your glue gun is heated and ready for action, glue one vertical indent at a time…Step 2: After you make the best, thick line you can, pour the loose glitter over right away. I always put my glitter in the lid of the container so I have more control…Step 3: Move onto the next indent, making a glue line and pouring the glitter over immediately…Step 4: Repeat until you’ve gone around the entire pumpkin…Step 5: Glue around the stem, so you hide all the starting points of your lines, and pour glitter over the circle, completing the Sweet Spell!

Enjoy these pumpkin projects with friends or family on a cool night. Make sure you allow for a lot of creative juices to flow and messes to ensue! Oh, and you should craft up a cocktail while you’re at it!
 I’d be curious to know, which one would you craft up??!
Cheers! -L

love this idea! so cool!
I wonder which one I would make too! 😉
Thank You, J. Rose!